Making 1957 Oldsmobile 88 Steering Column replacement Grommet
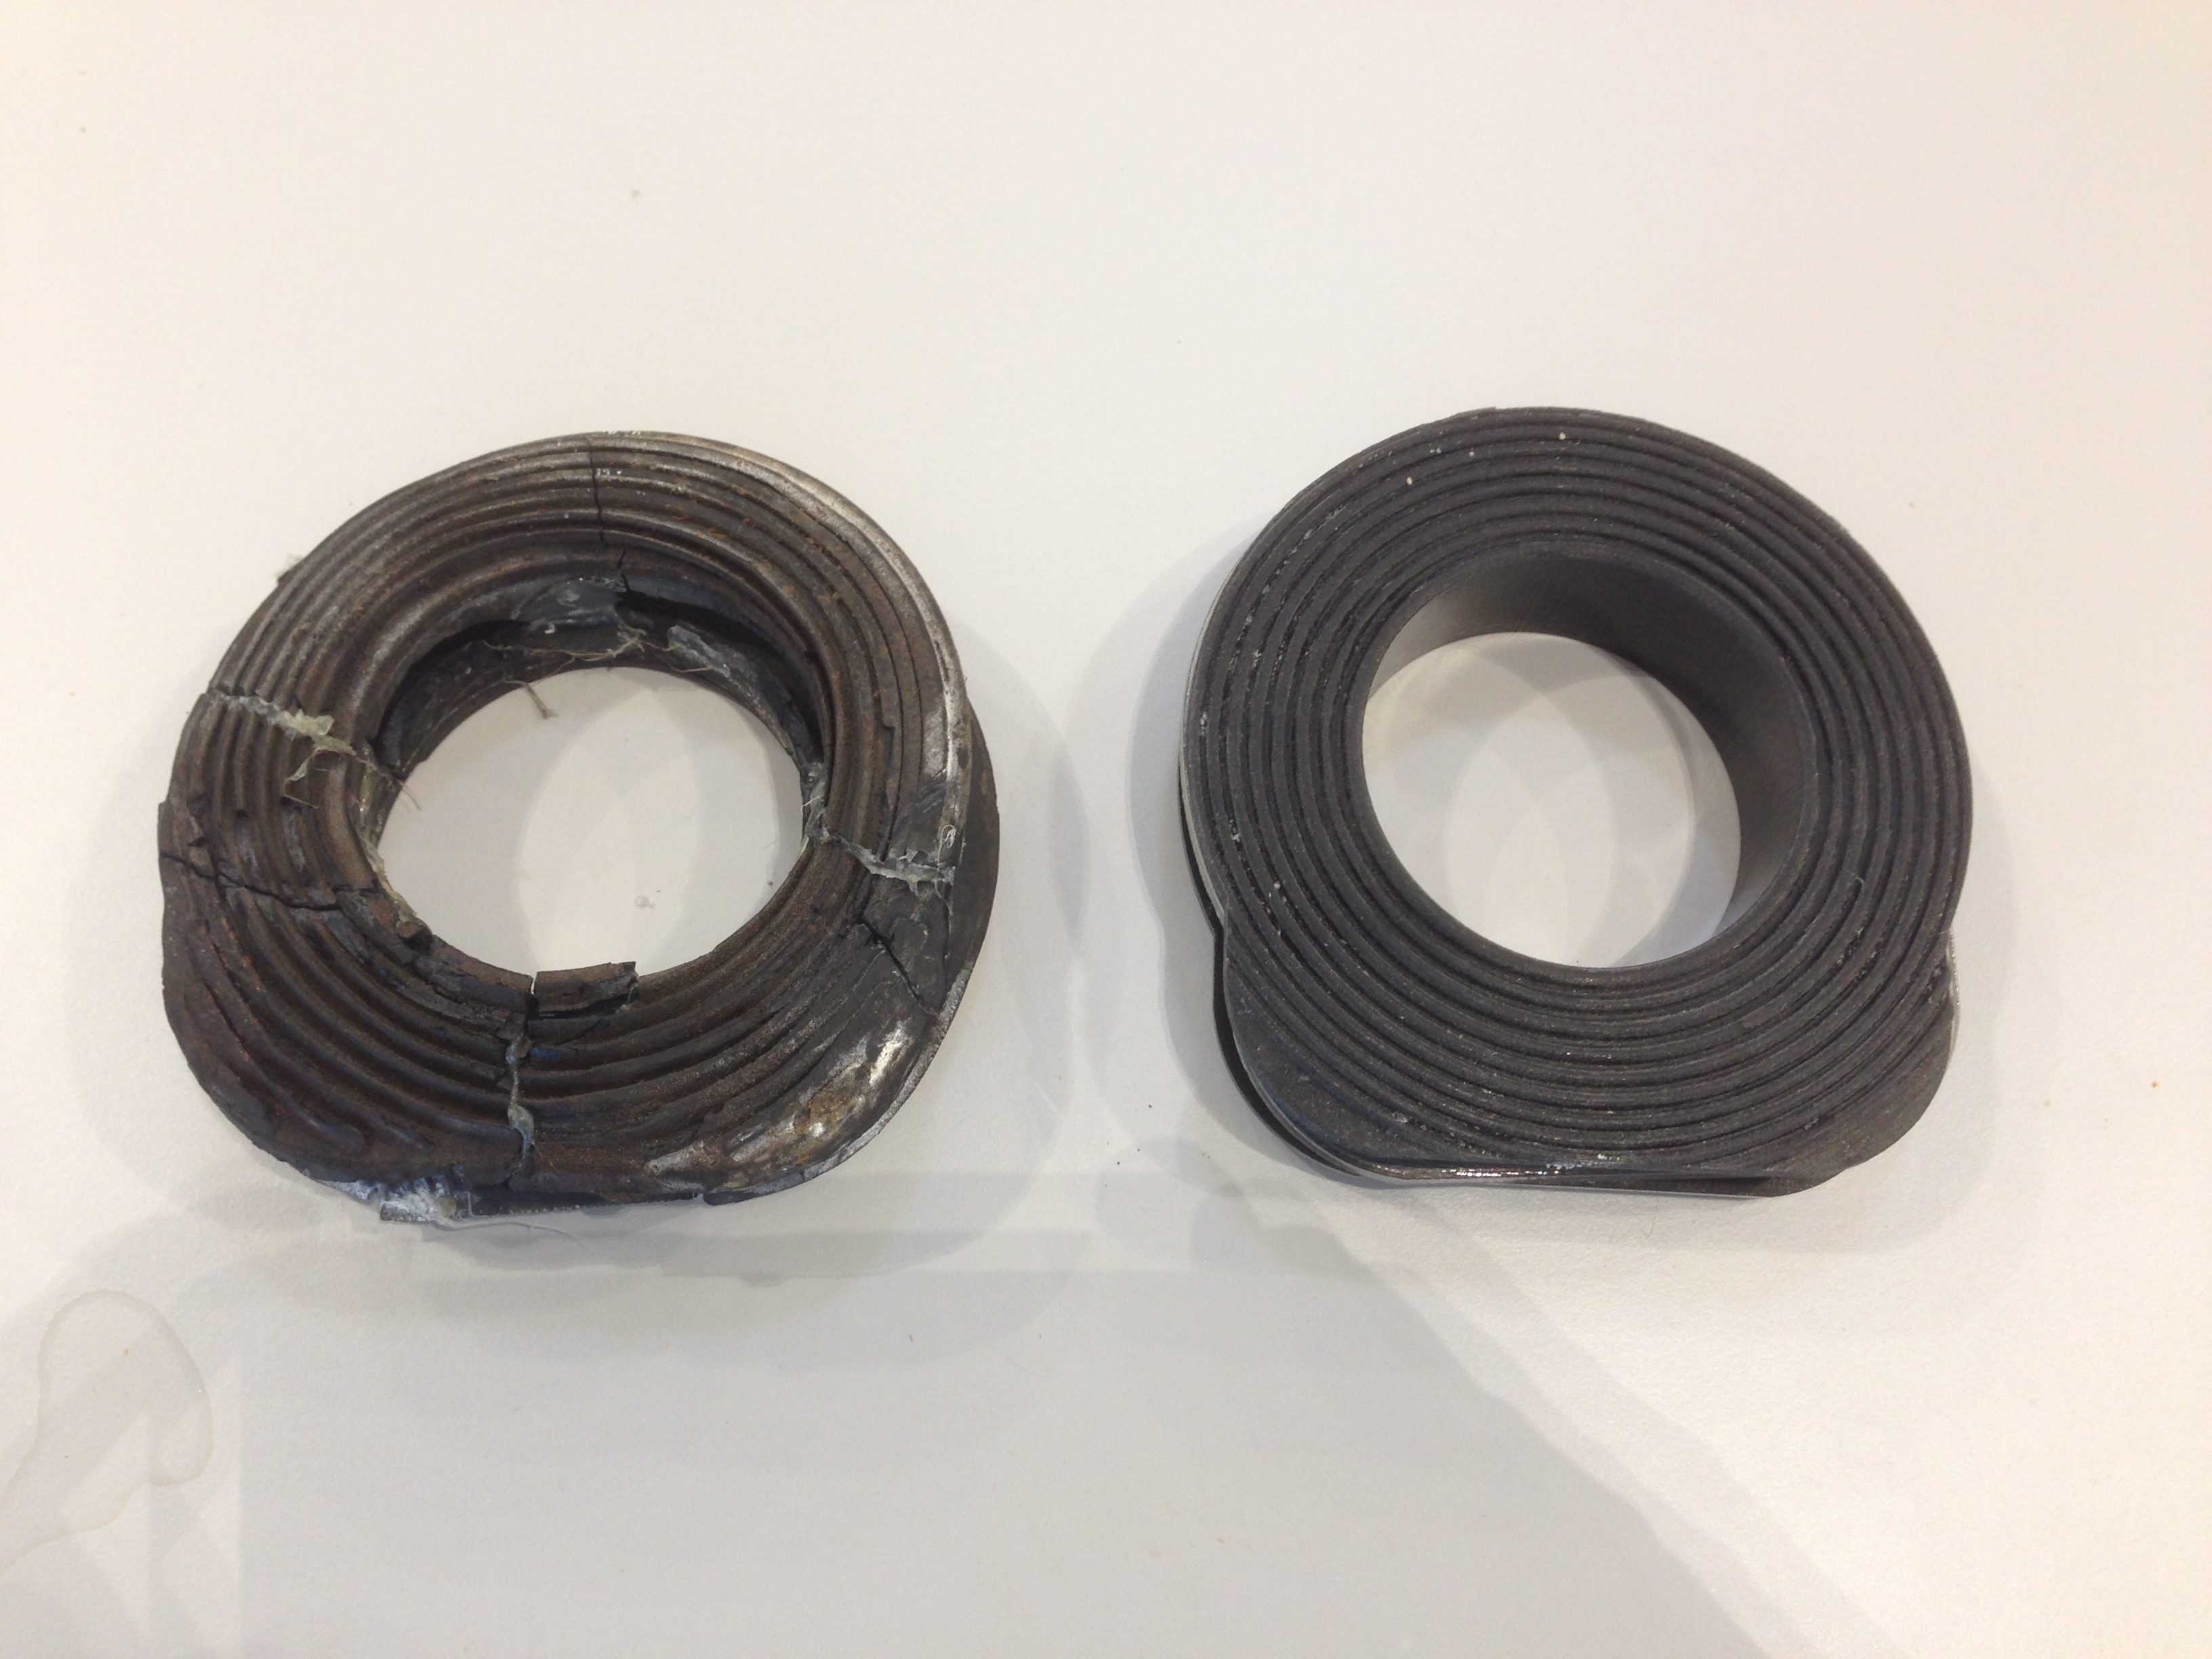
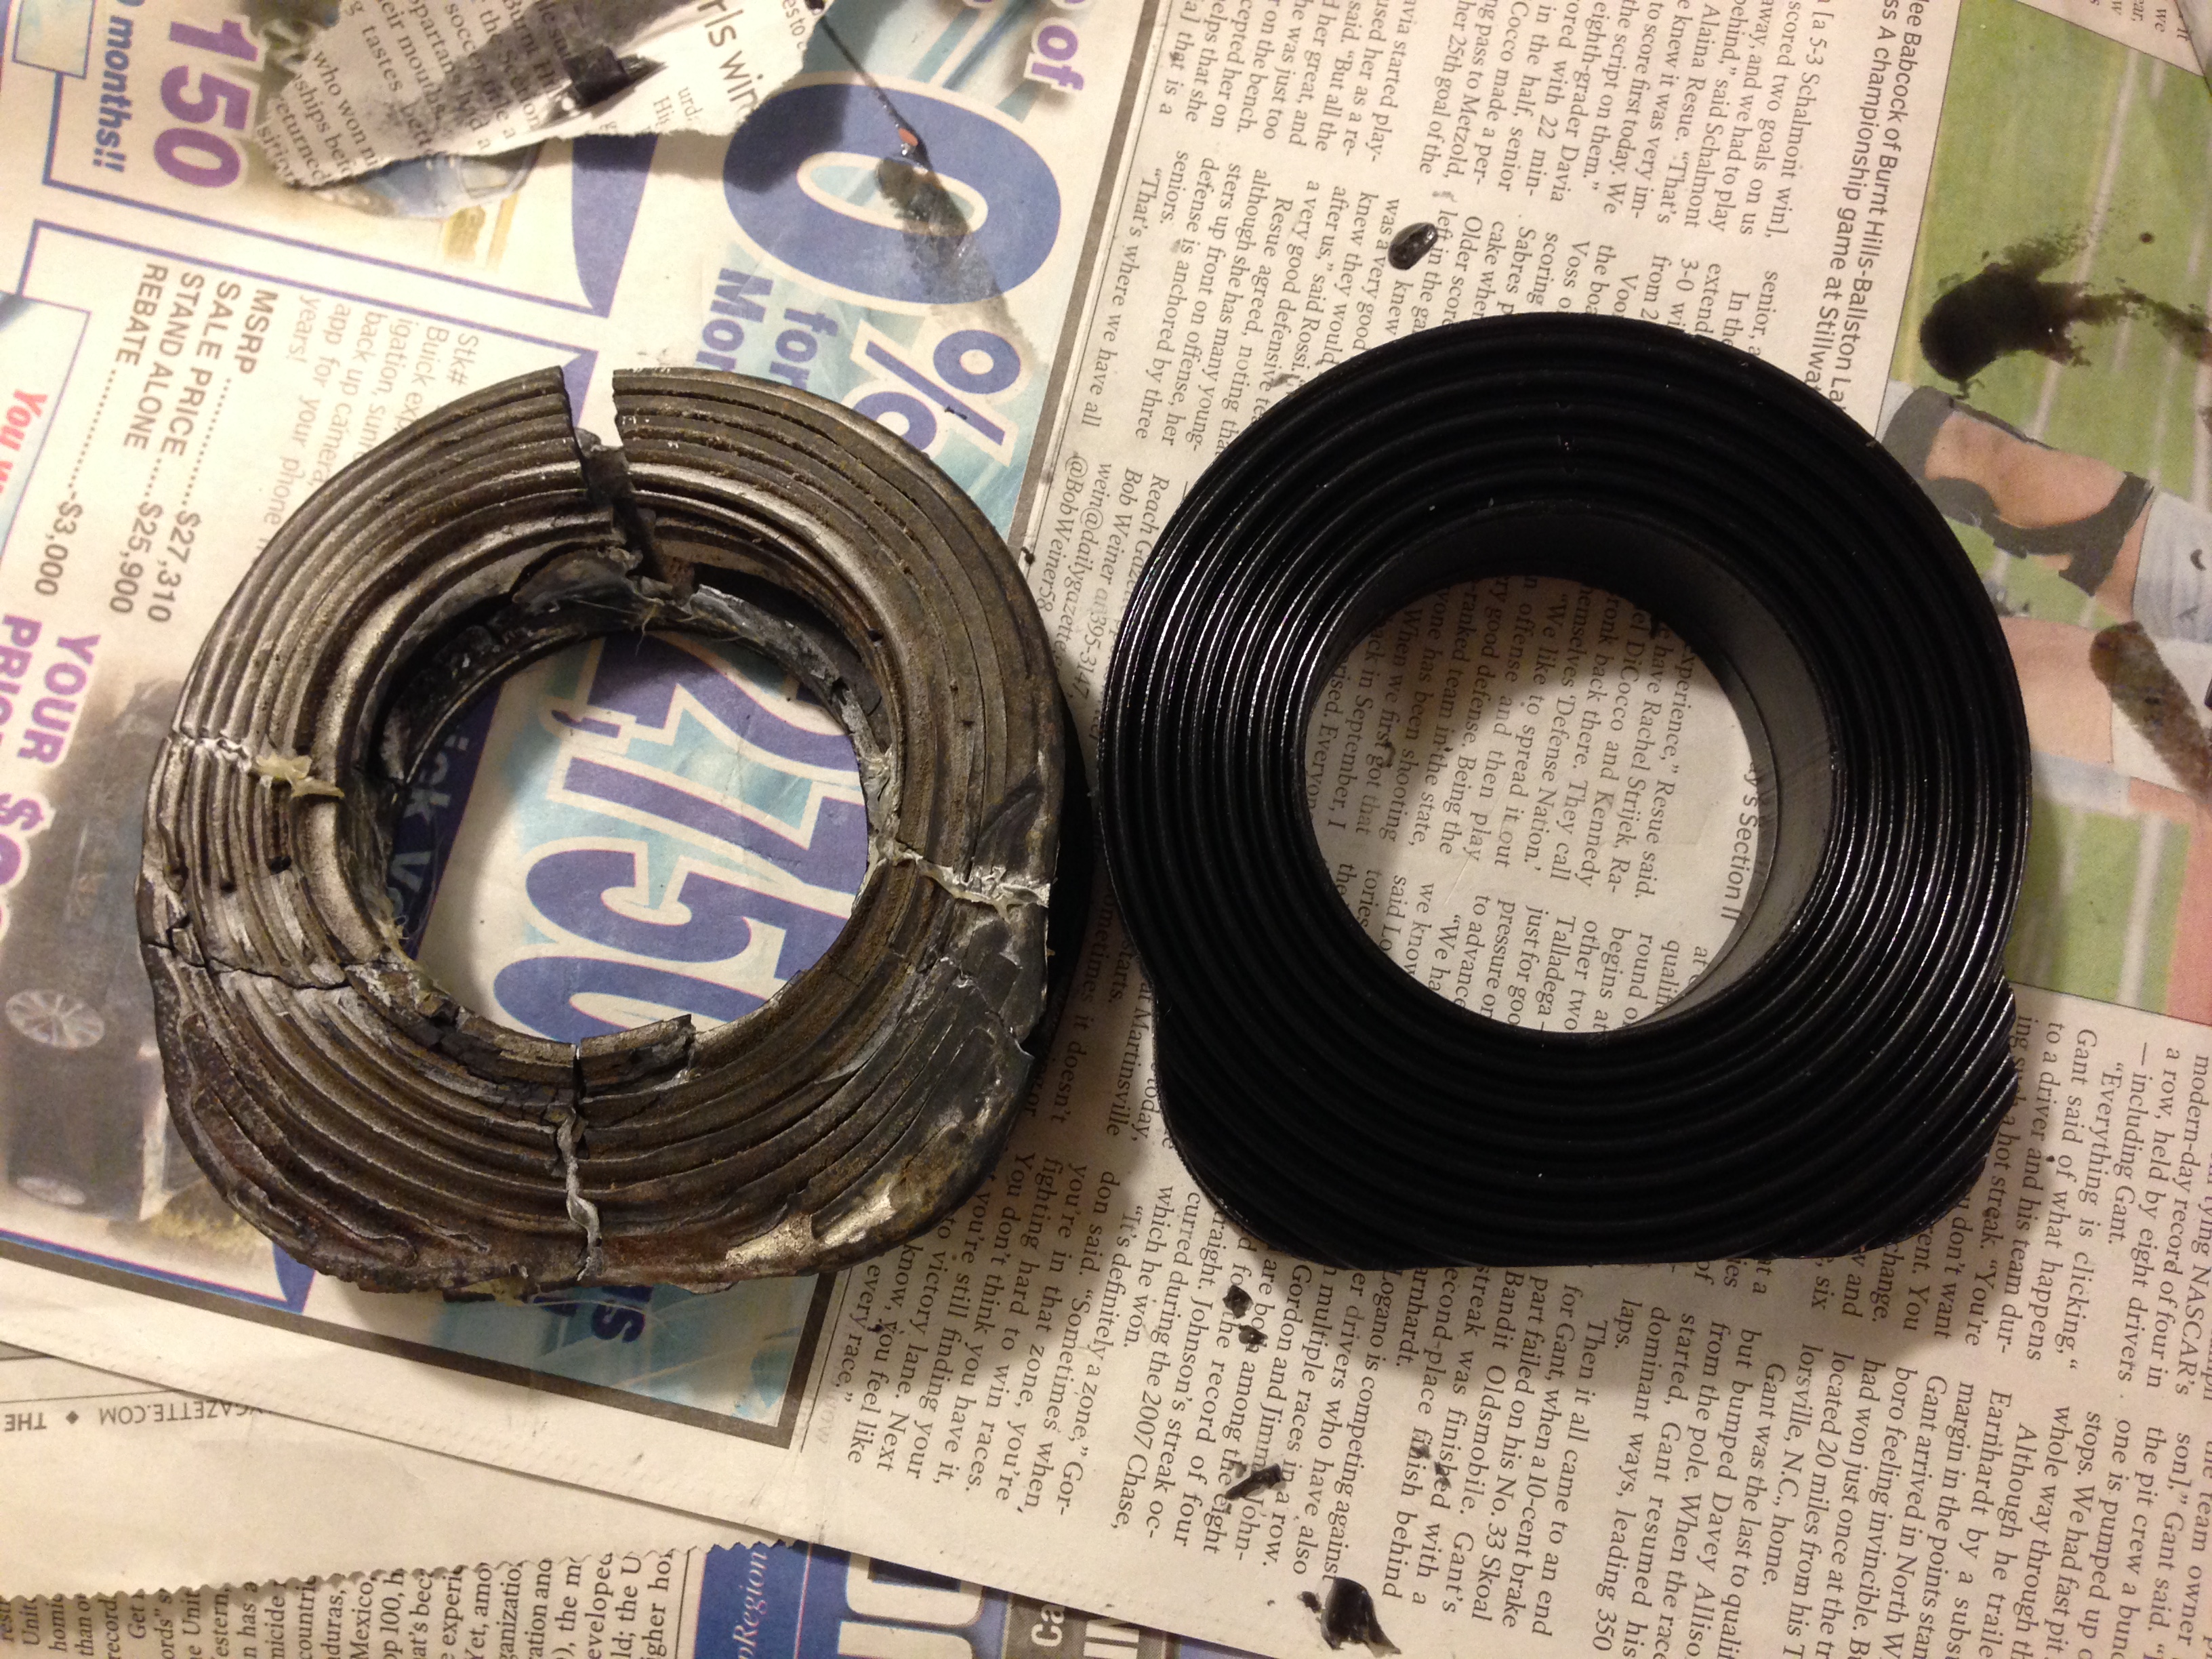
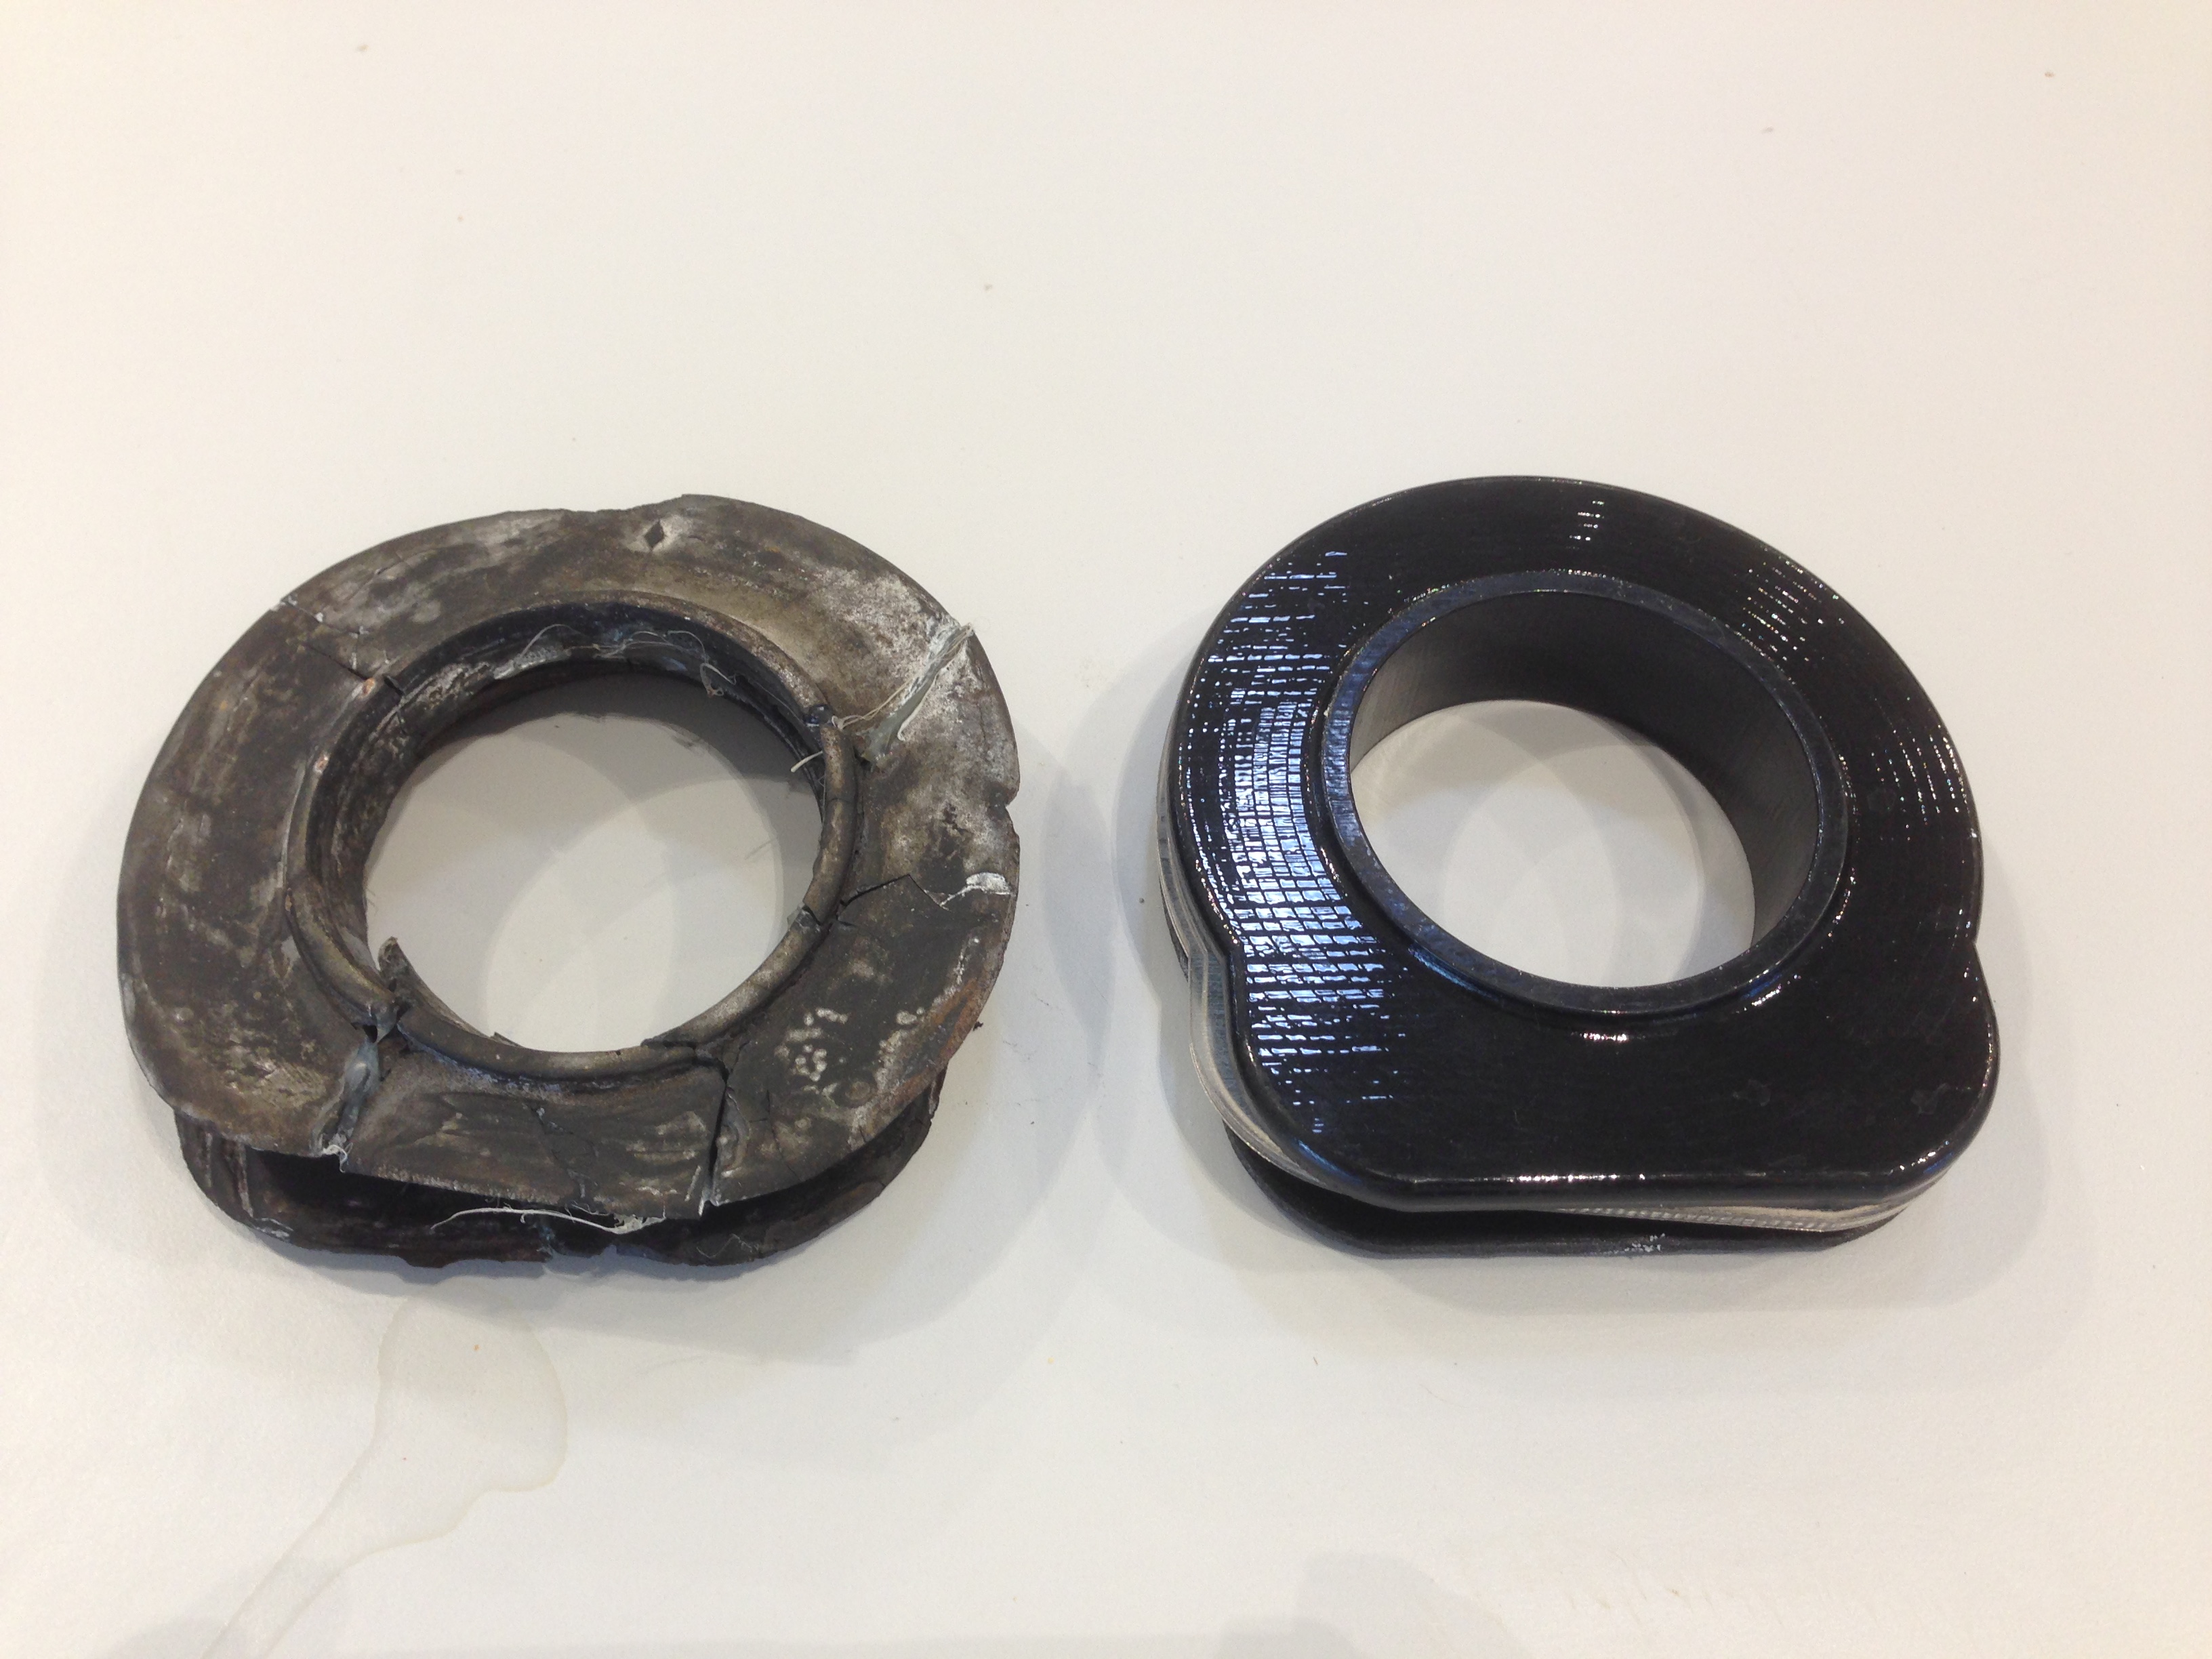 Old/Reproduction
Background
A friend gave me a
1957 Olds 88
a couple of years ago. Little did I know how hard it is to find some parts.
With the advent of 3D printing, it is getting easier to make some parts.
I have made
Radio faceplace and knobs,
Windshield Washer jar hole cover,
and
Windshield Washer F connector.
The car has a lot of rubber parts that have dried and crumbled.
Steele Rubber Products
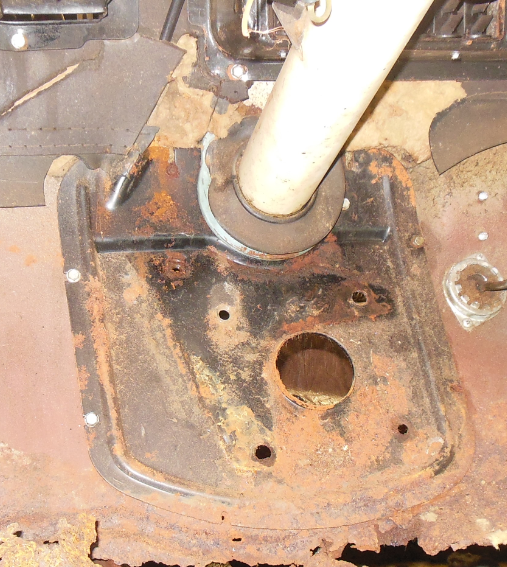
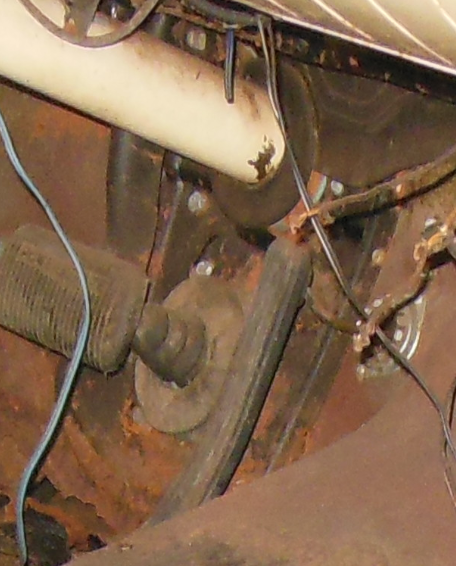
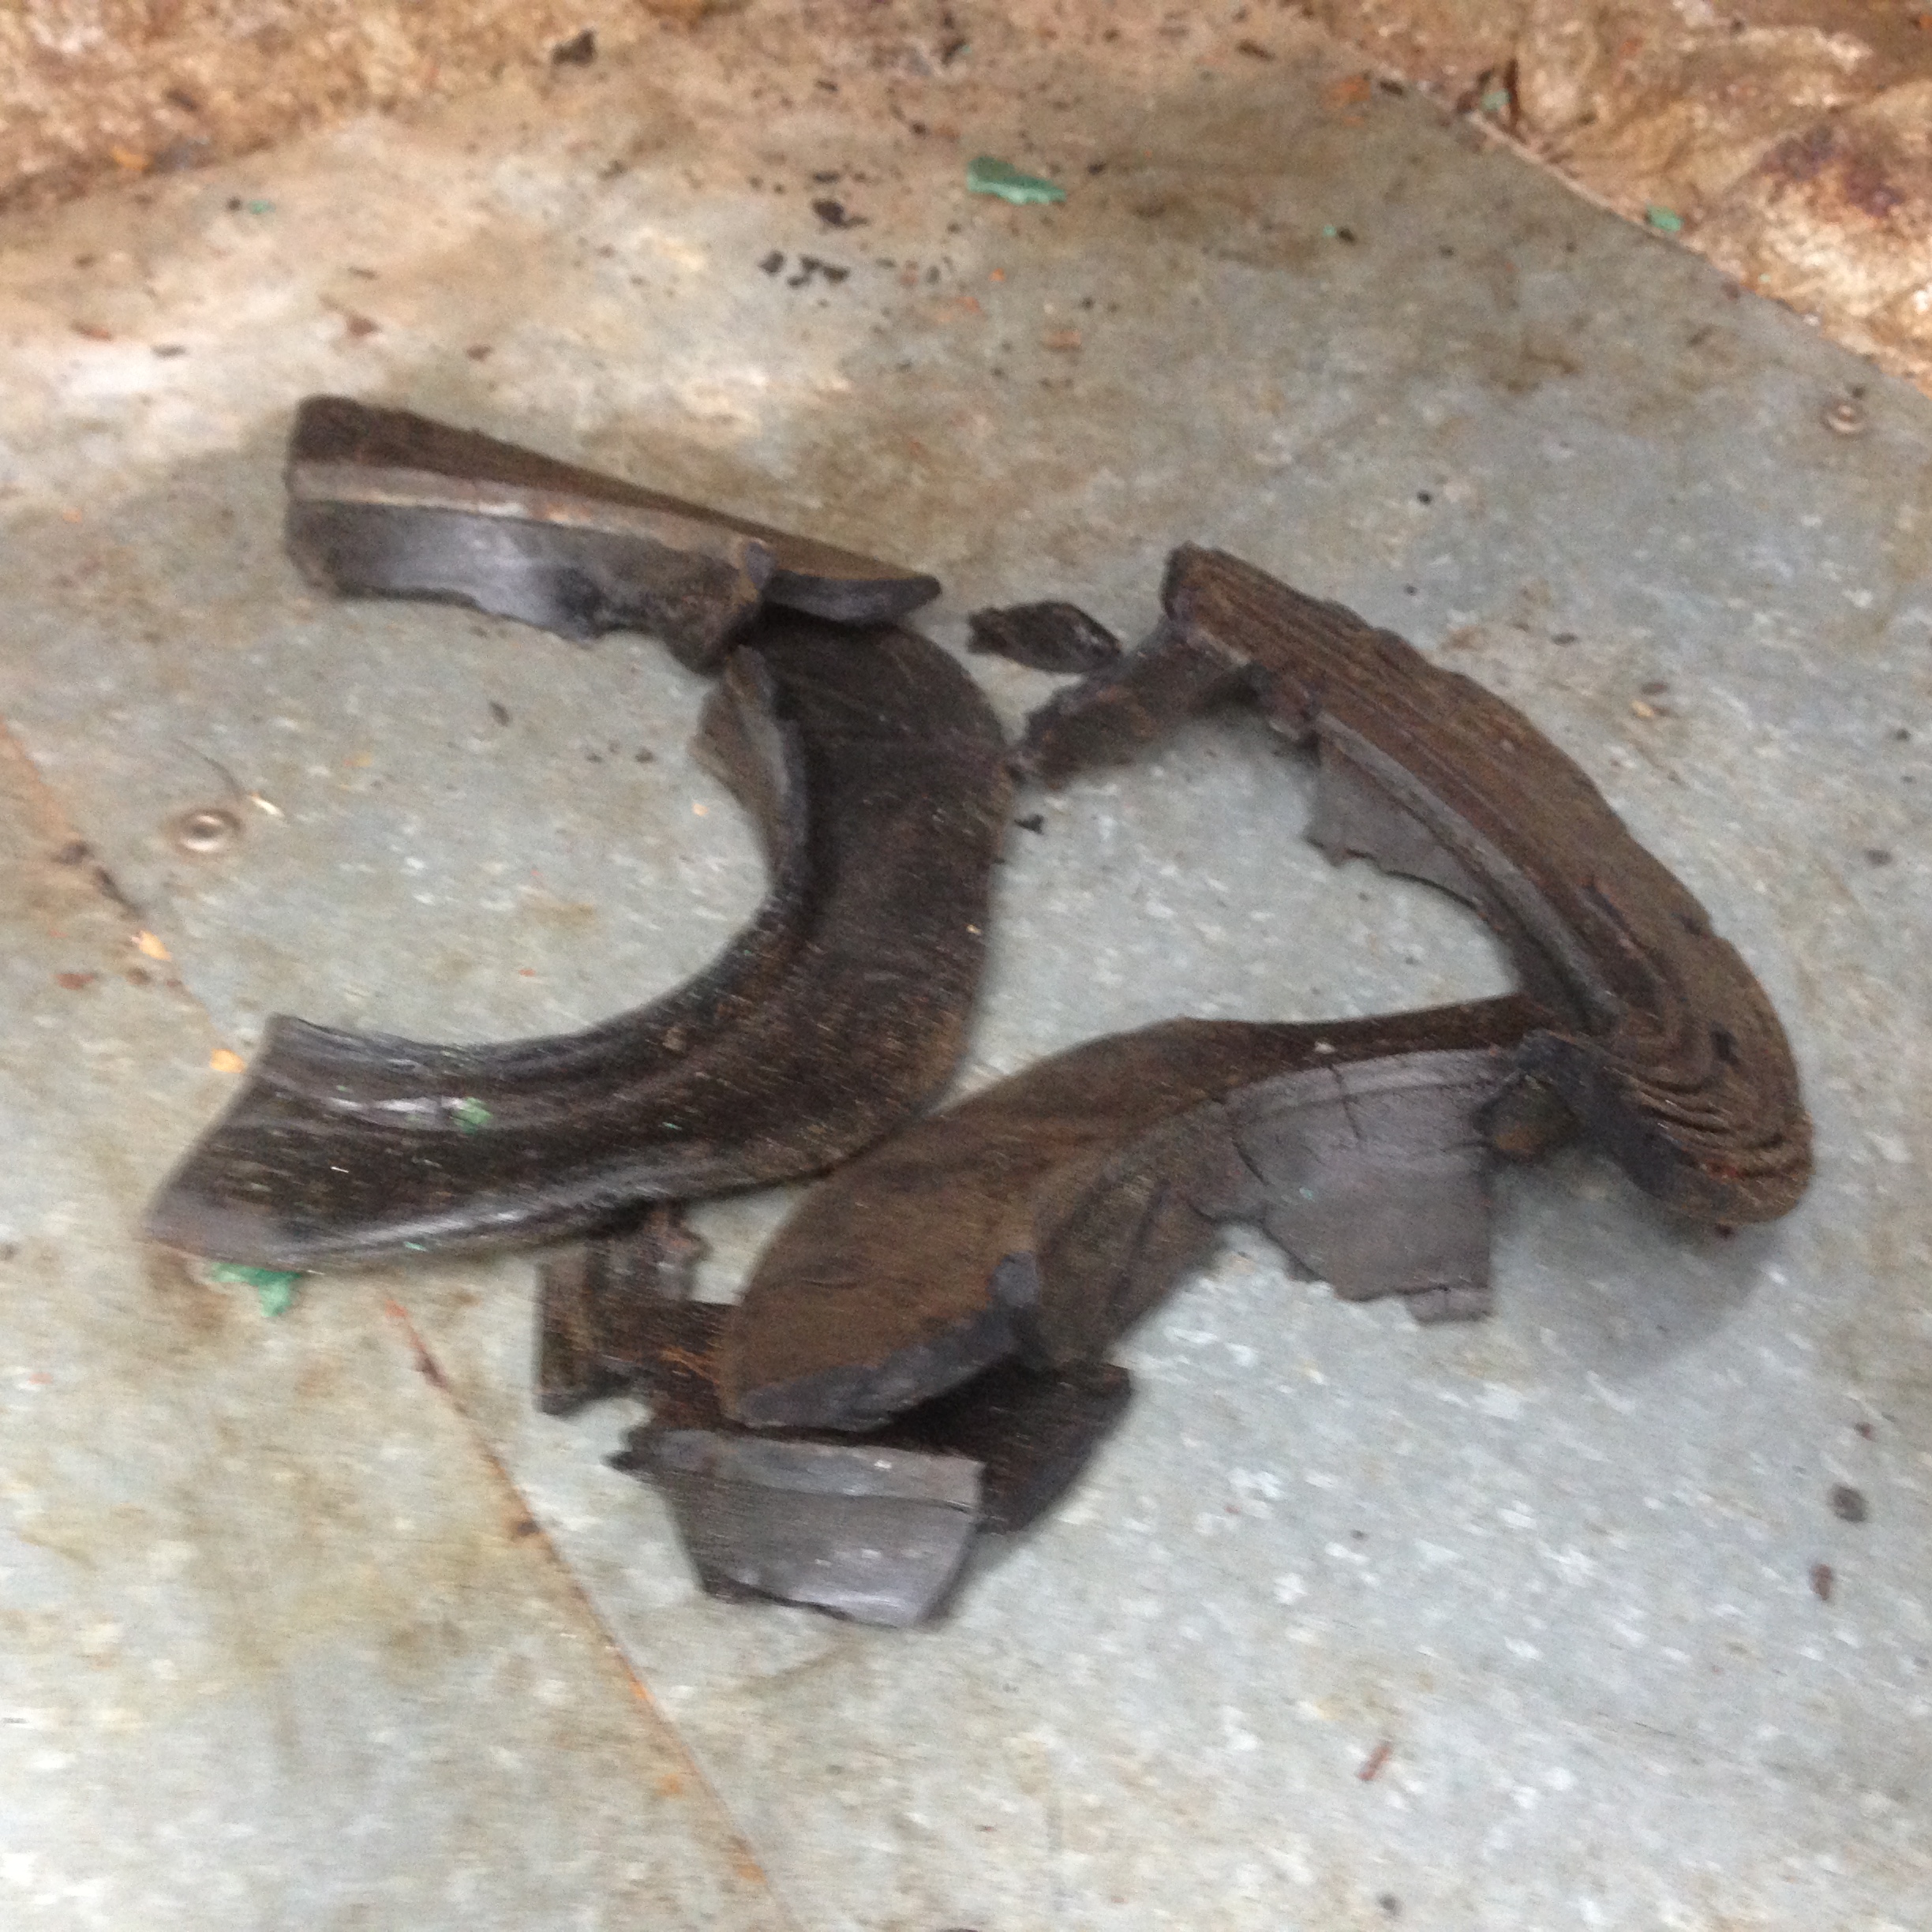
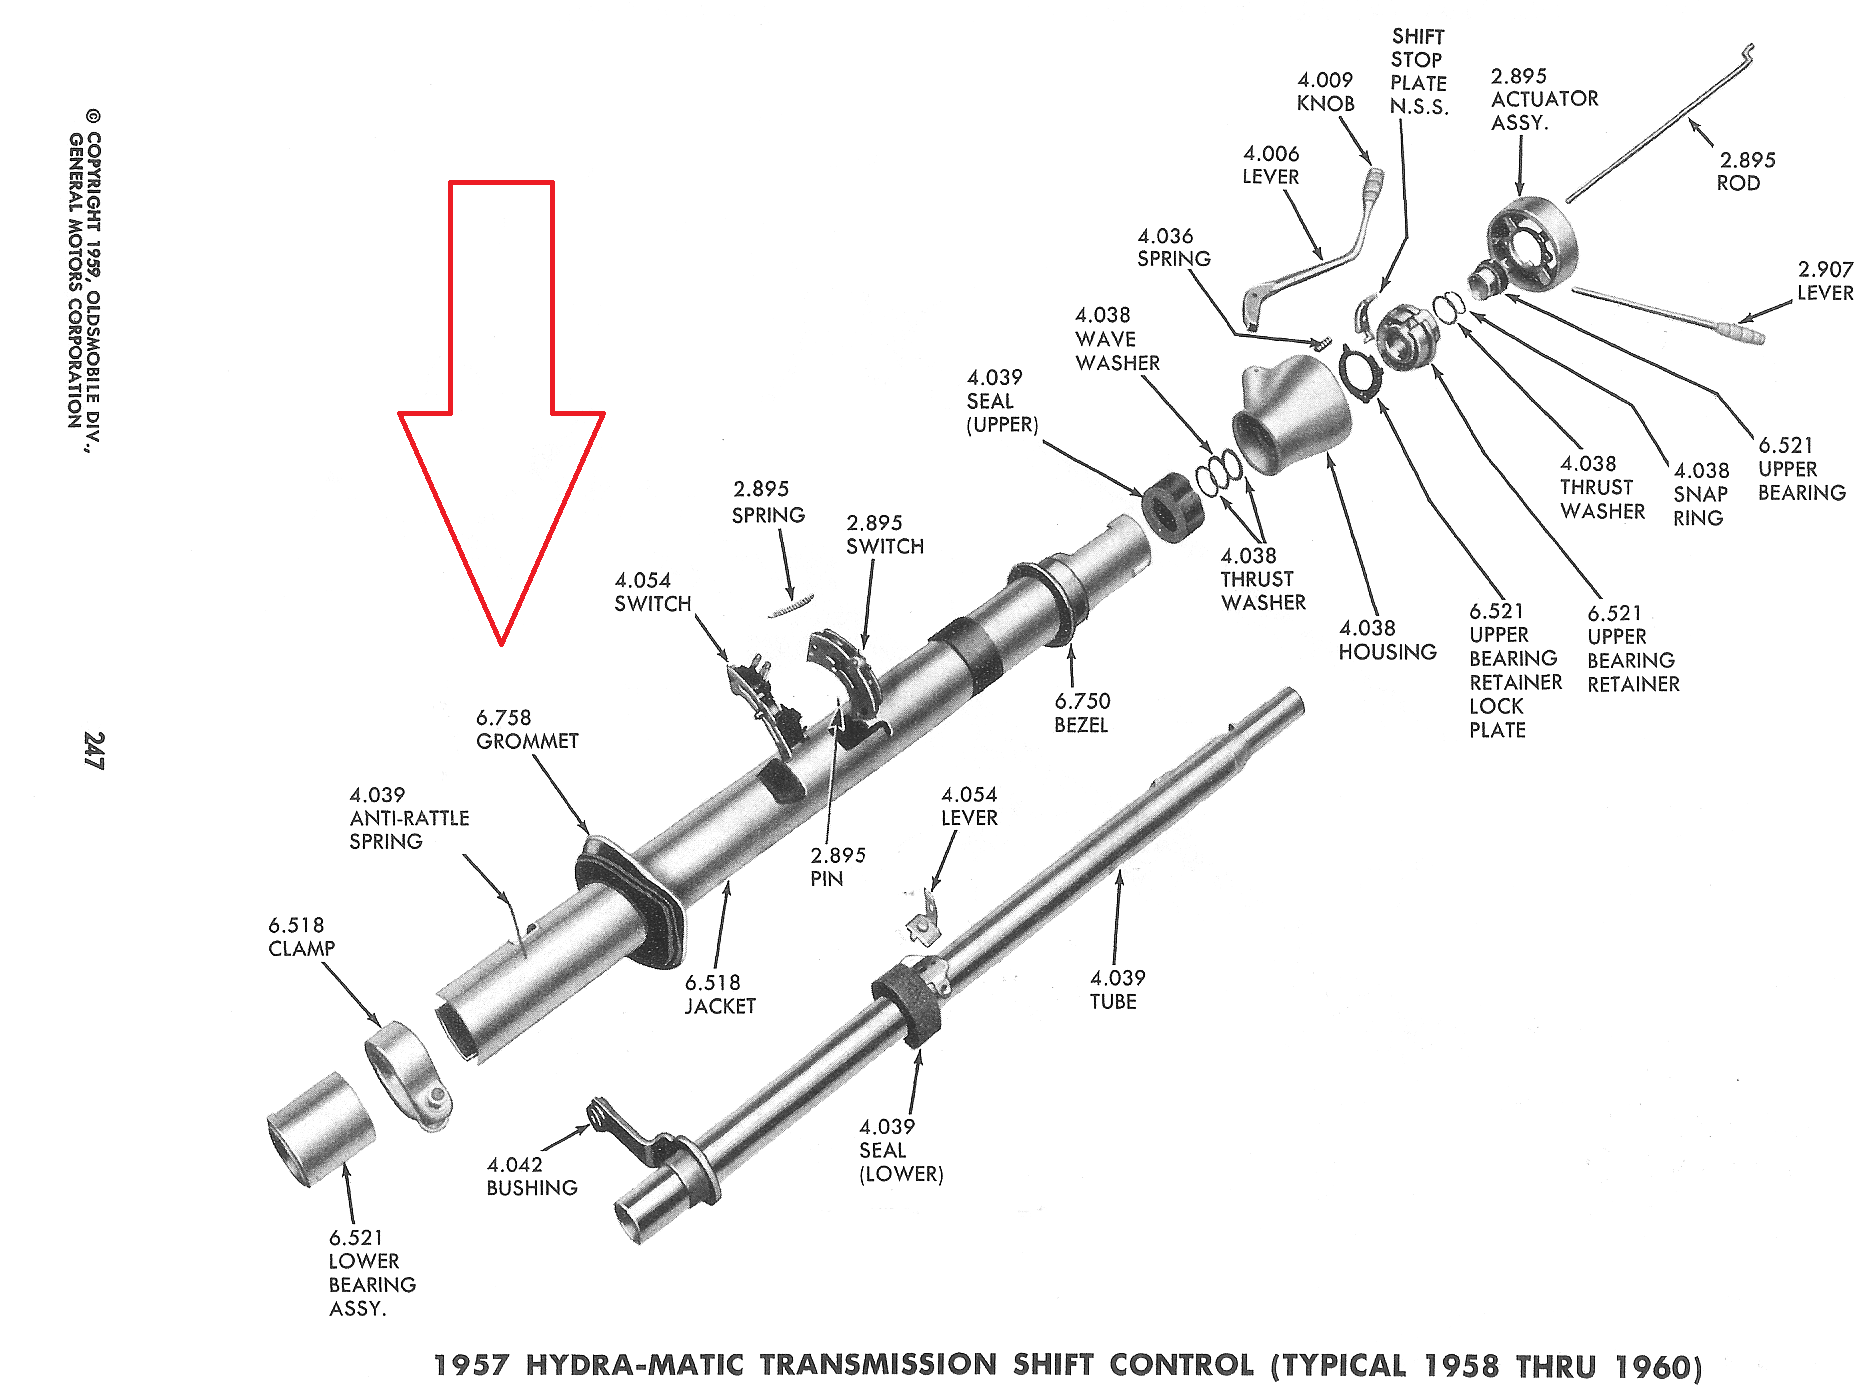
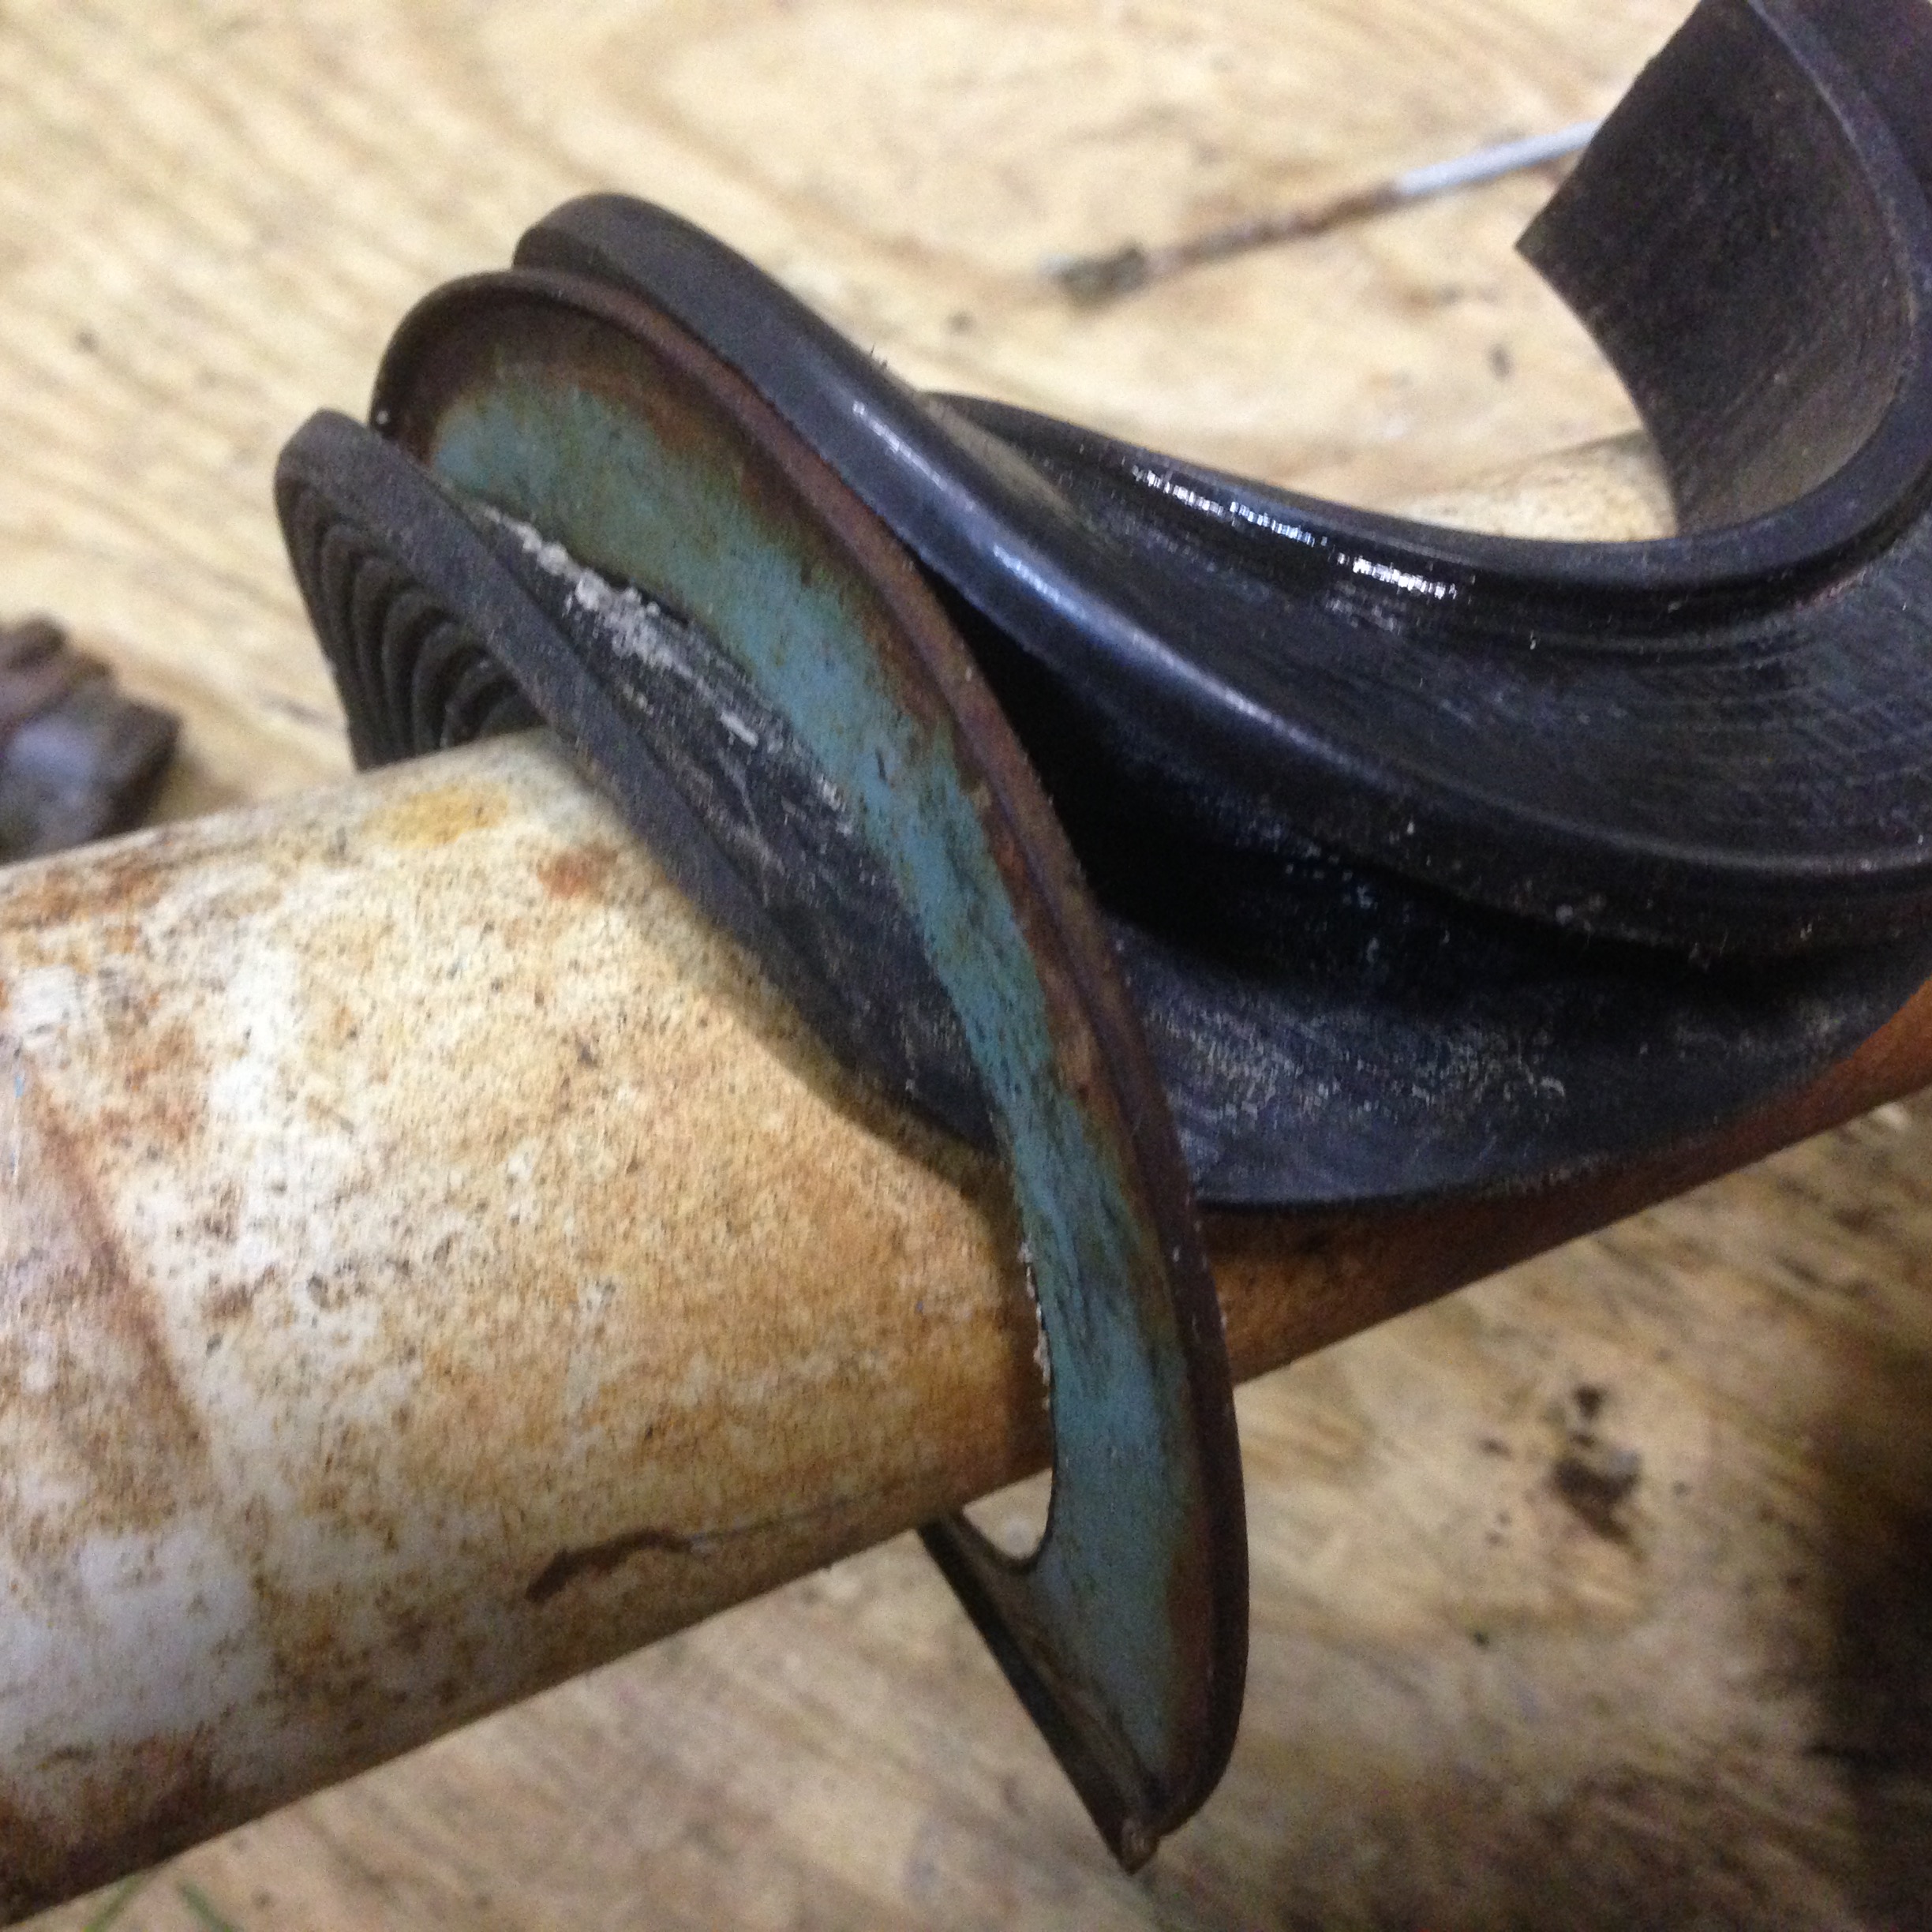
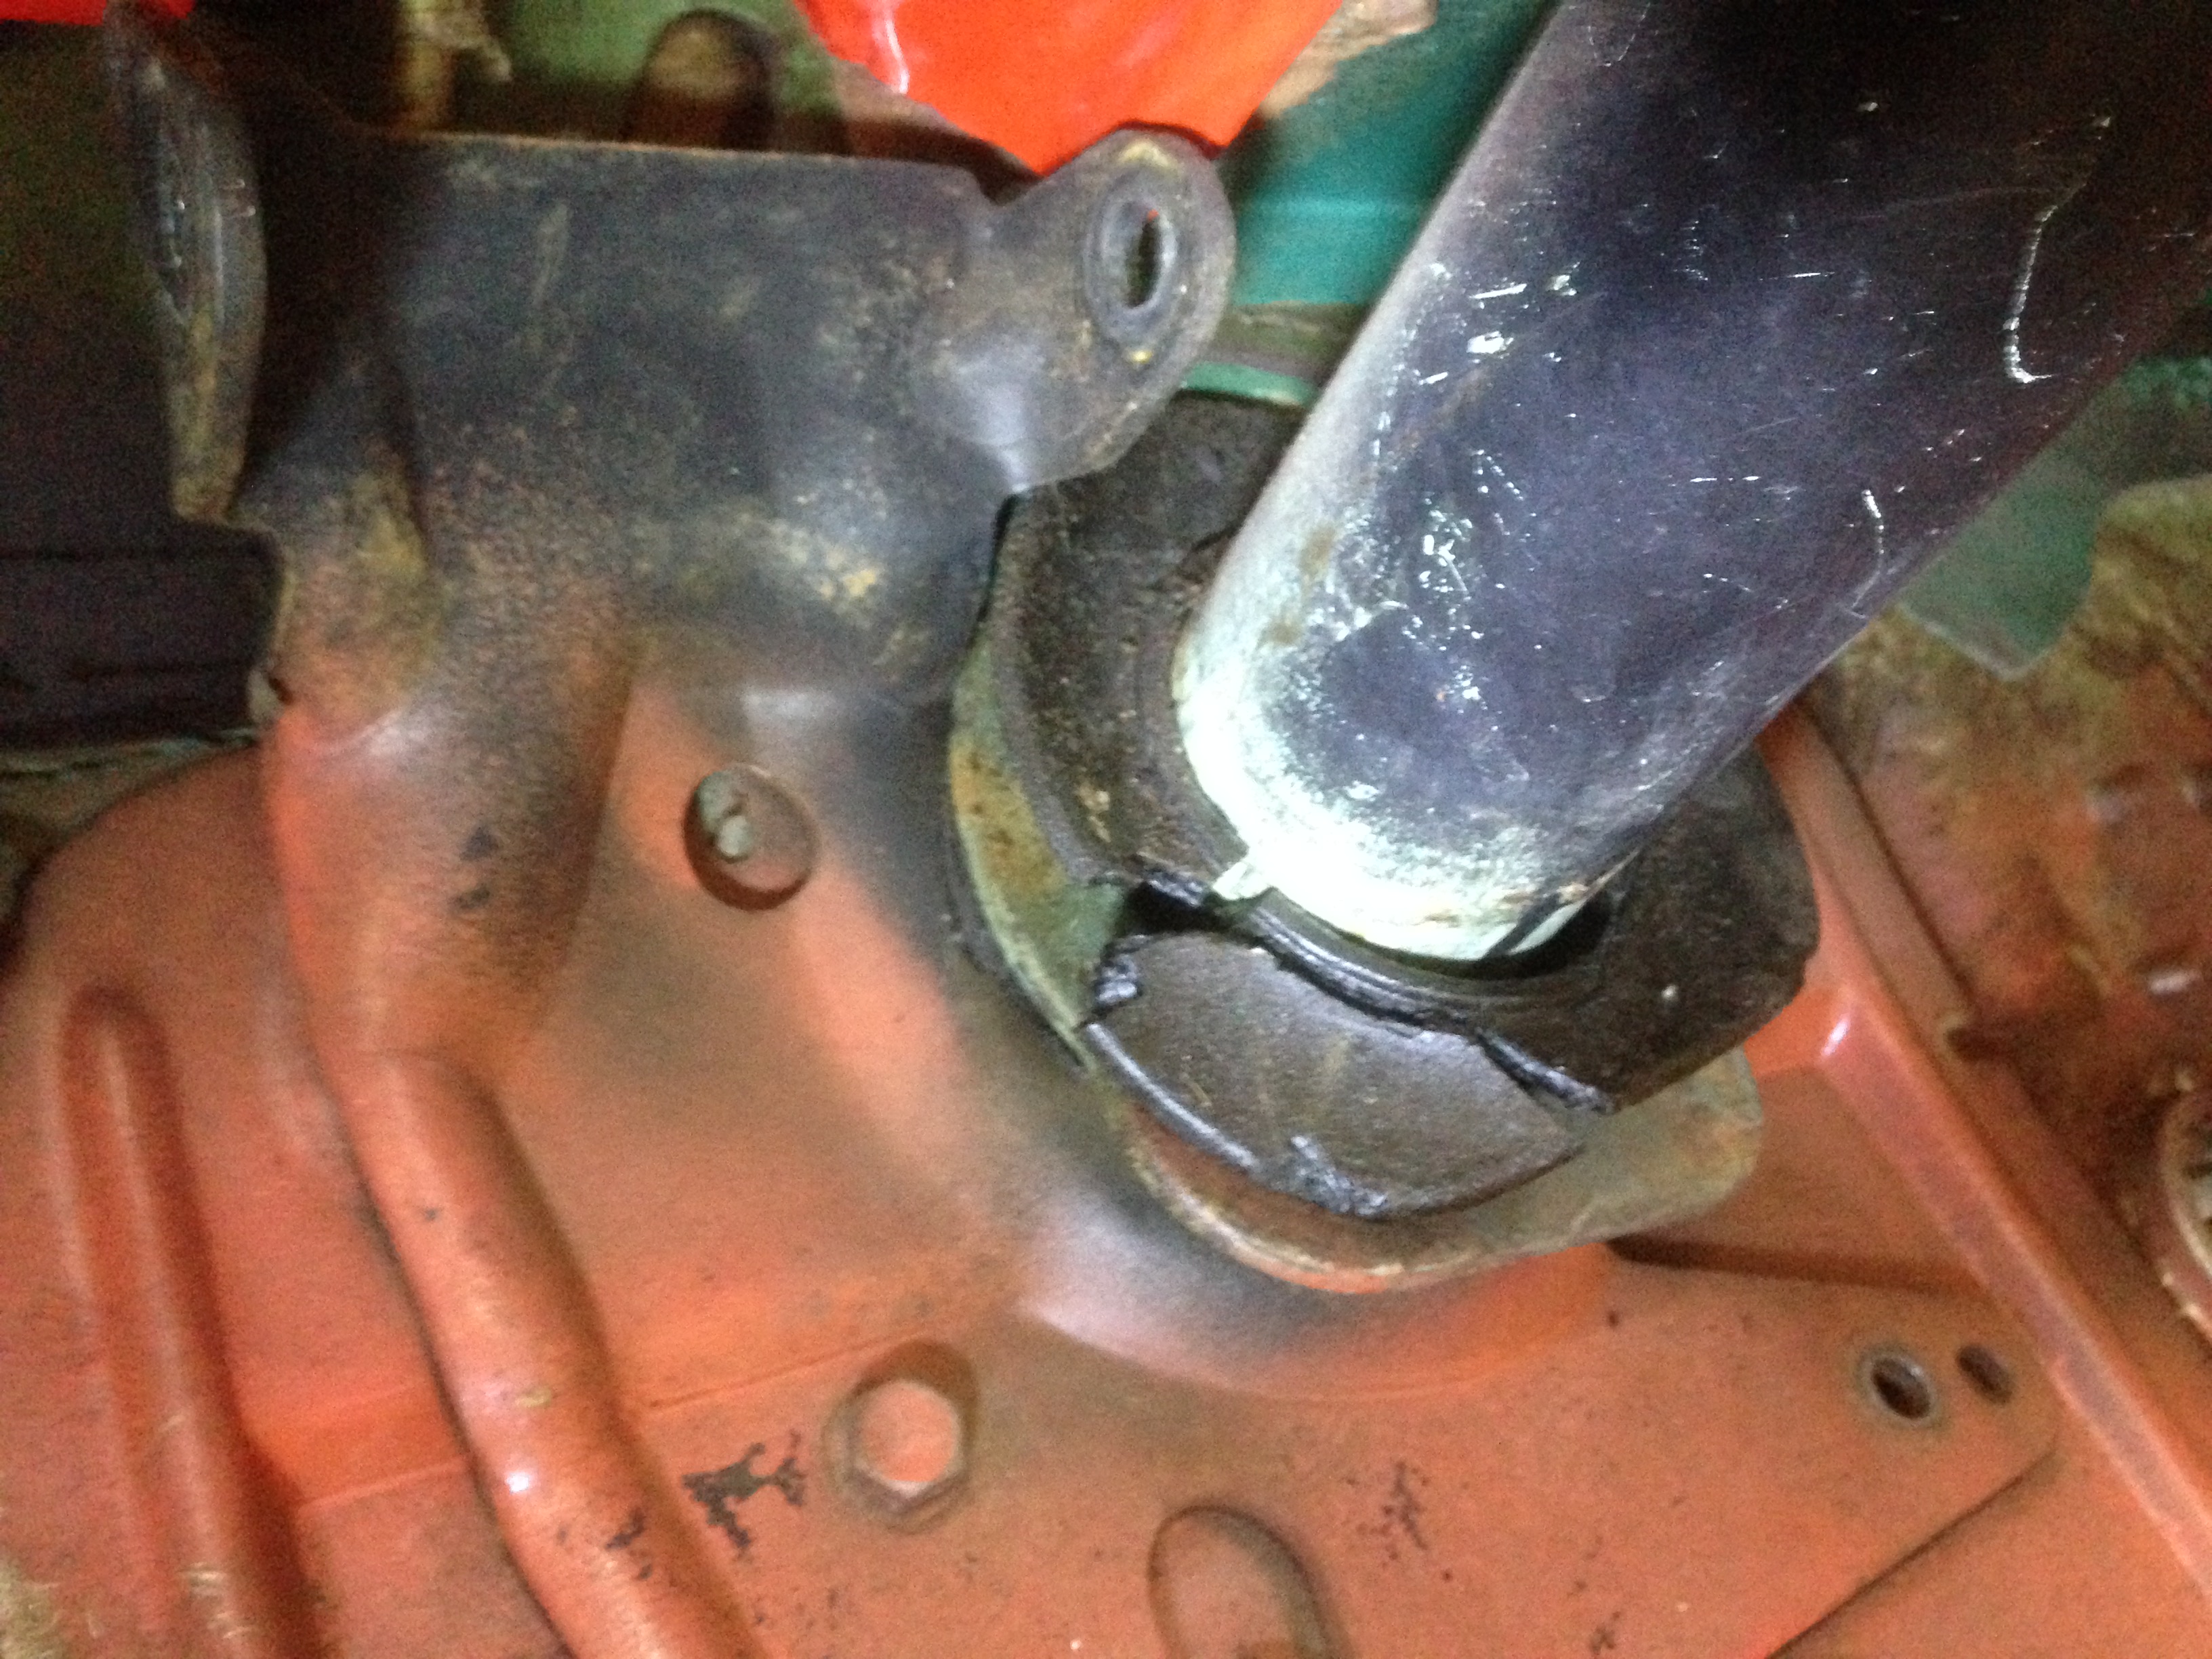
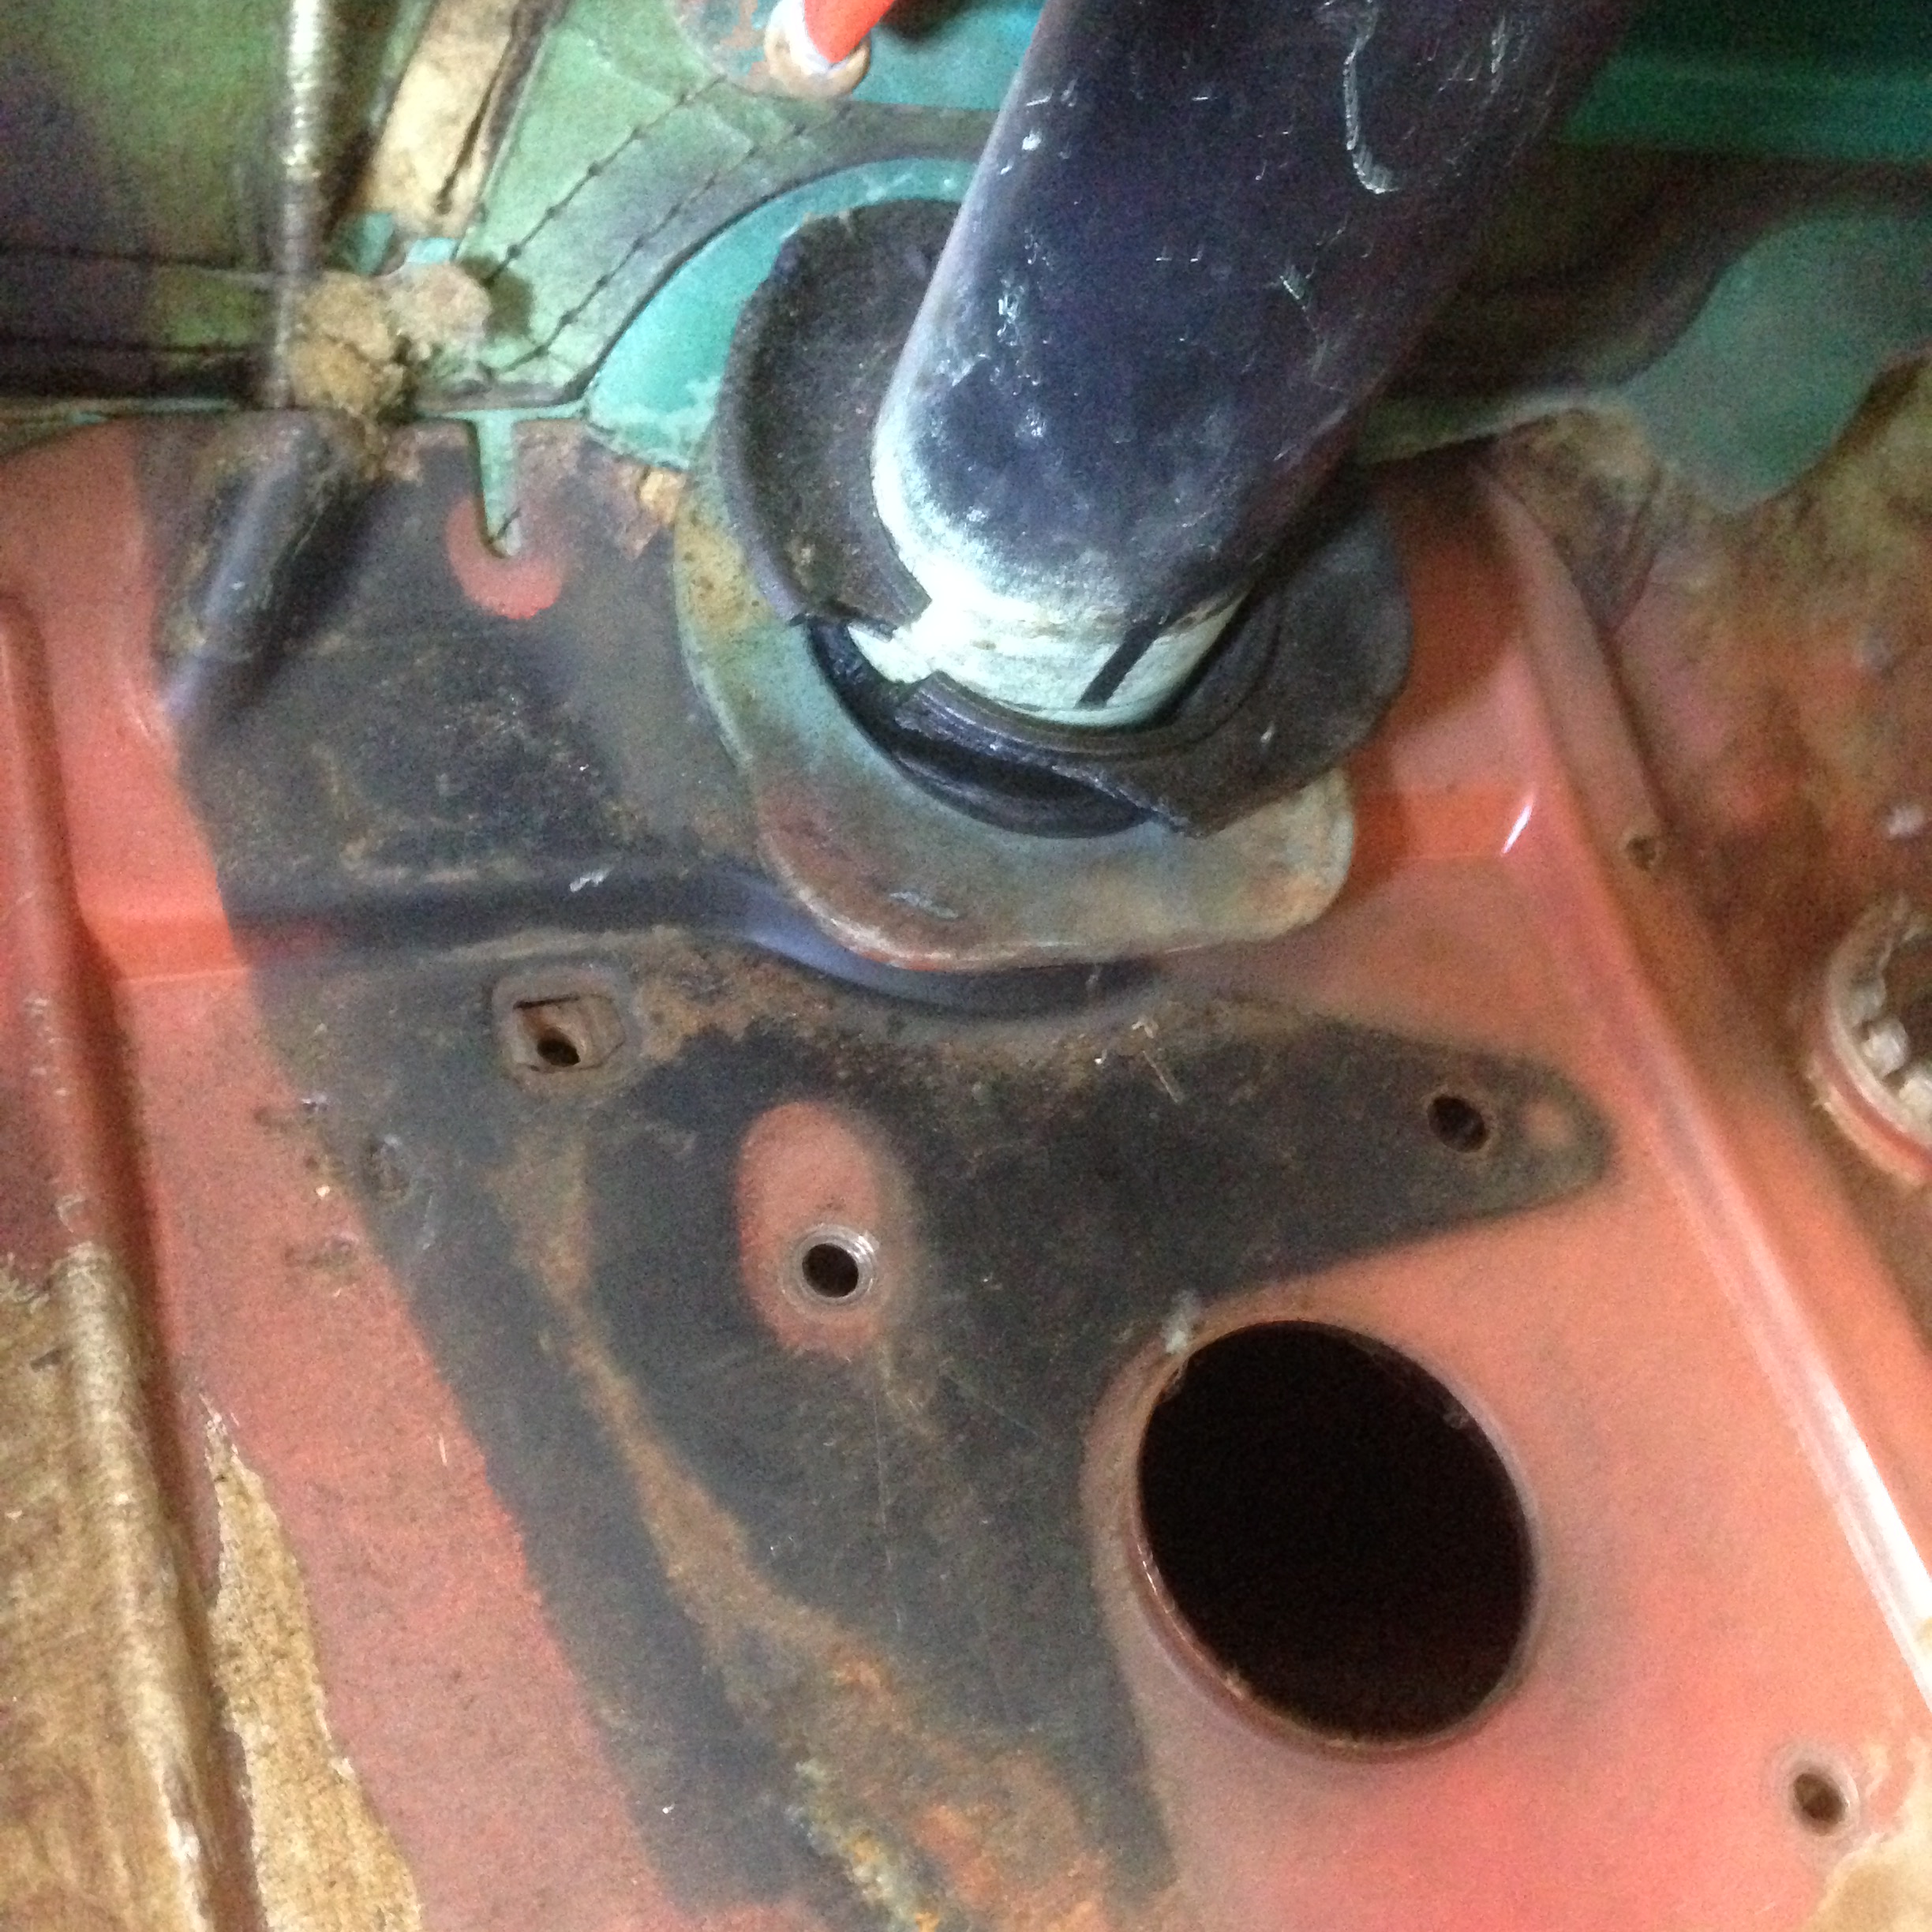
make many parts. On all of my 1957's the steering column grommet/gasket that goes against the firewall
is either deteriorated or missing. On two cars, only the metal plate remains.

Creating a CAD Model
I removed the best grommet I had and hot glued the pieces back together.
I used a 3D scanner to create polygonal models of the grommet and the steering column.
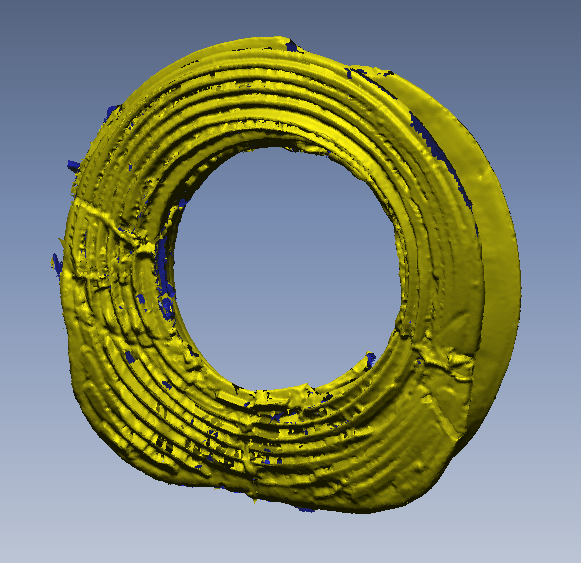

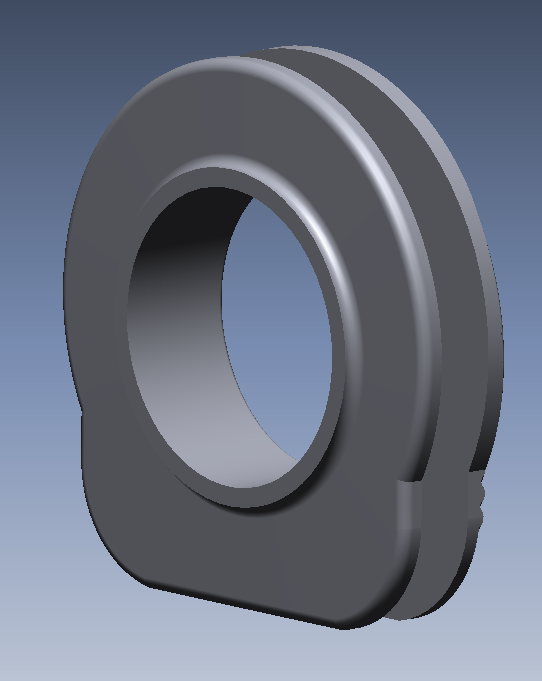
Using calipers and trying to understand the design intent, I created a CAD model.
I would be nice to have a mint condition grommet to check it against, but I don't have one.
I called Clay Tober (57 Olds expert at the OCA) and his grommets are ratty too.
3D Printing the Part
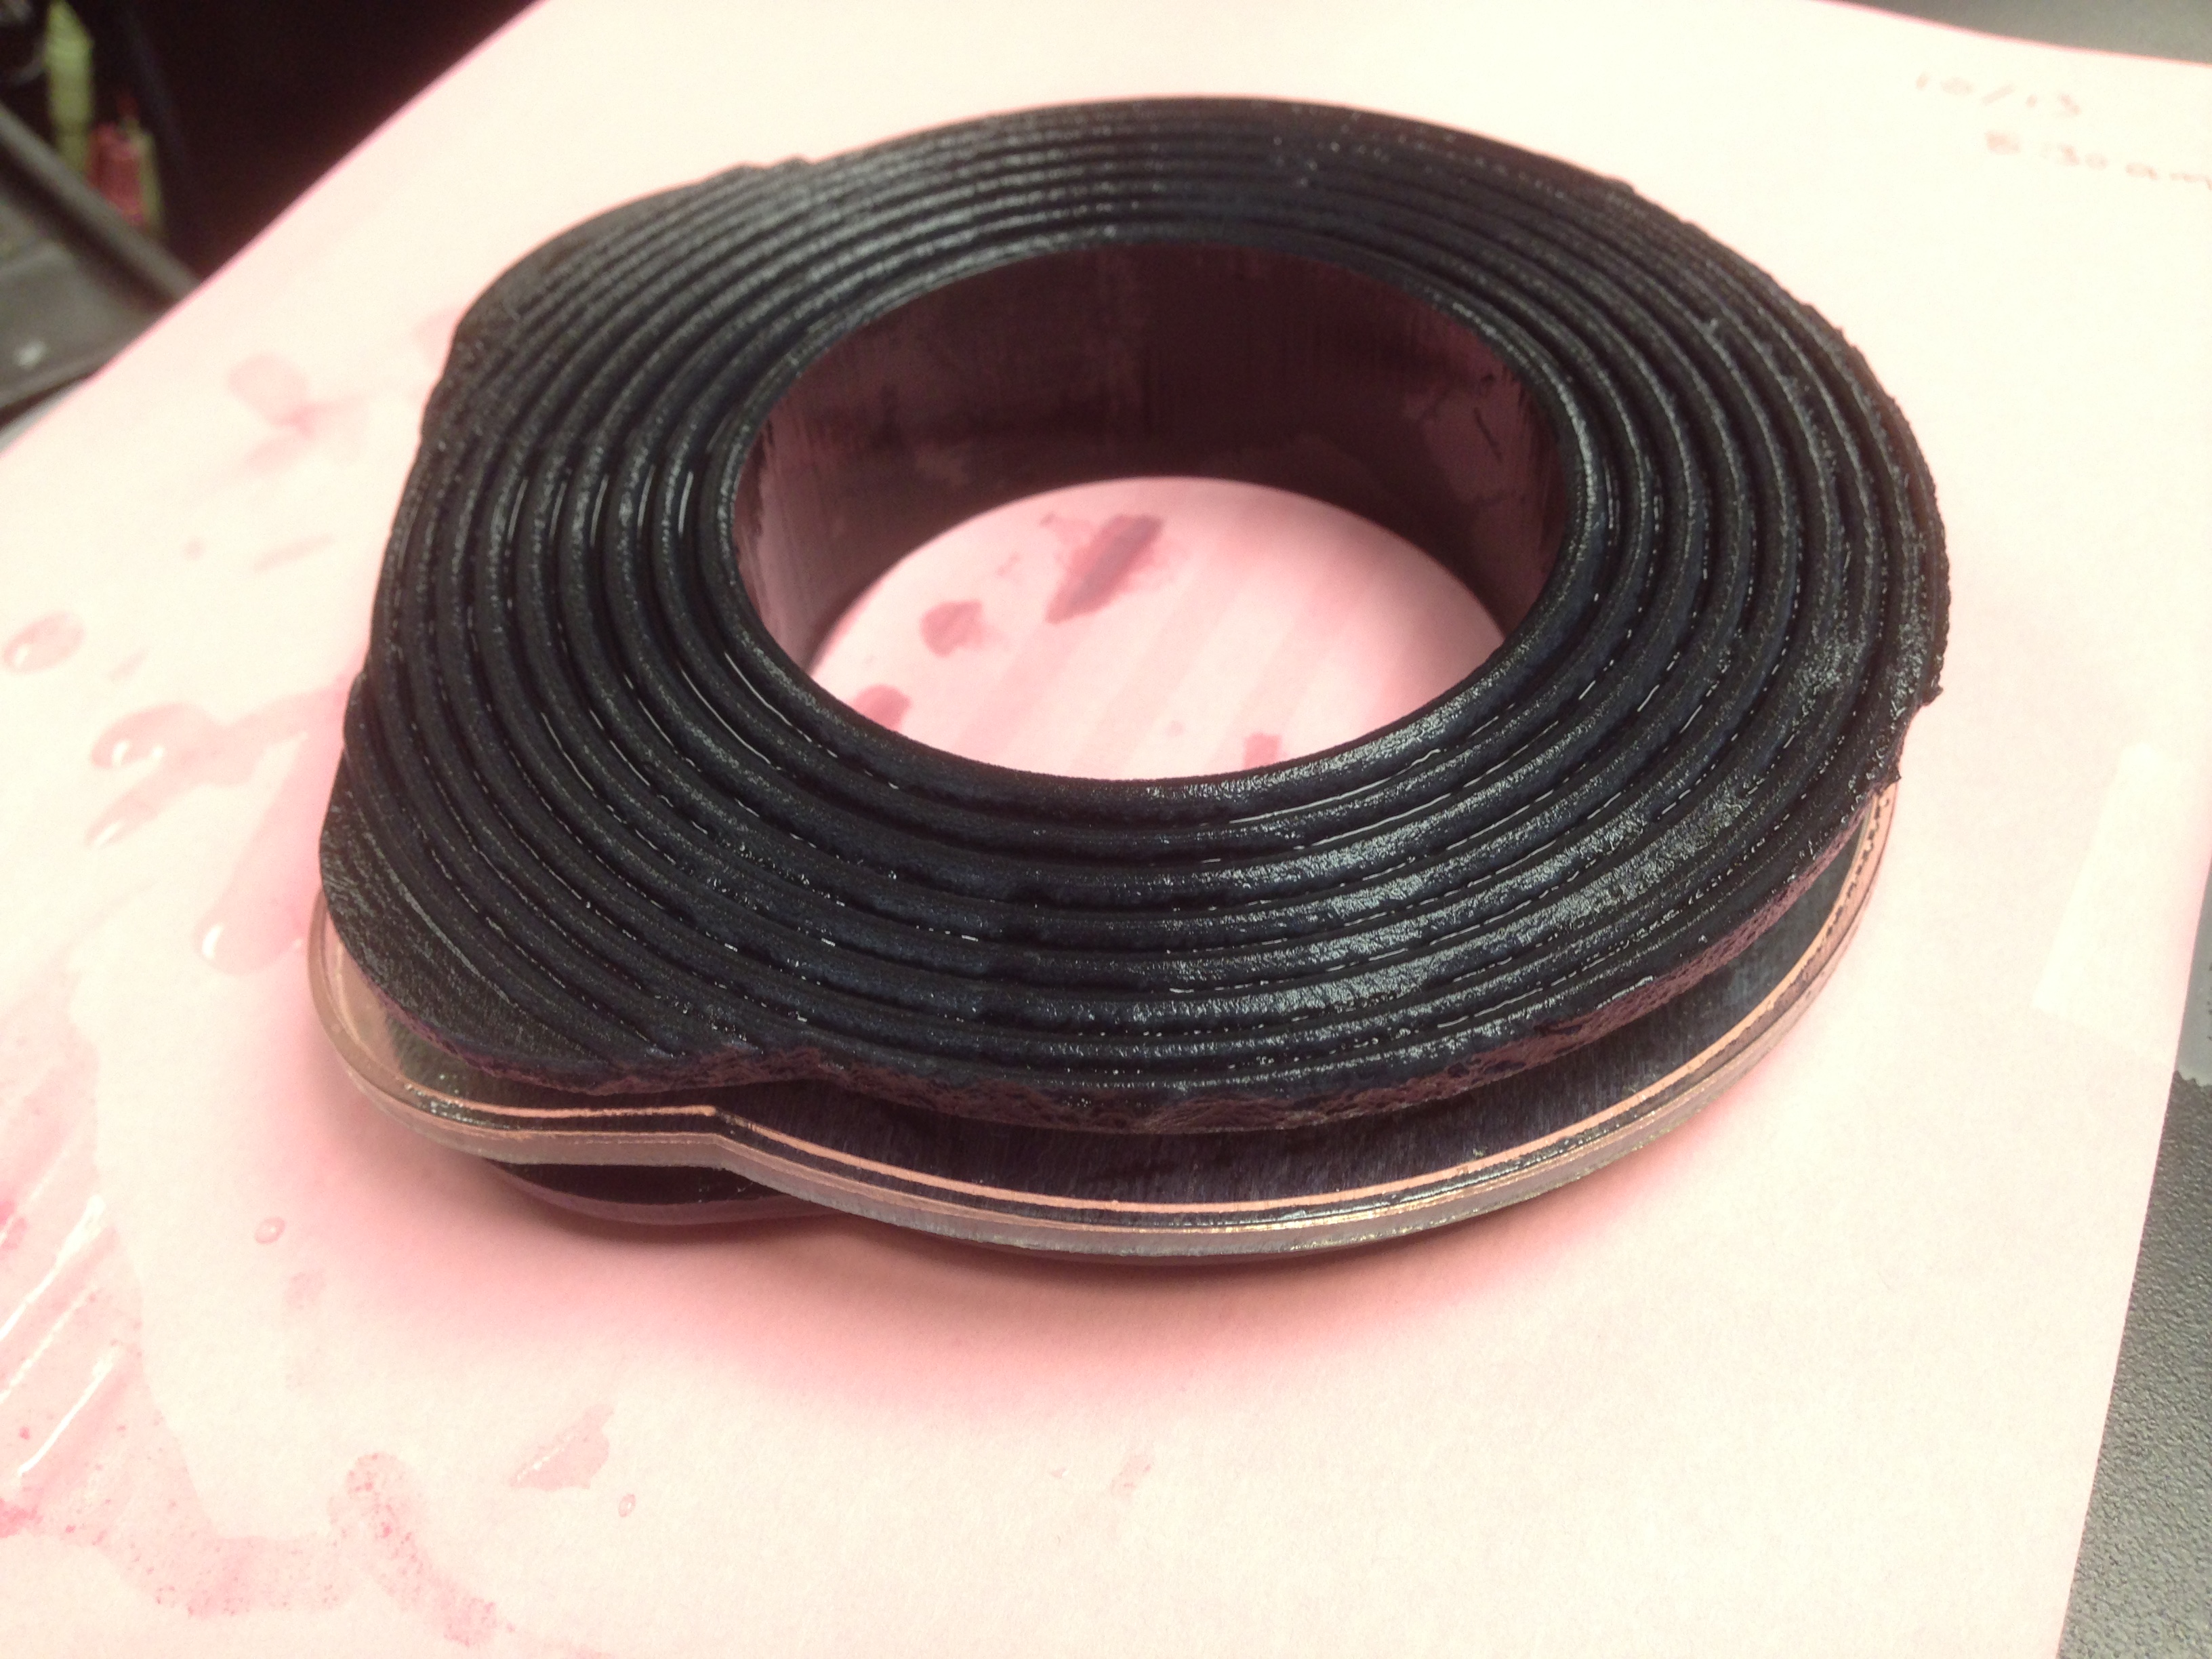
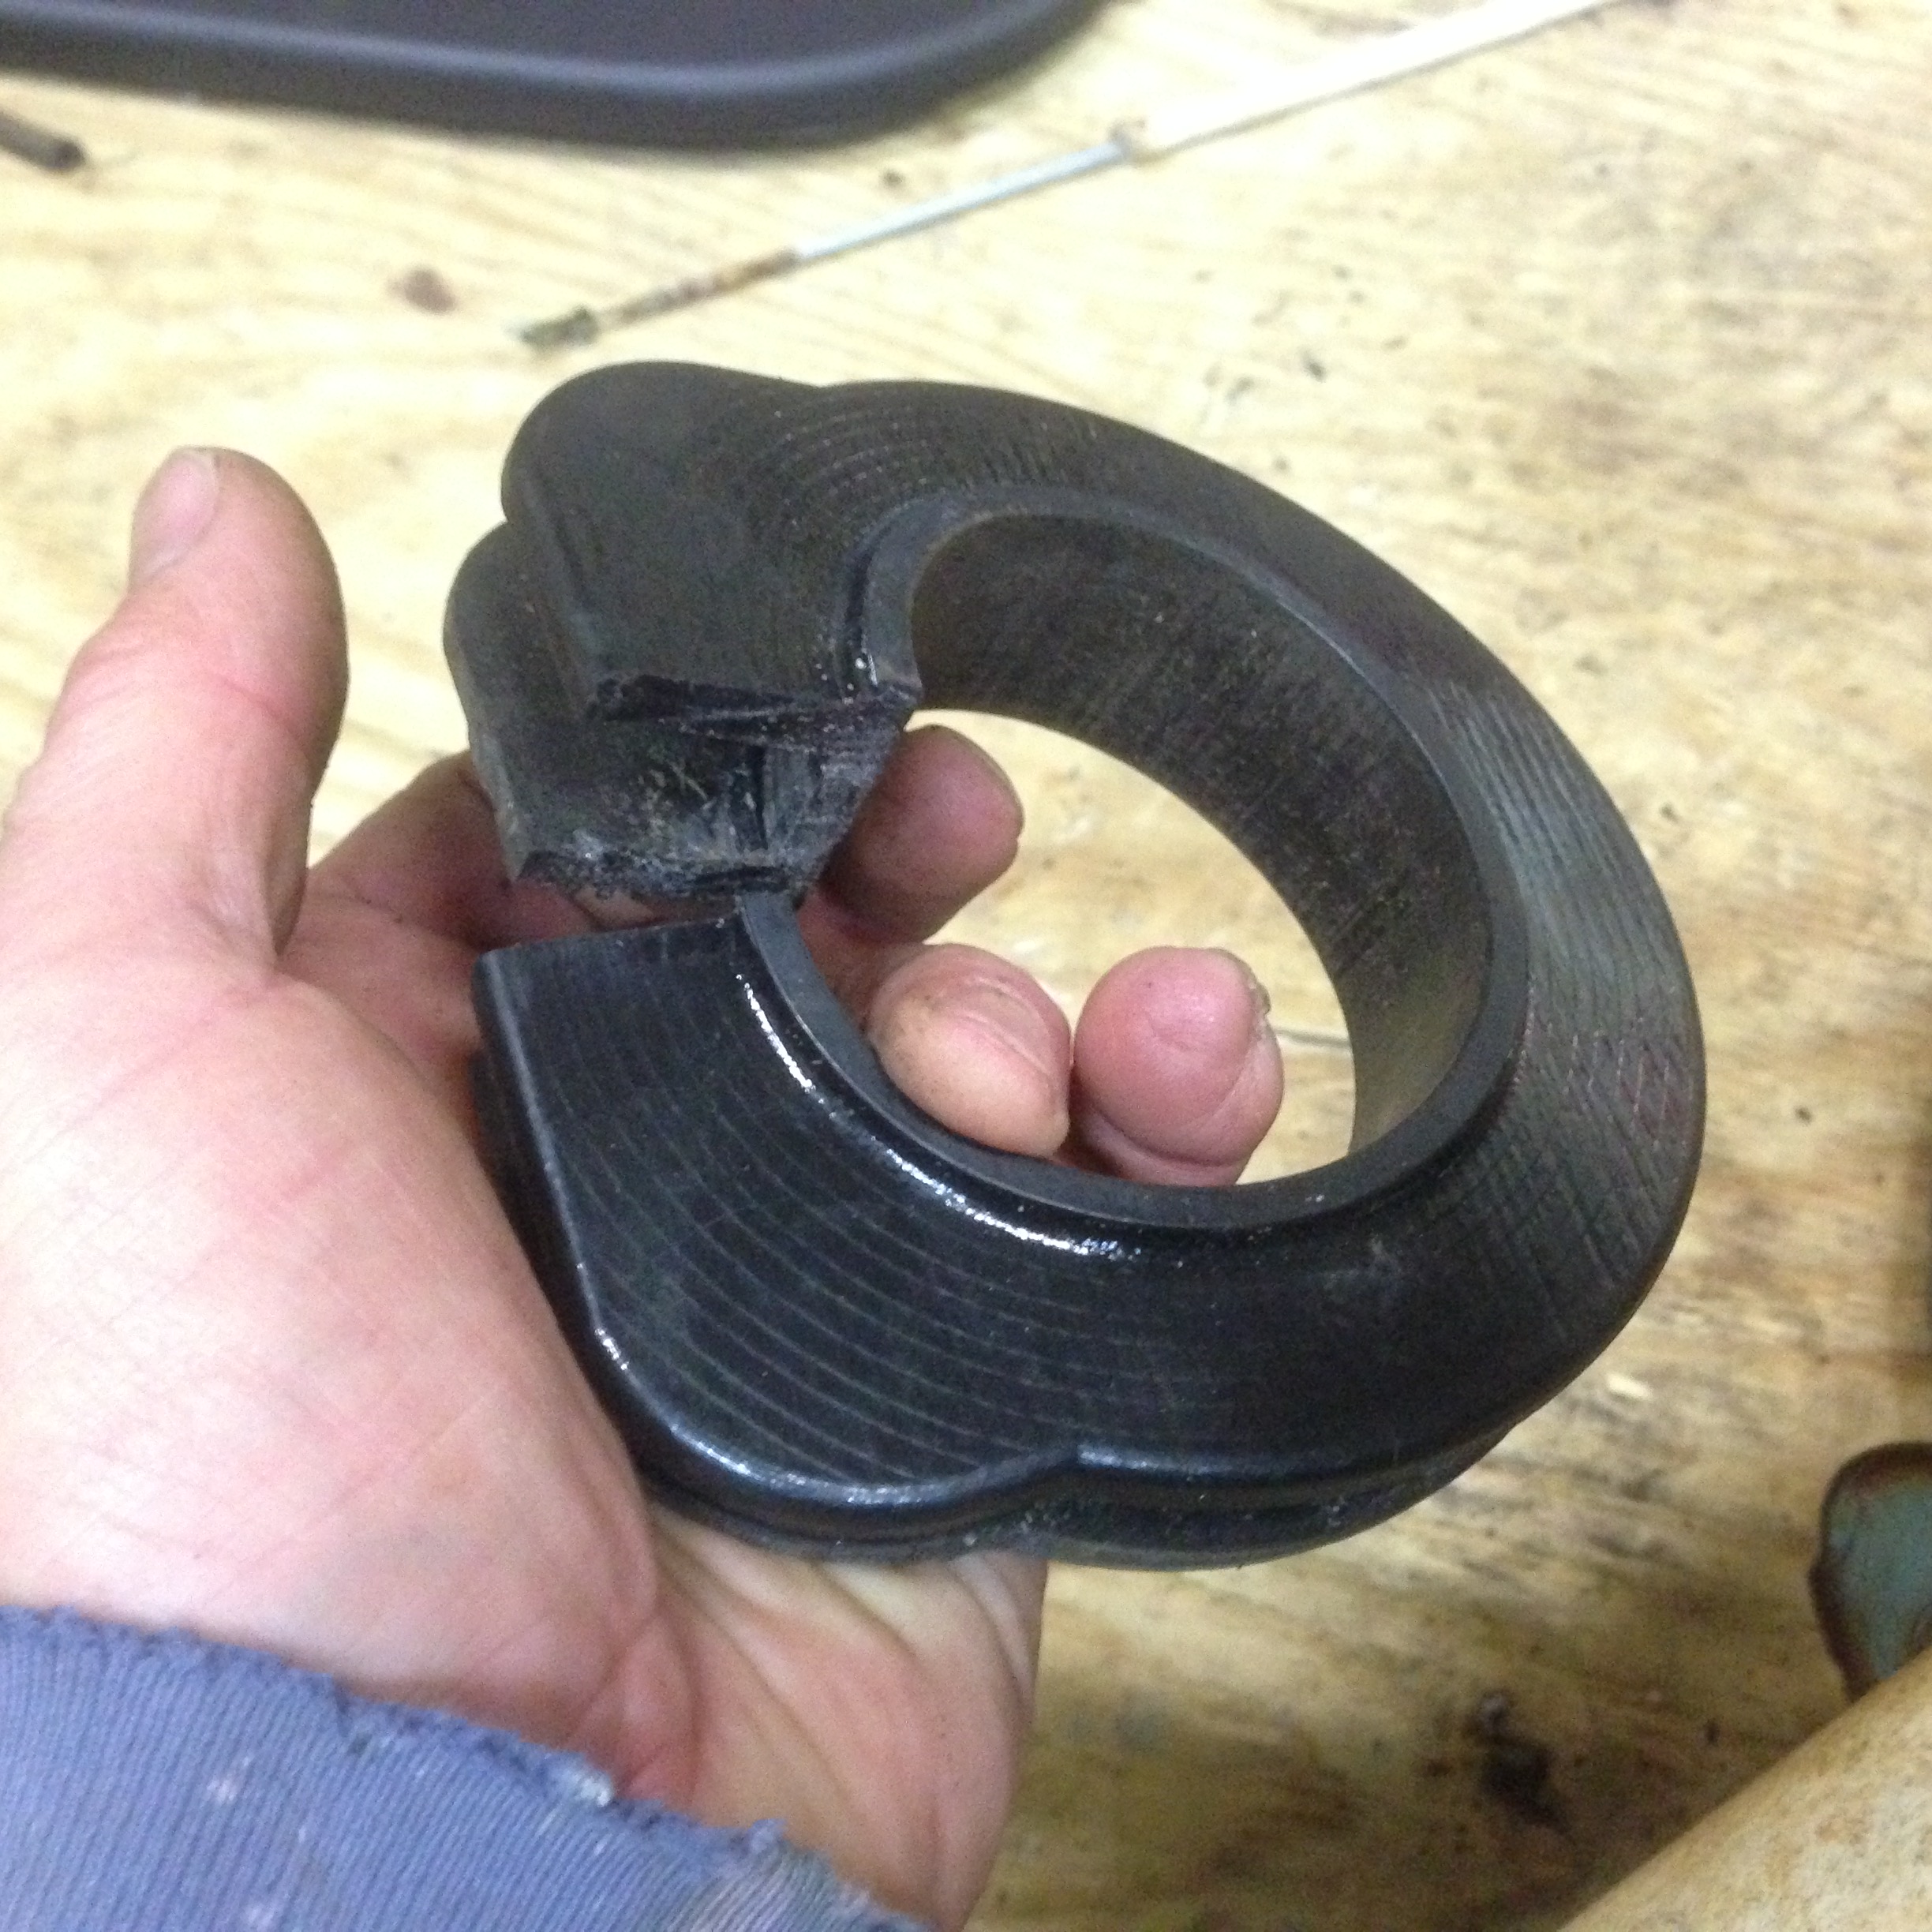
3D printers can now print flexible materials. I prototyped printed the grommet to see if
it would fit and be flexible enough to insert inside the metal plate.
It is a lot of work taking the steering column out and apart. I tried cutting the grommet at the
bottom. This allows you to slip it thru the metal plate while it is still on the steering column.
Casting the Part
3D printing is currently too expensive to manufacture rubber parts in volume.
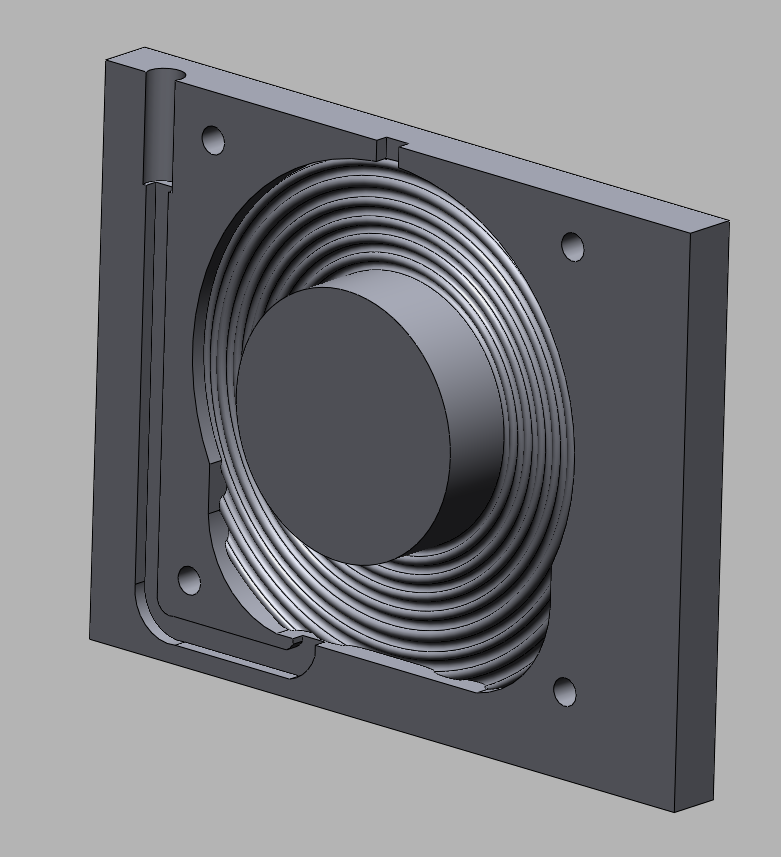
The next step is to create a 4 part hard mold and to mold parts with a
60 shore A polyurethane elastomer.
CAD Model of Mold
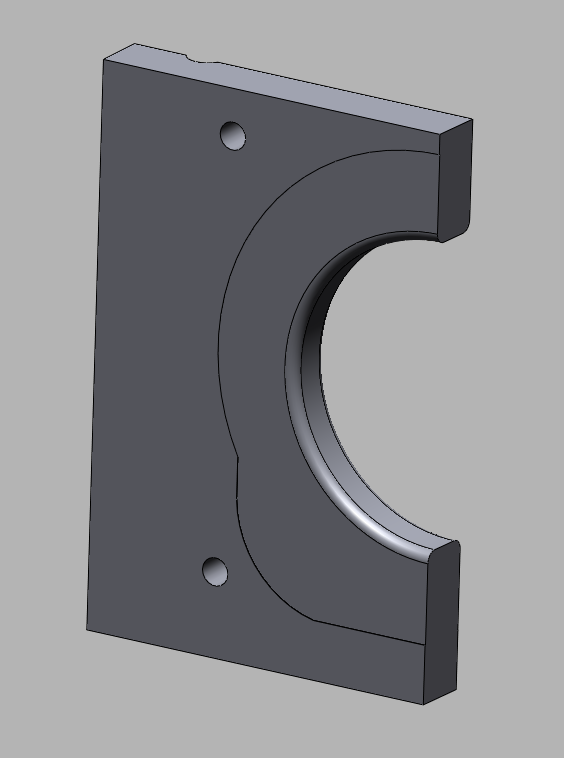
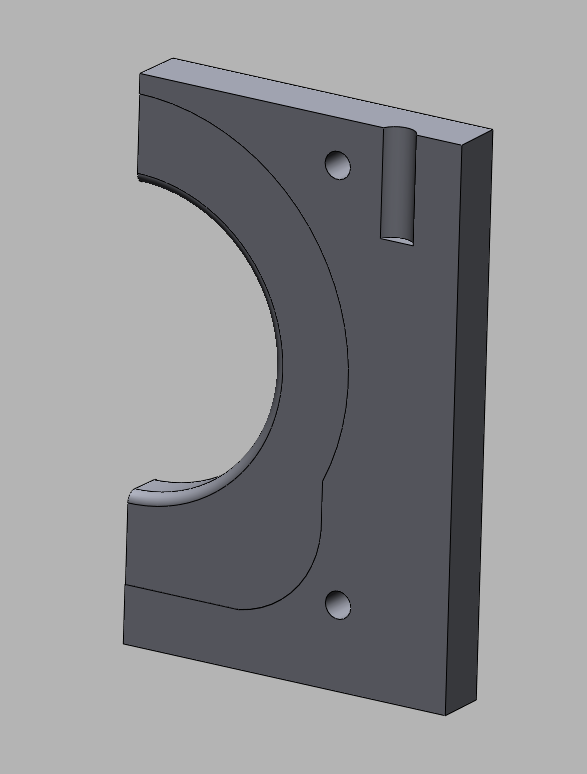

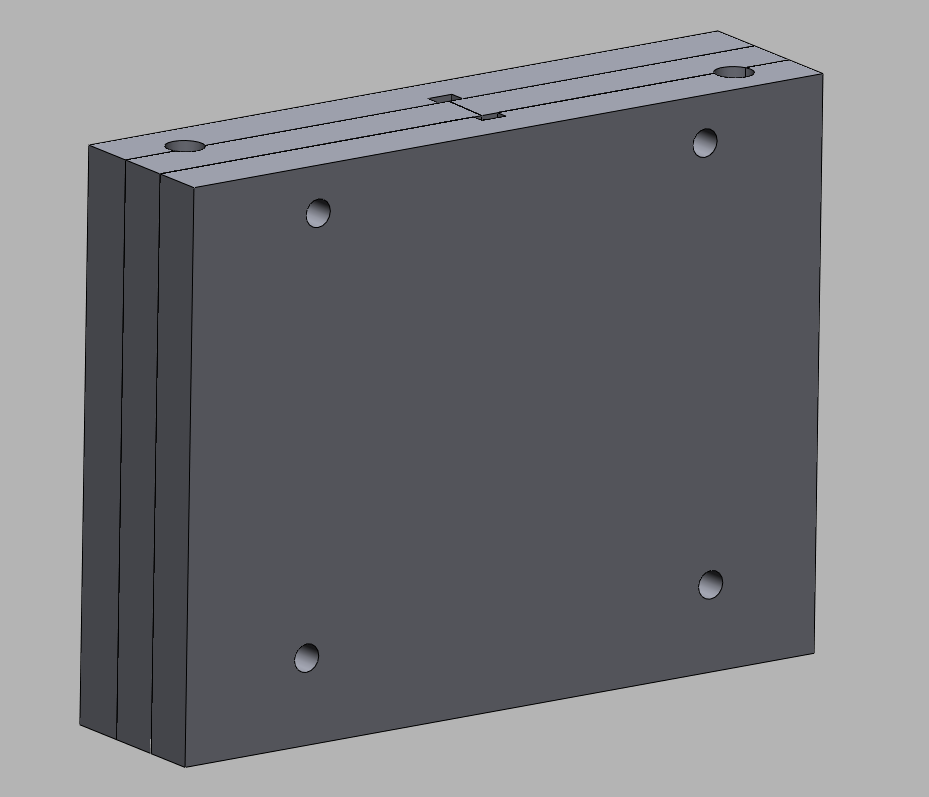
3D Printed Mold Pieces
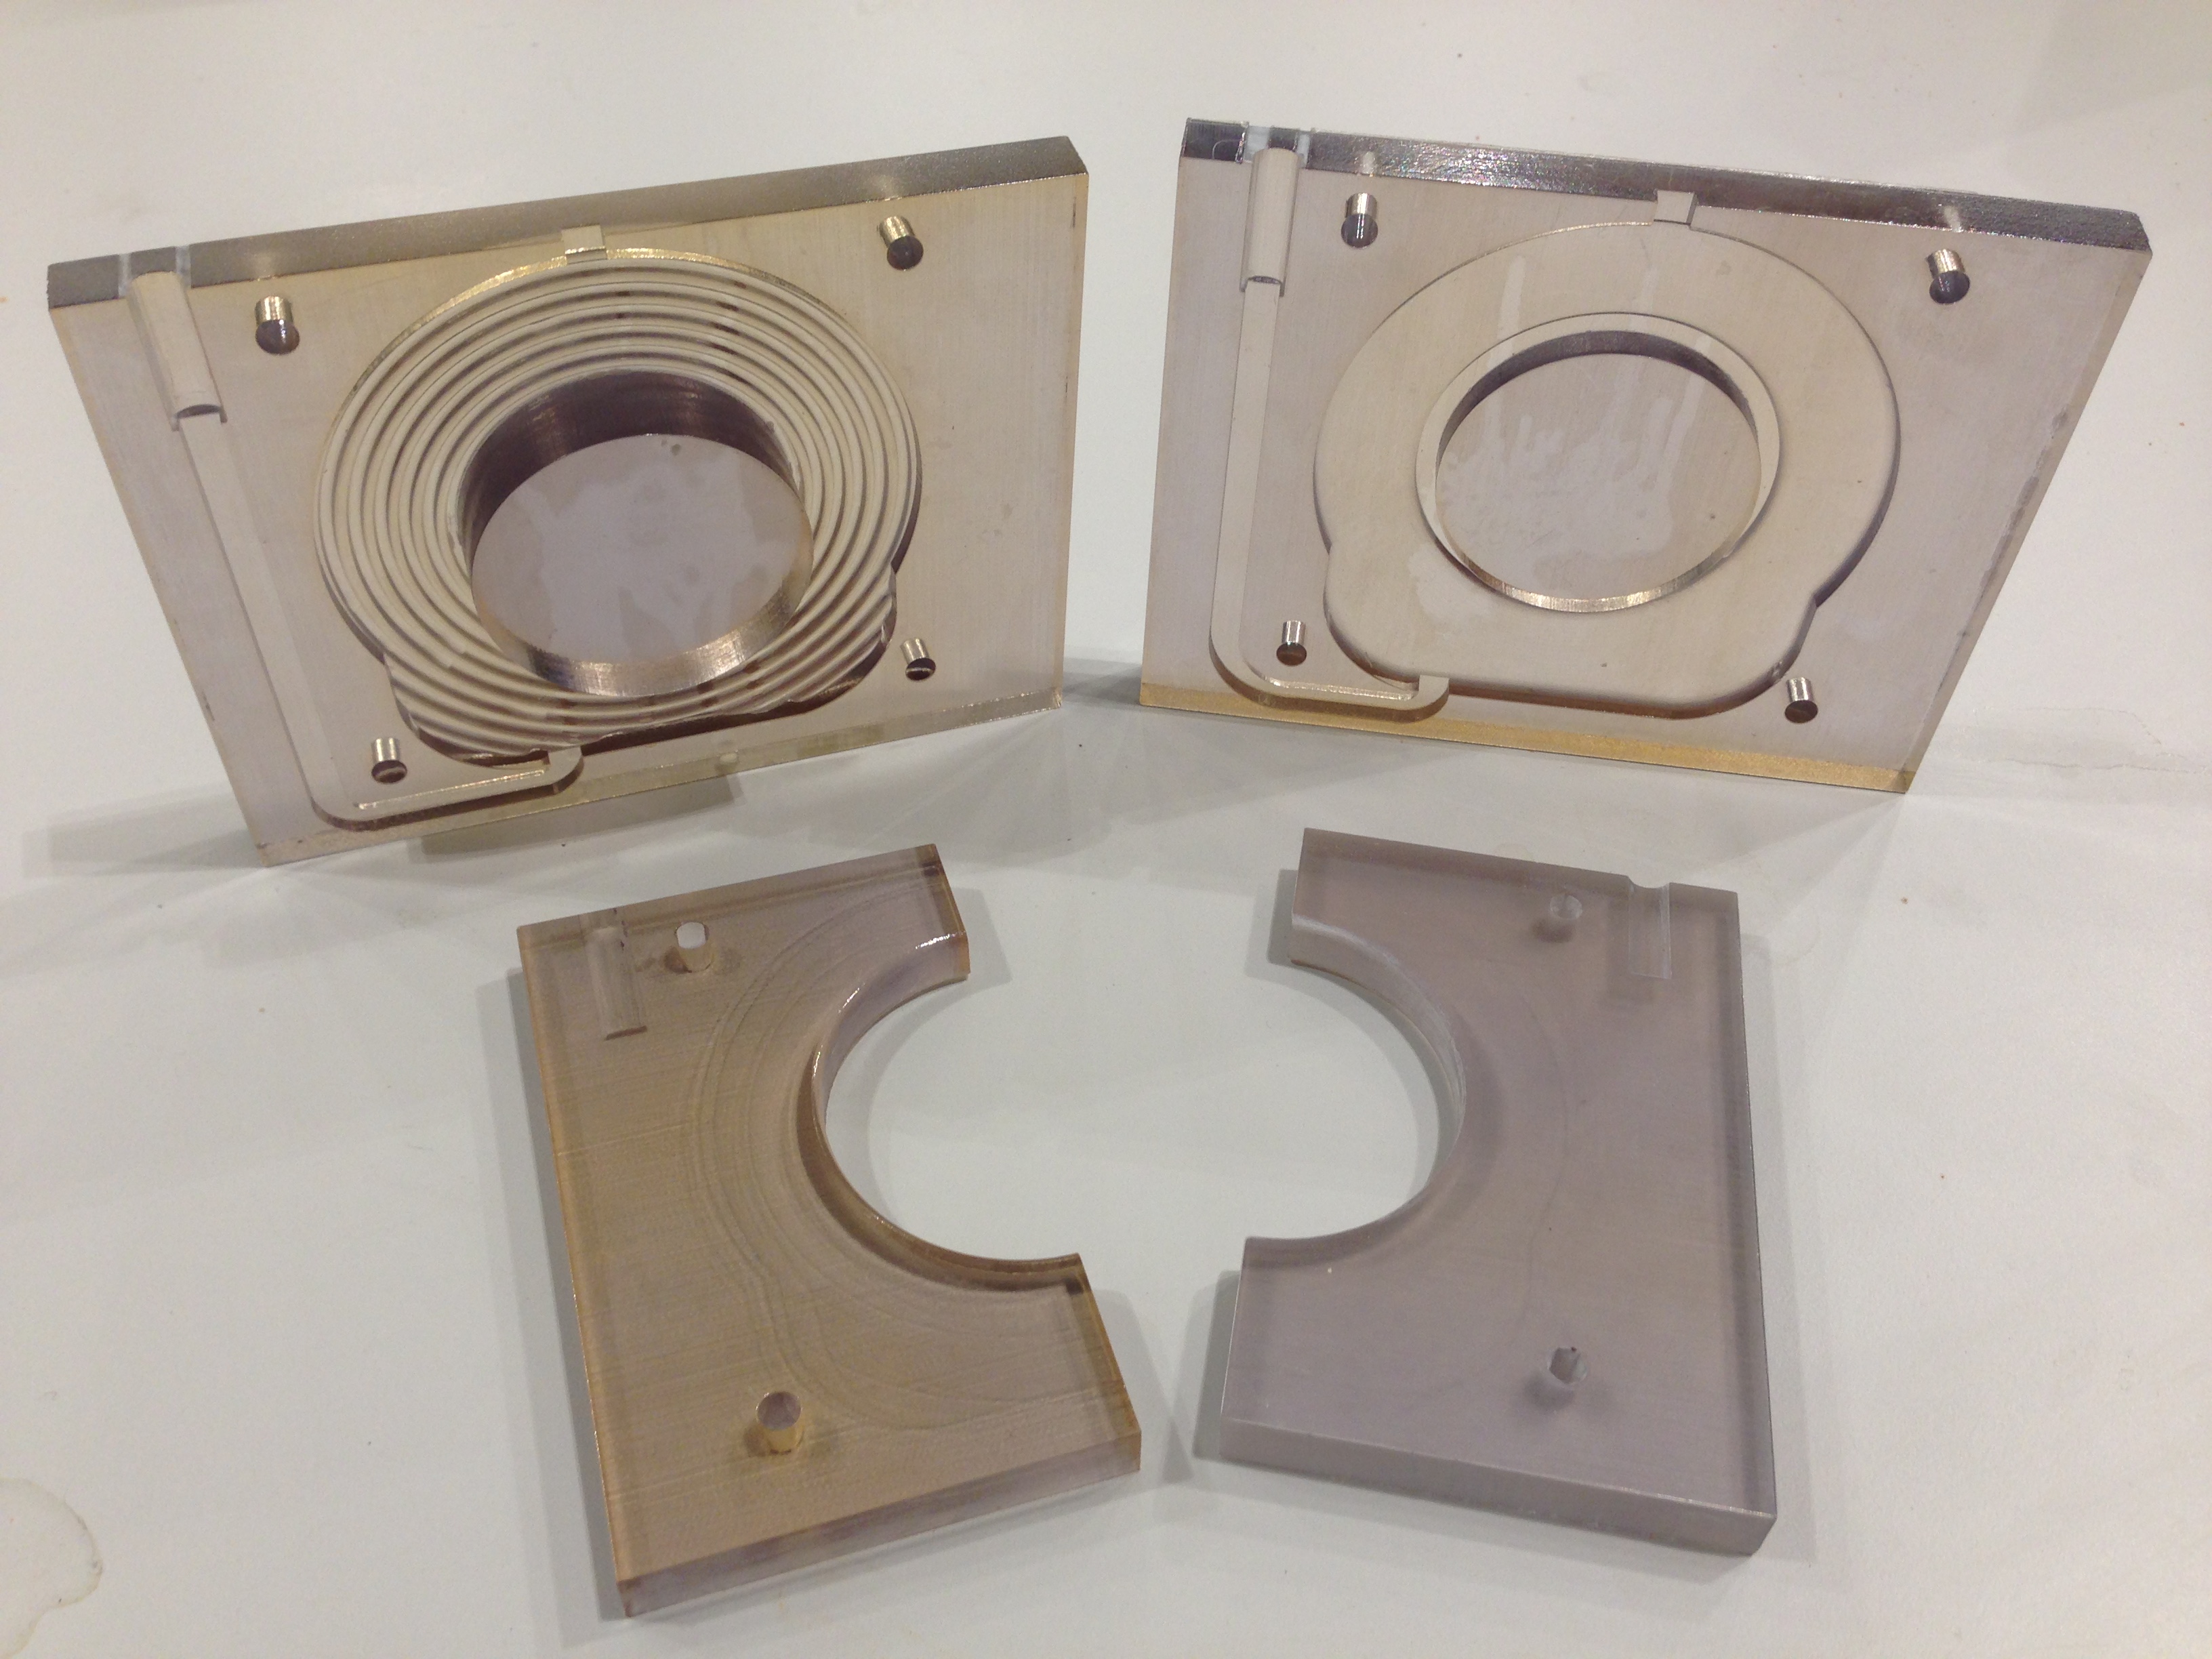
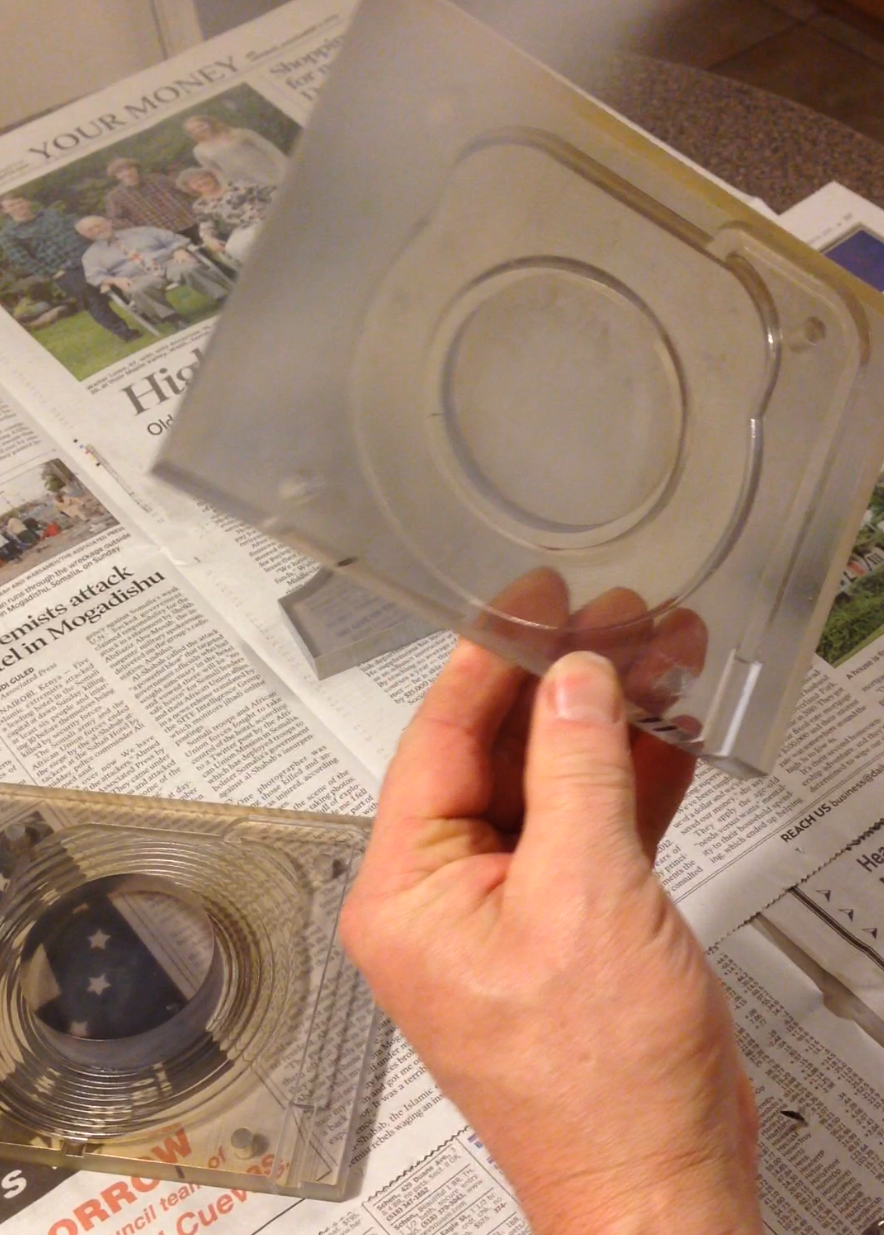
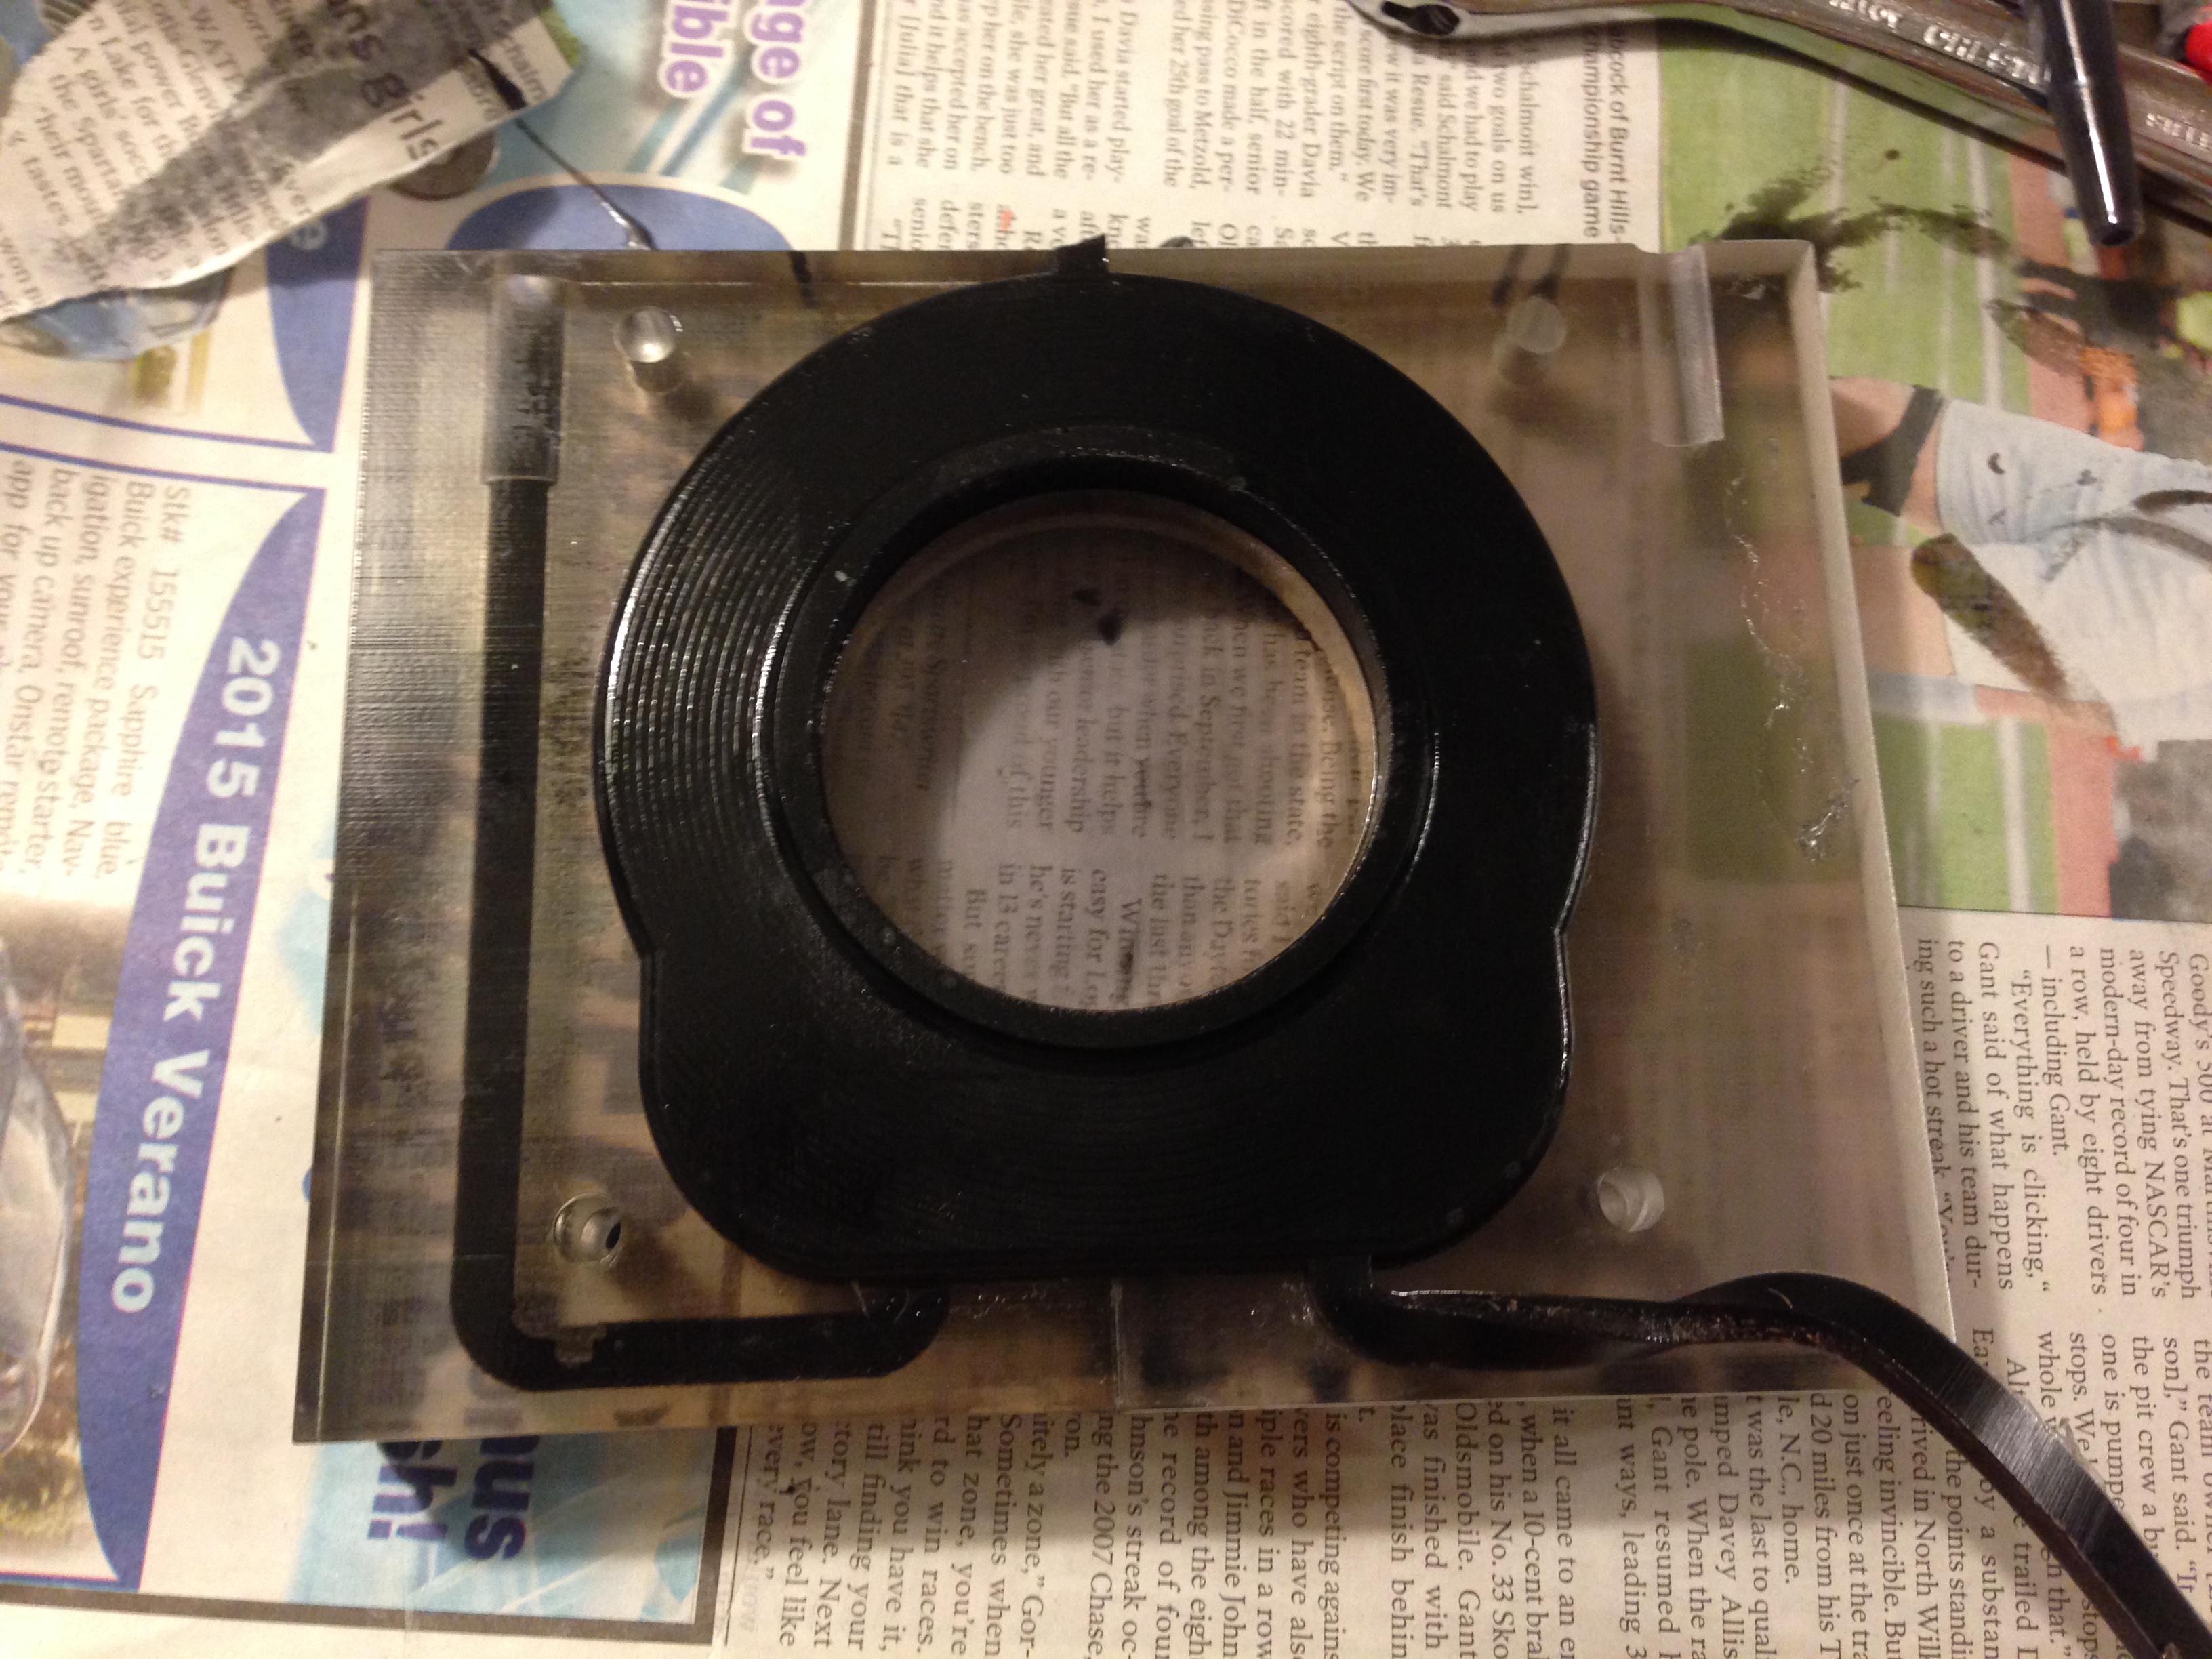
I printed the mold out of hard transparent material so I could see that the mold
is filled correctly.
Spraying Release Agent and assembling Mold
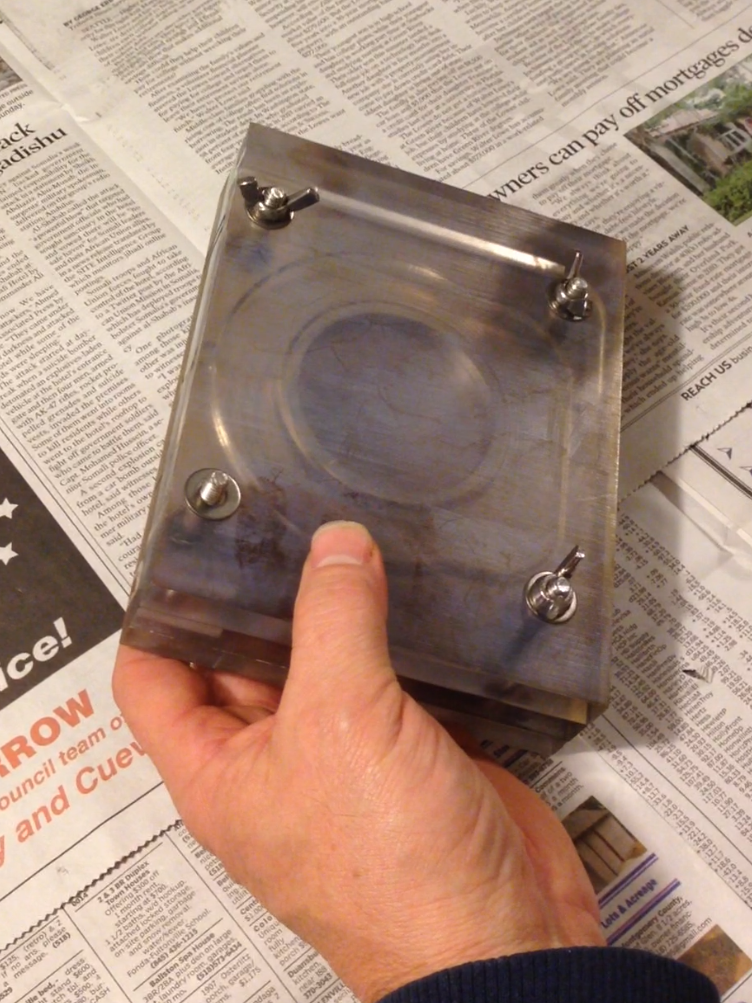
I sprayed the four pieces of the mold with
Stoner Urethane Mold Release.
I then assembled and bolted the mold together.
Preparing Polyurethane
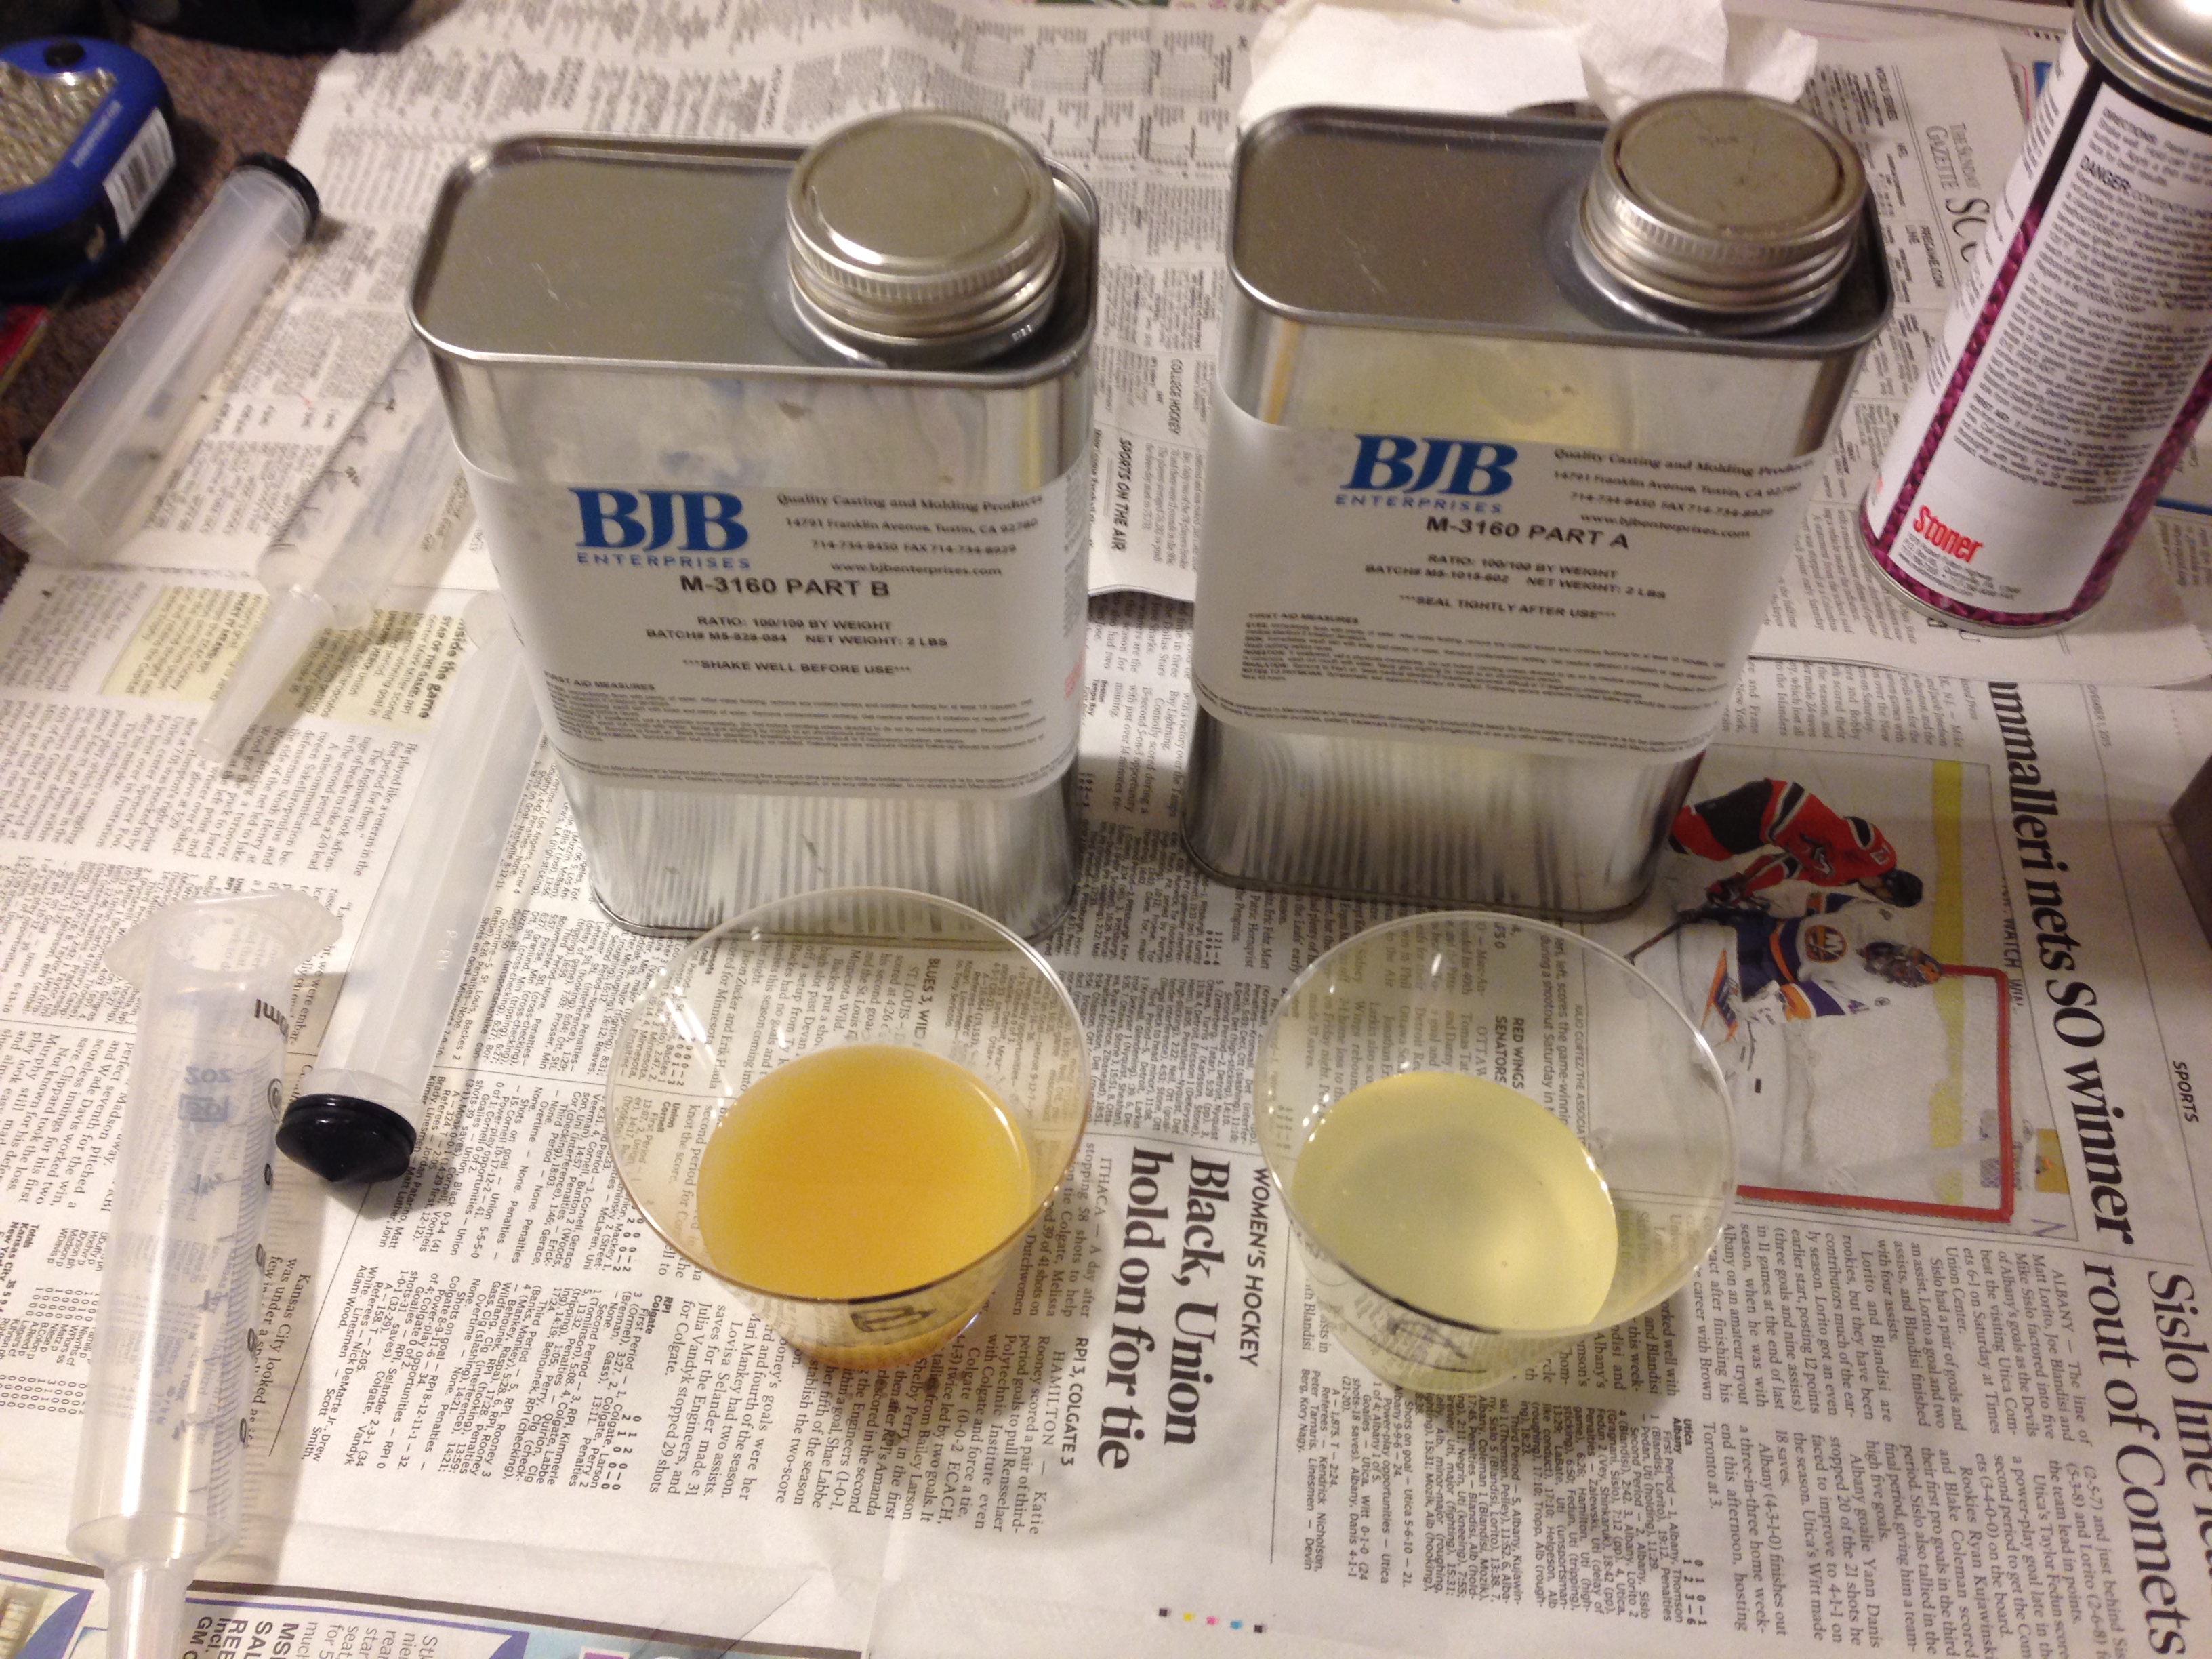
M-3160 A/B is a two part system with an easy 1:1 ratio. I estimated the amount of material I would need
and marked two plastic glasses. After filling the cups to the mark, I added a small
about of
black pigment
to the B cup. I slowly mixed the pigment in trying to avoid making air bubbles.
I then pour the B component into the A component and slowly mixed. I filled
two
BD 60mL syringes
to inject the material into the mold and to act as a shrinkage reservoir.
Injecting the Mold
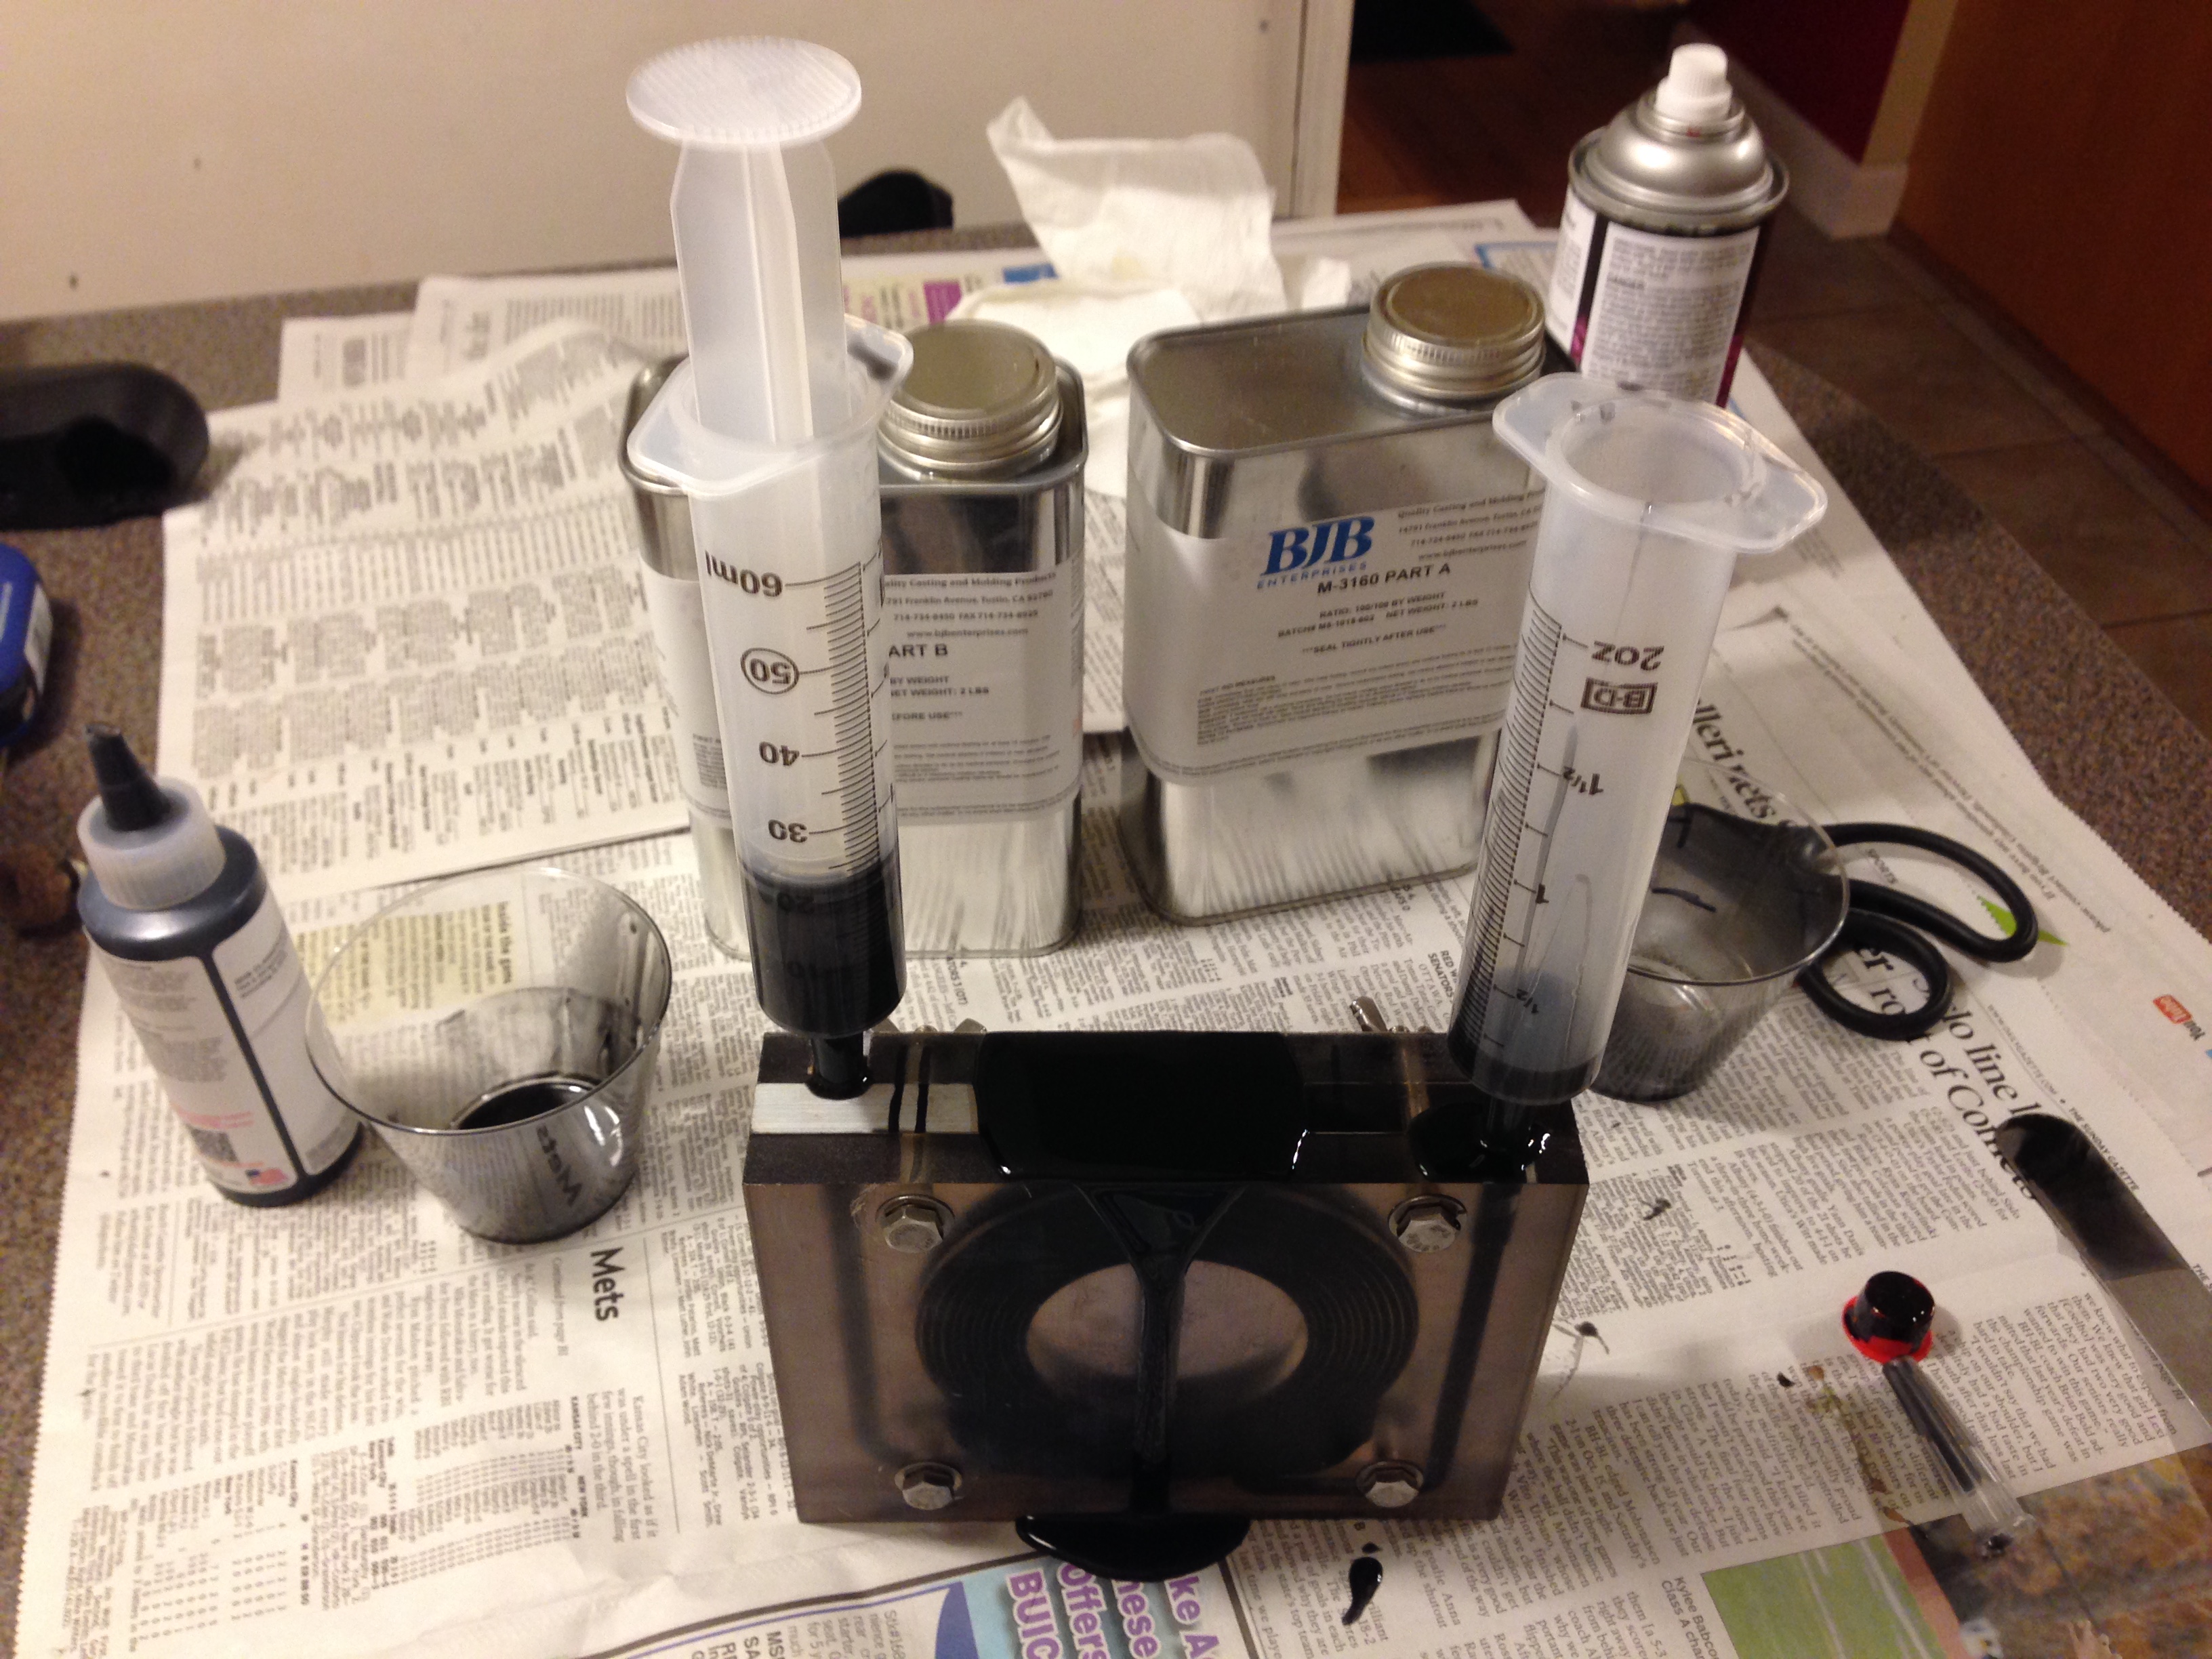
The two syringes were inserted into the mold fill holes. The material was slowly injected until
it emerged from the two air bleed holes. I left extra material in the syringes to apply pressure to
keep the mold full.
Releasing the Mold
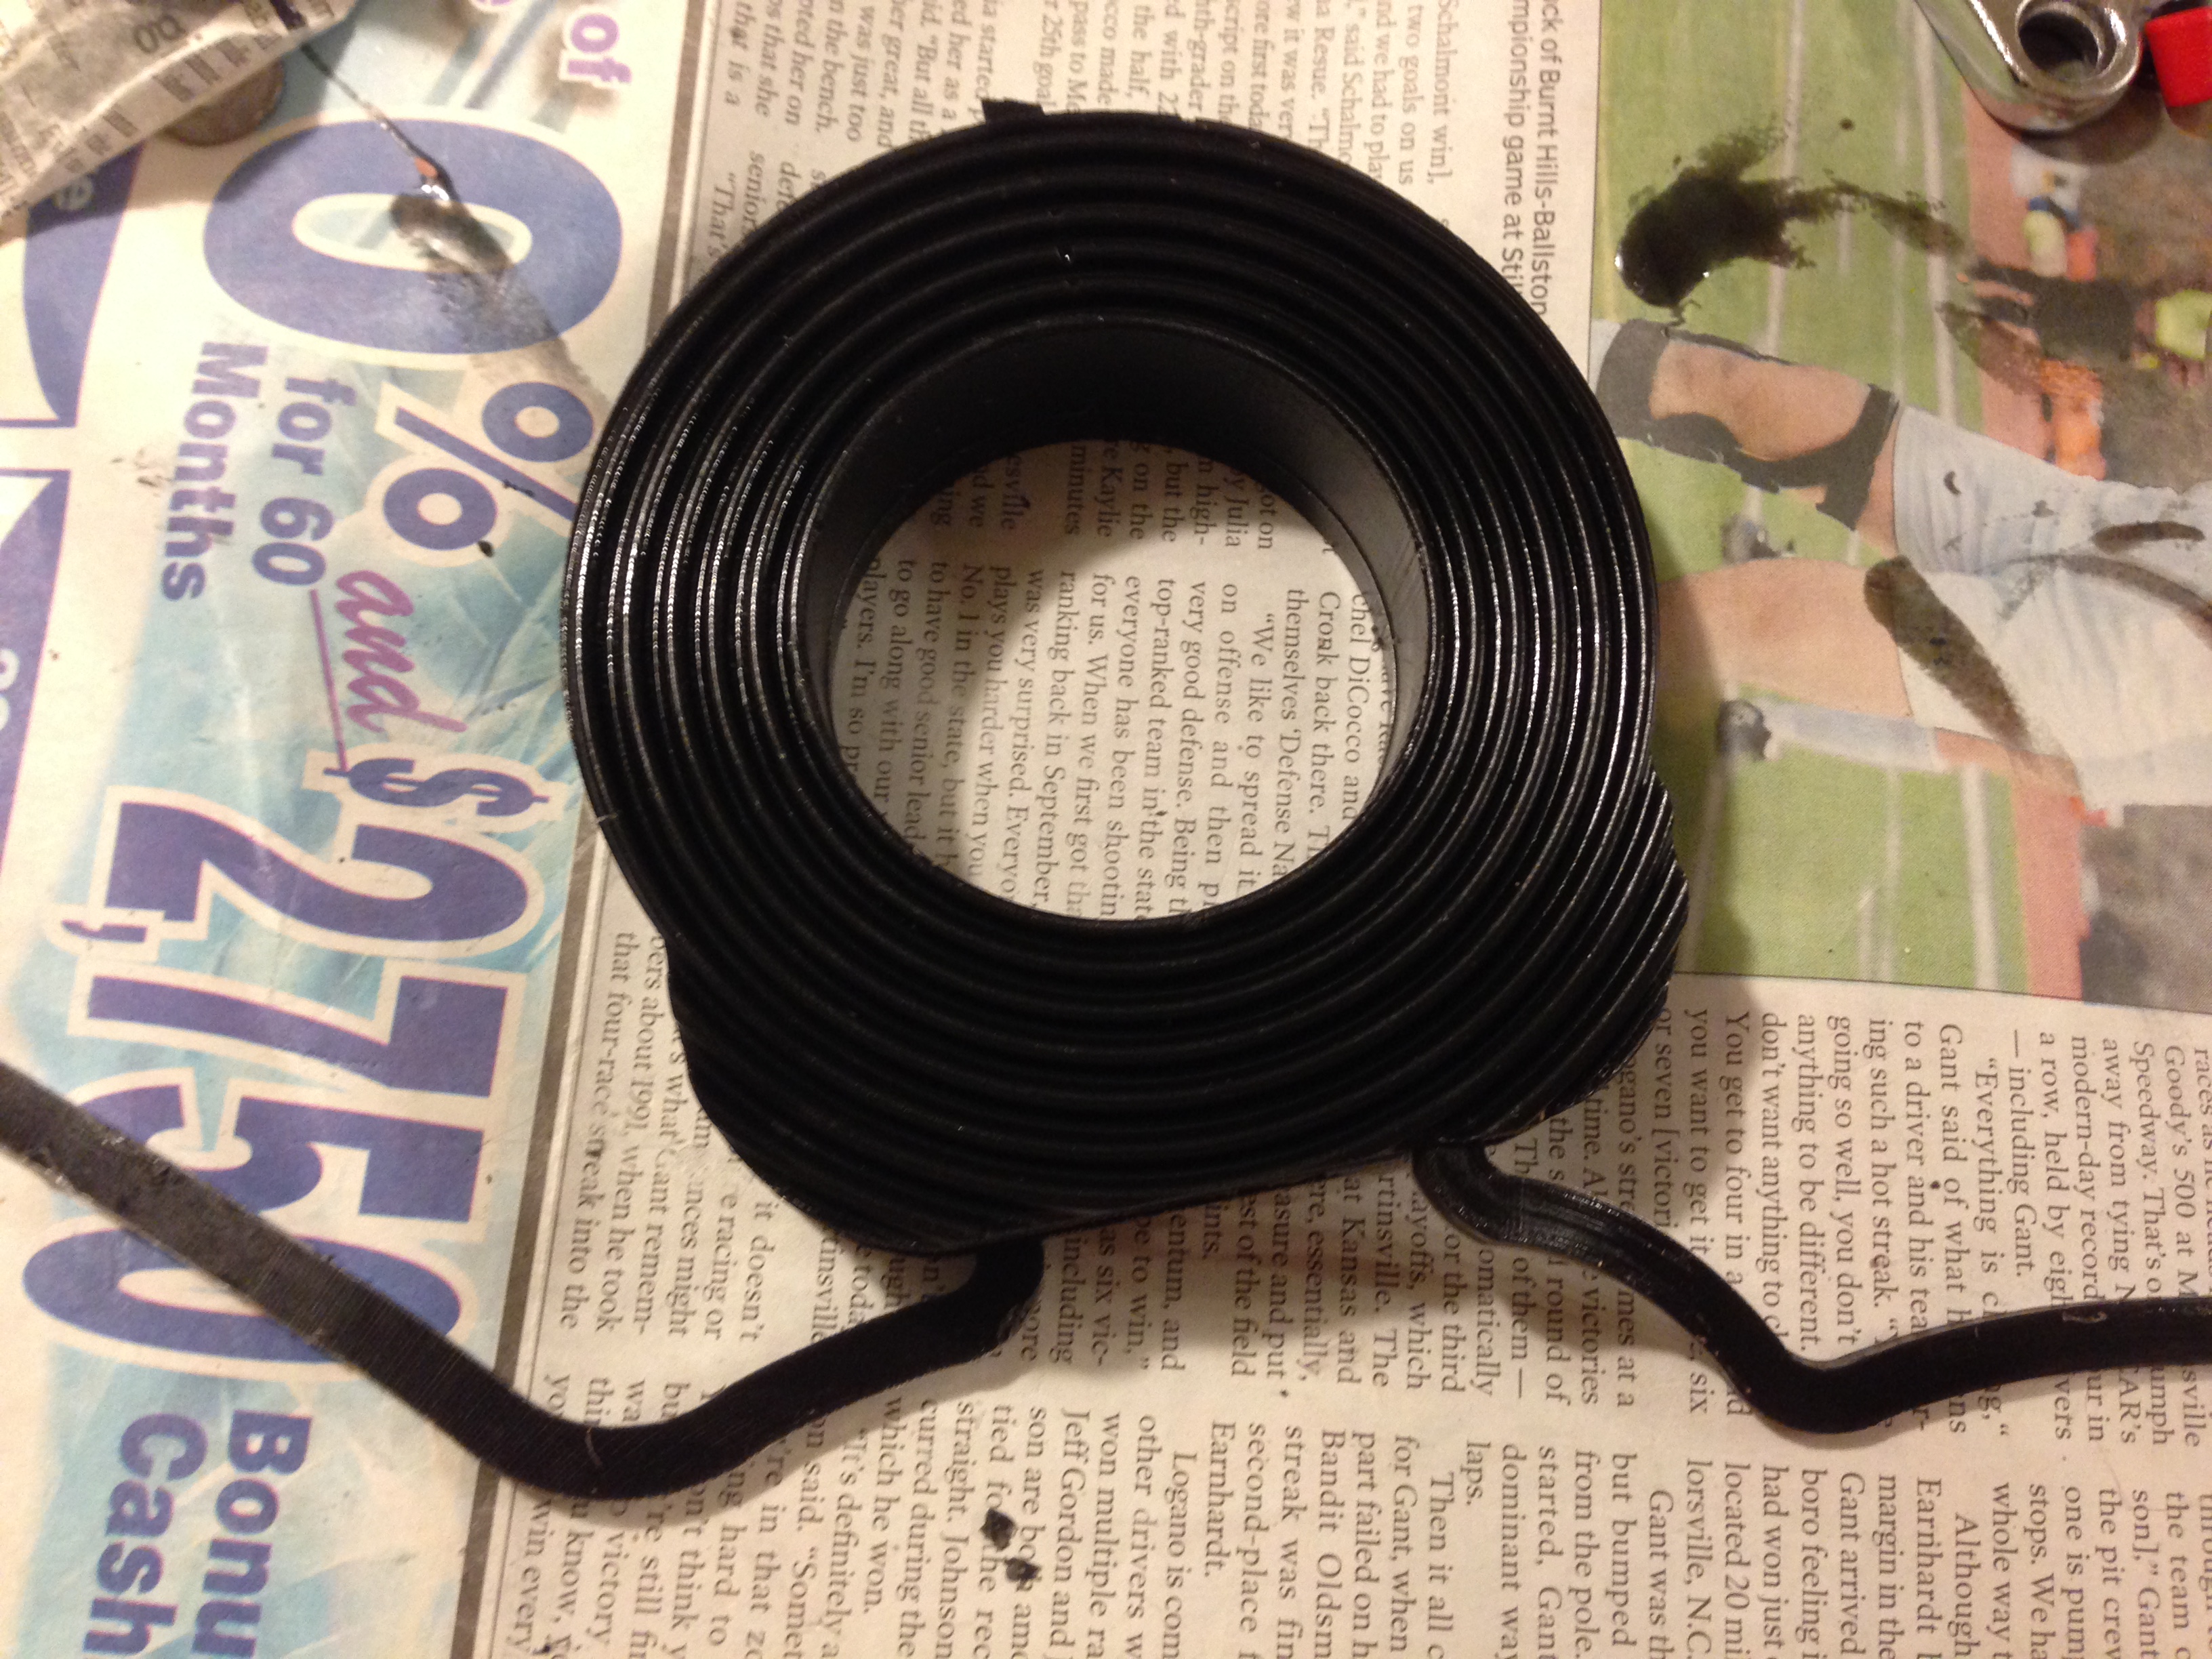
After waiting 6 hours, the mold was unbolted and carefully pulled apart.
The fill leds and the air vent excess material was cut off.
The instructions say the part can then be cure for 1-3 hours at 77F and then 16 hours at
160F to obtain the full physical properties.
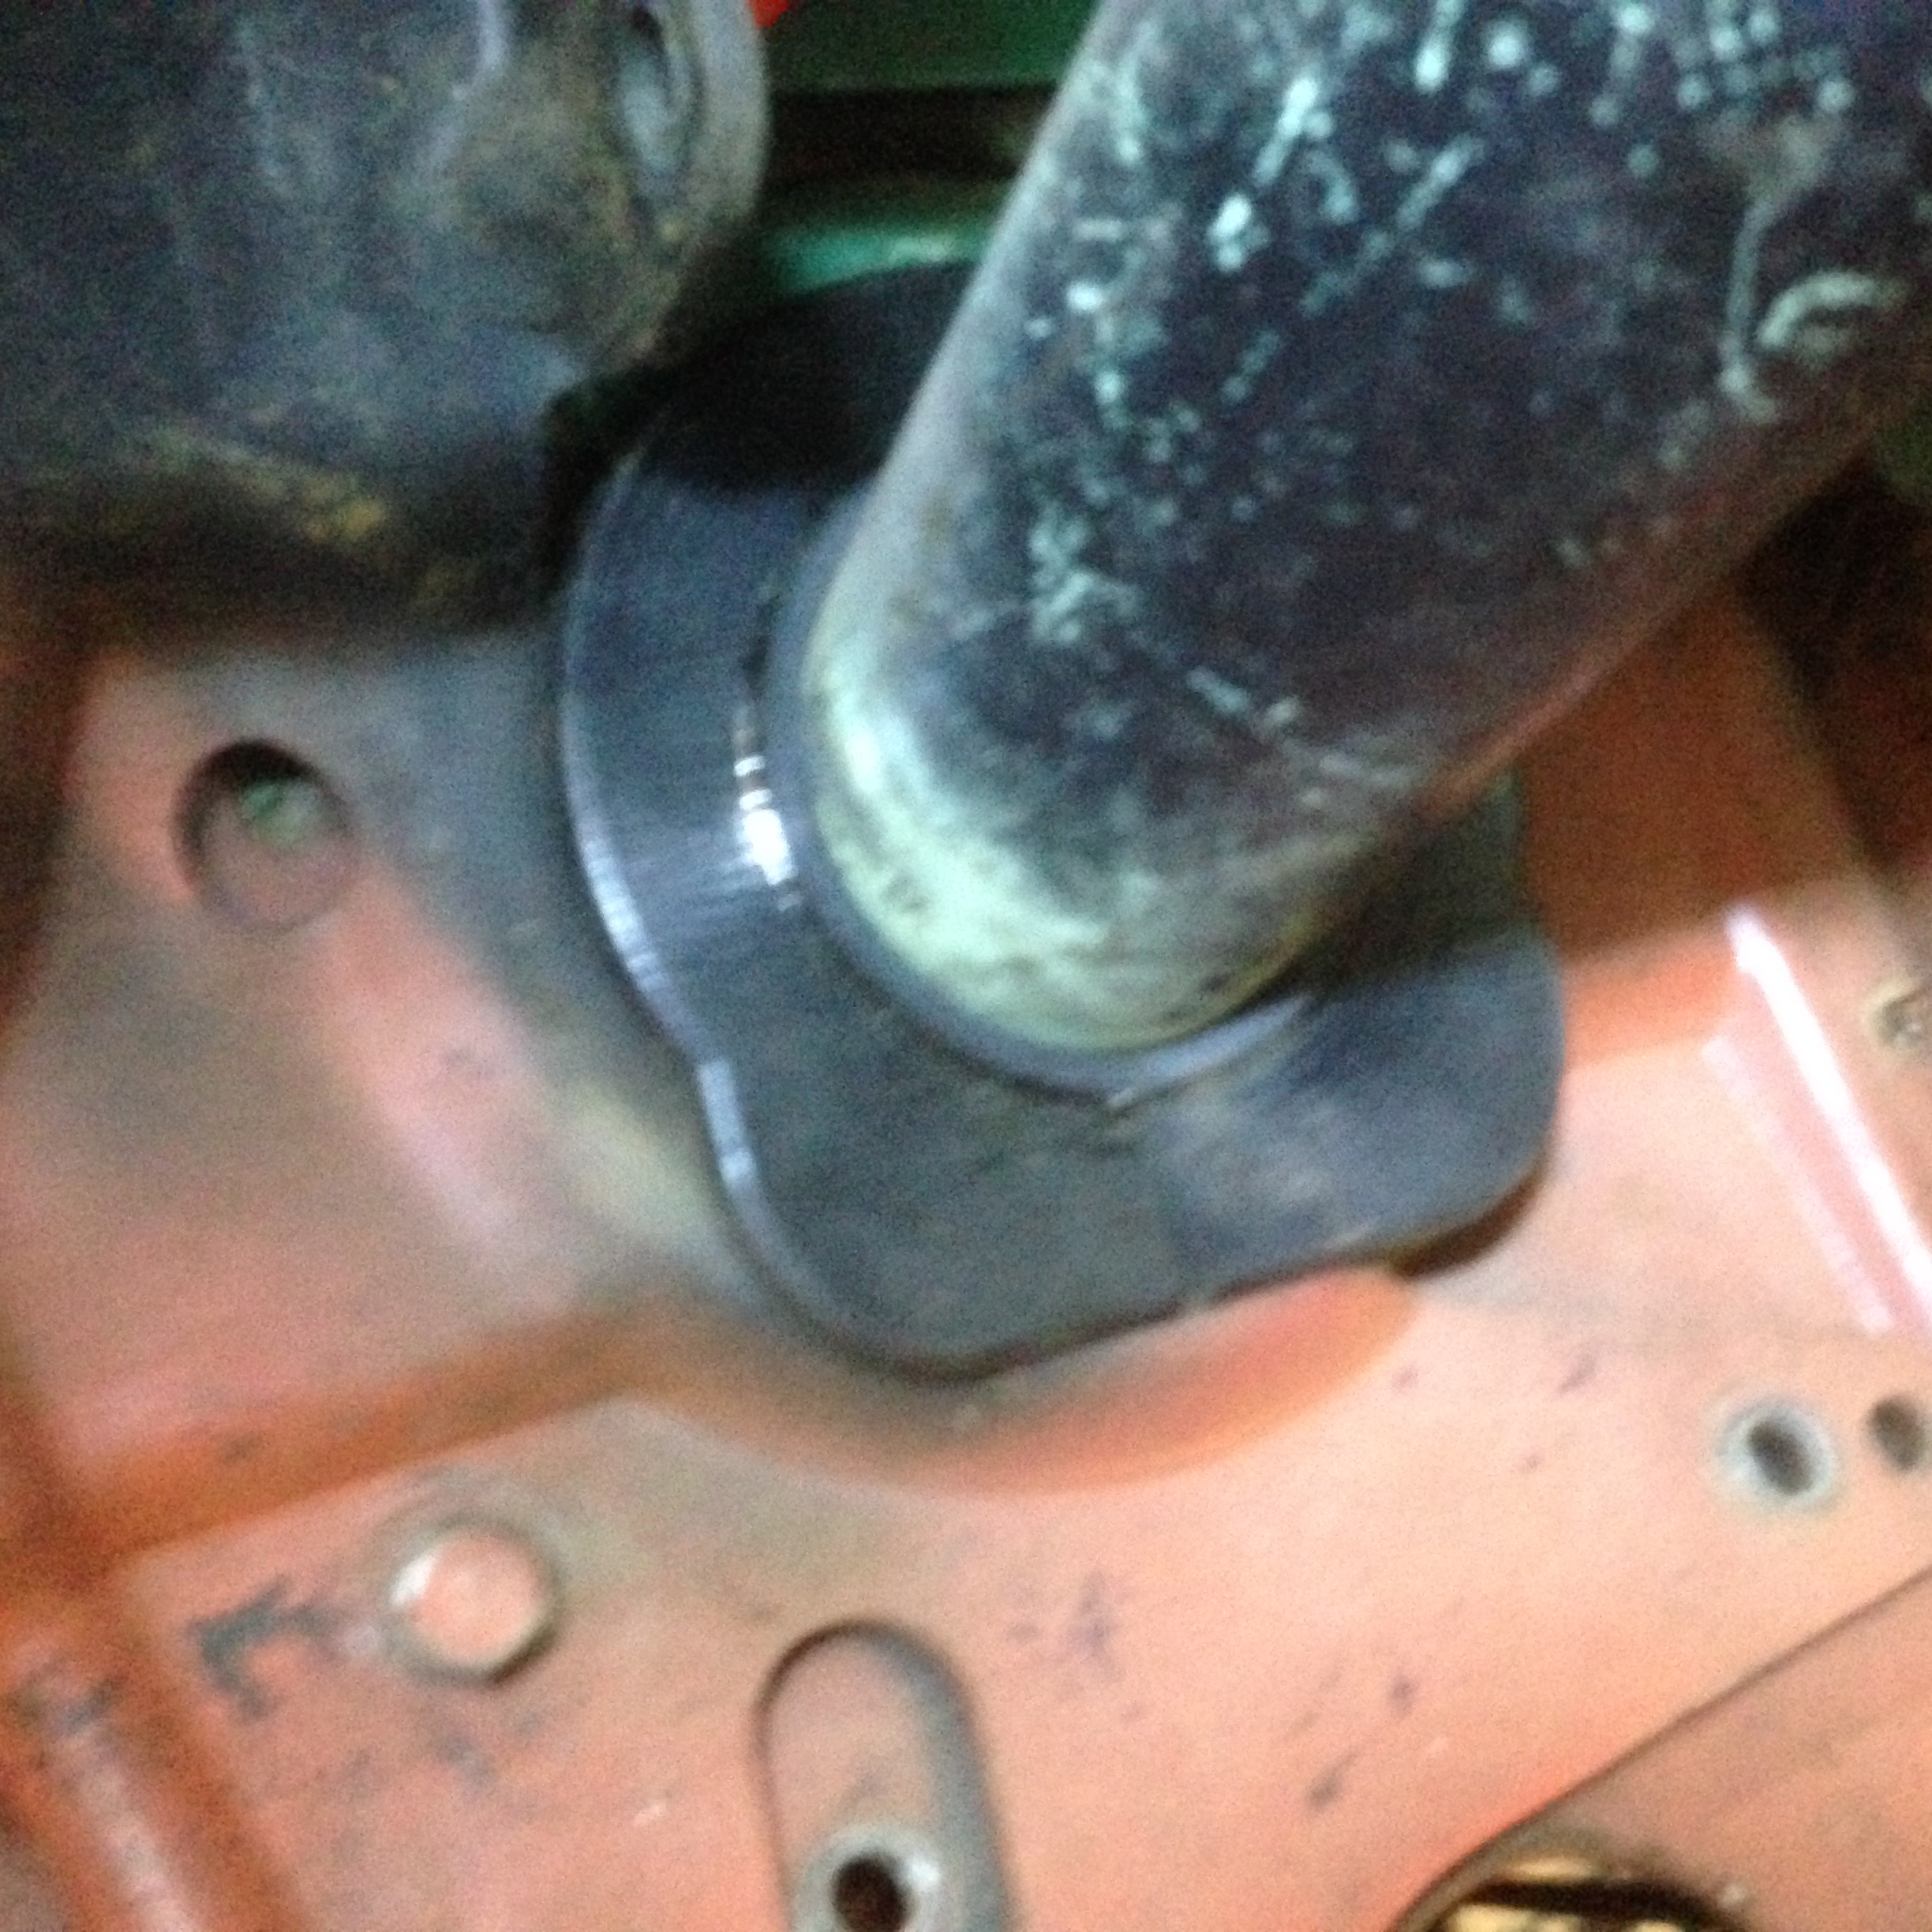
Installing the Grommet with the Steering Column Installed
If you don't want to remove the steering column and disassemble it in order to install'
a new grommet, you can cut the gasket to install it.
-
 Remove the Brake Petal
-
 Remove Brake Petal Plate
-
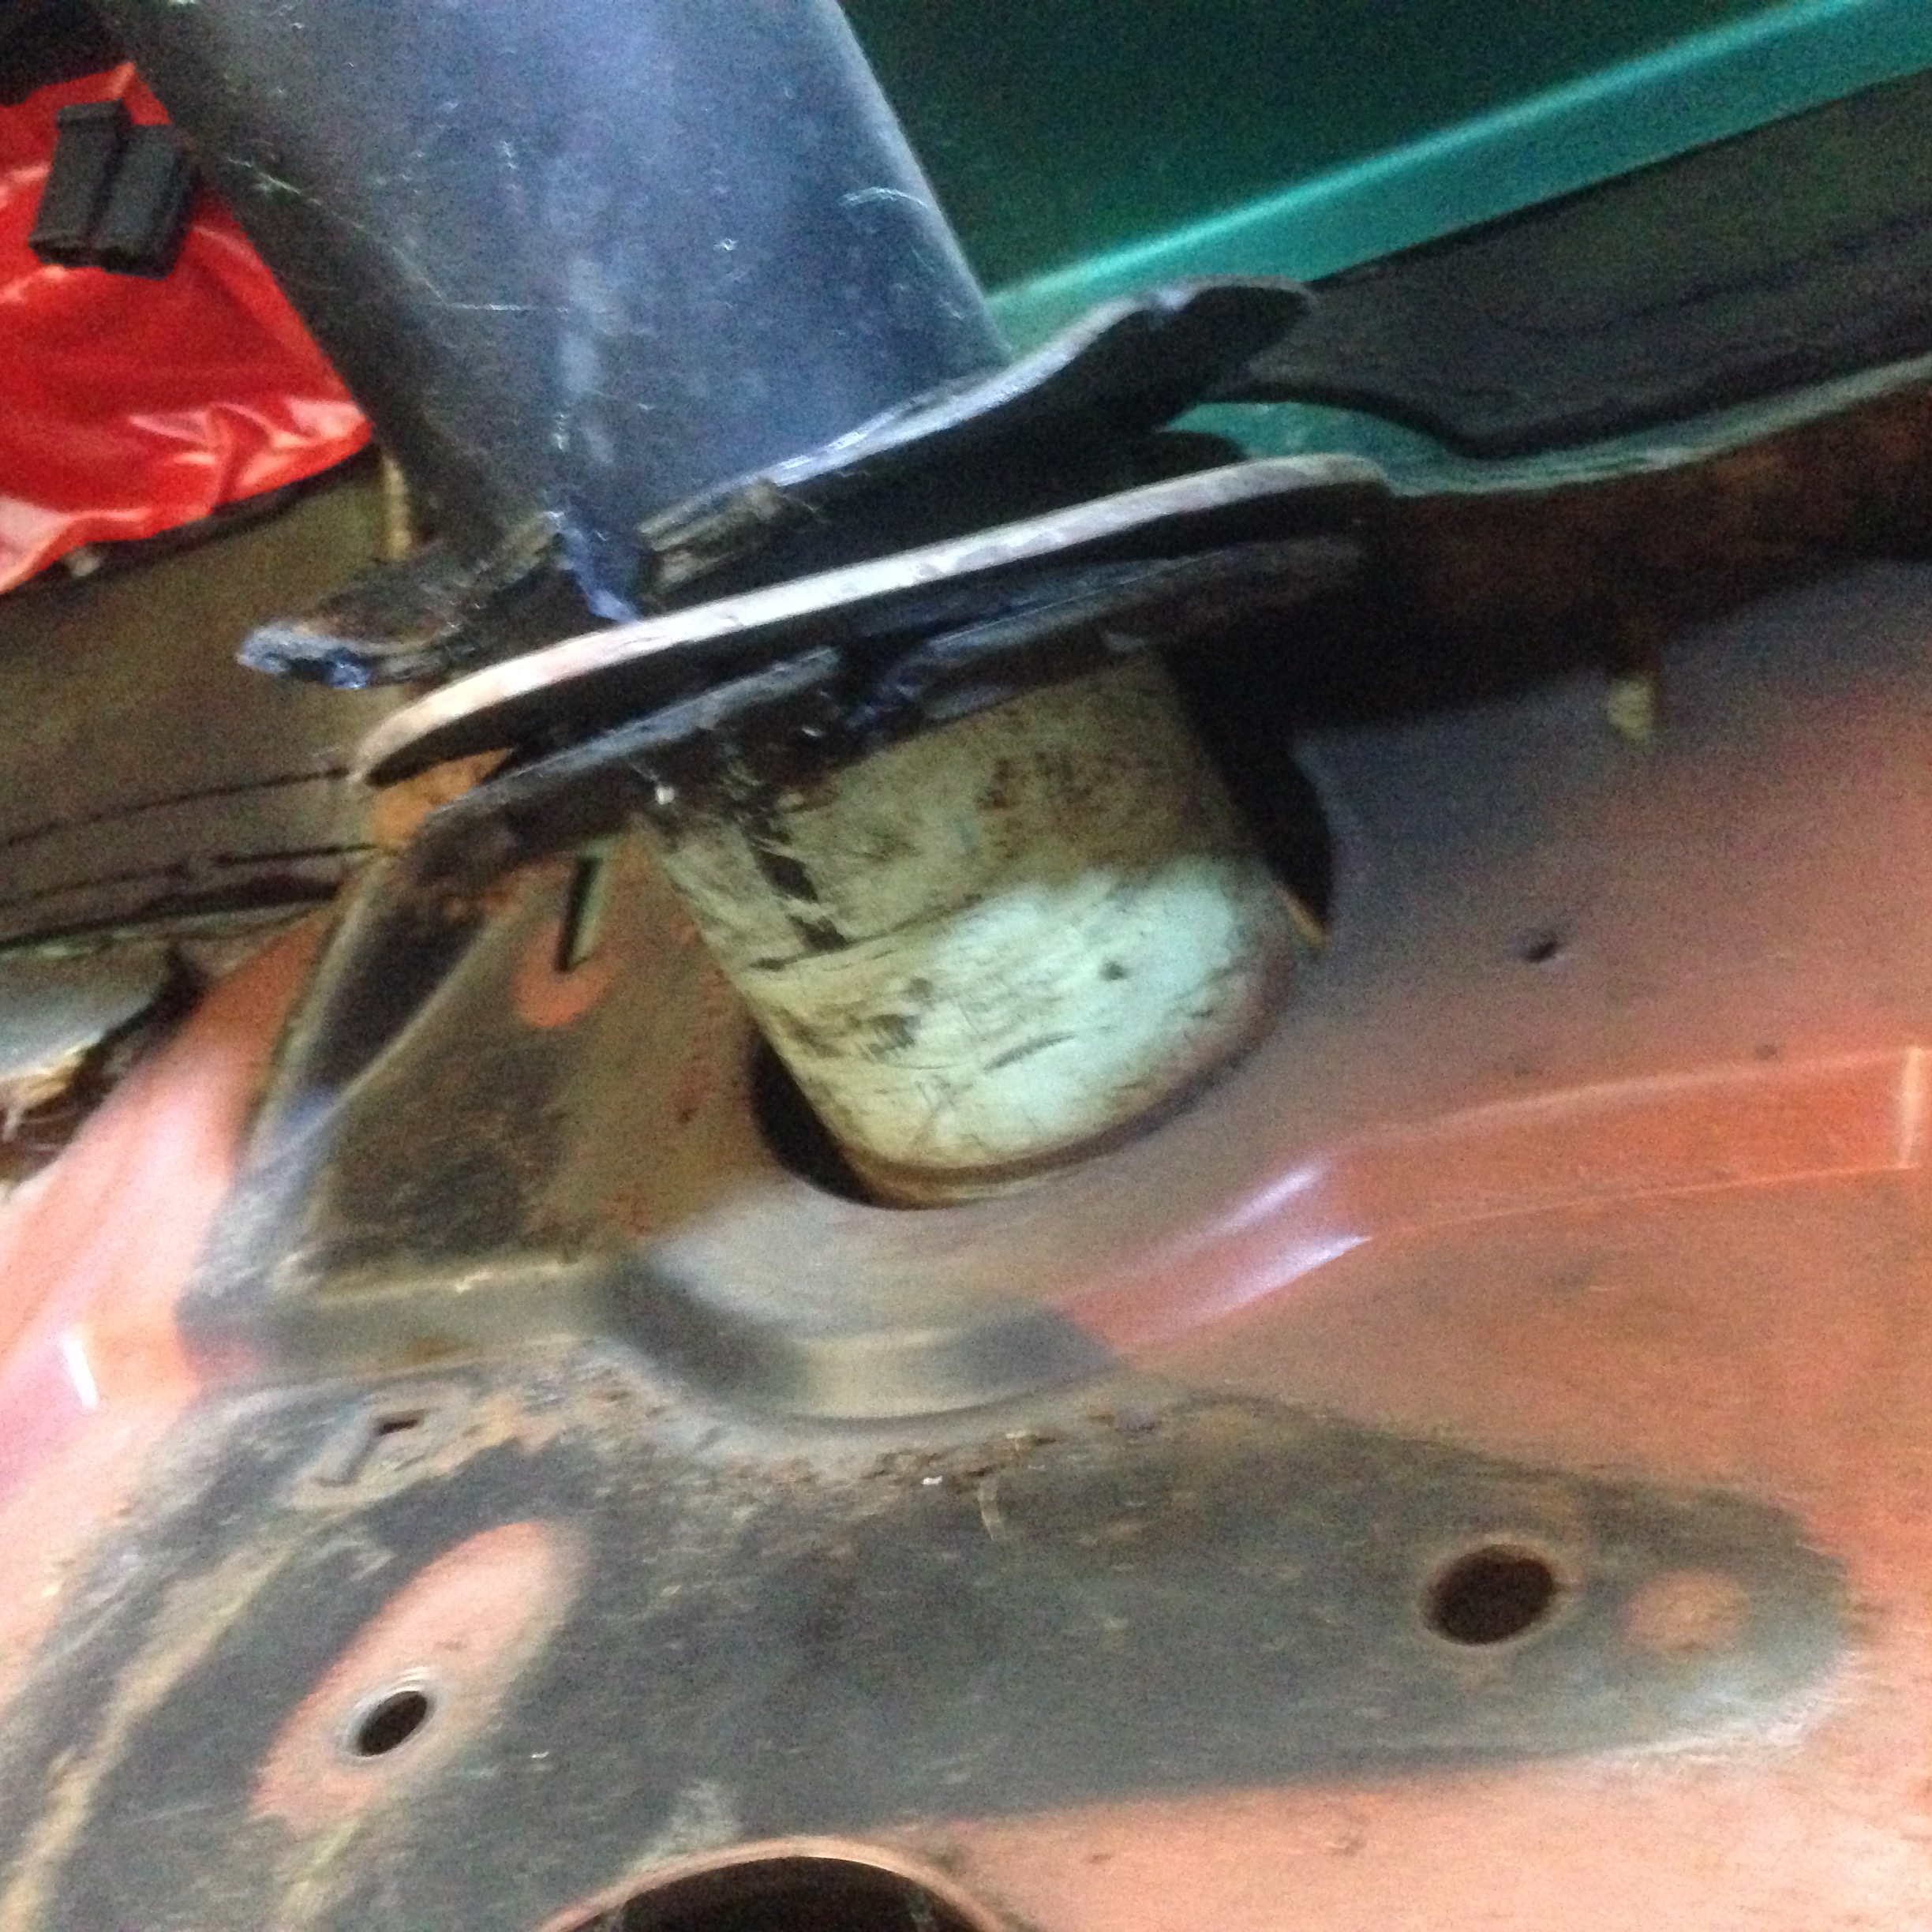 Remove the old grommet being carefully not to break the firewall insulation pad
-
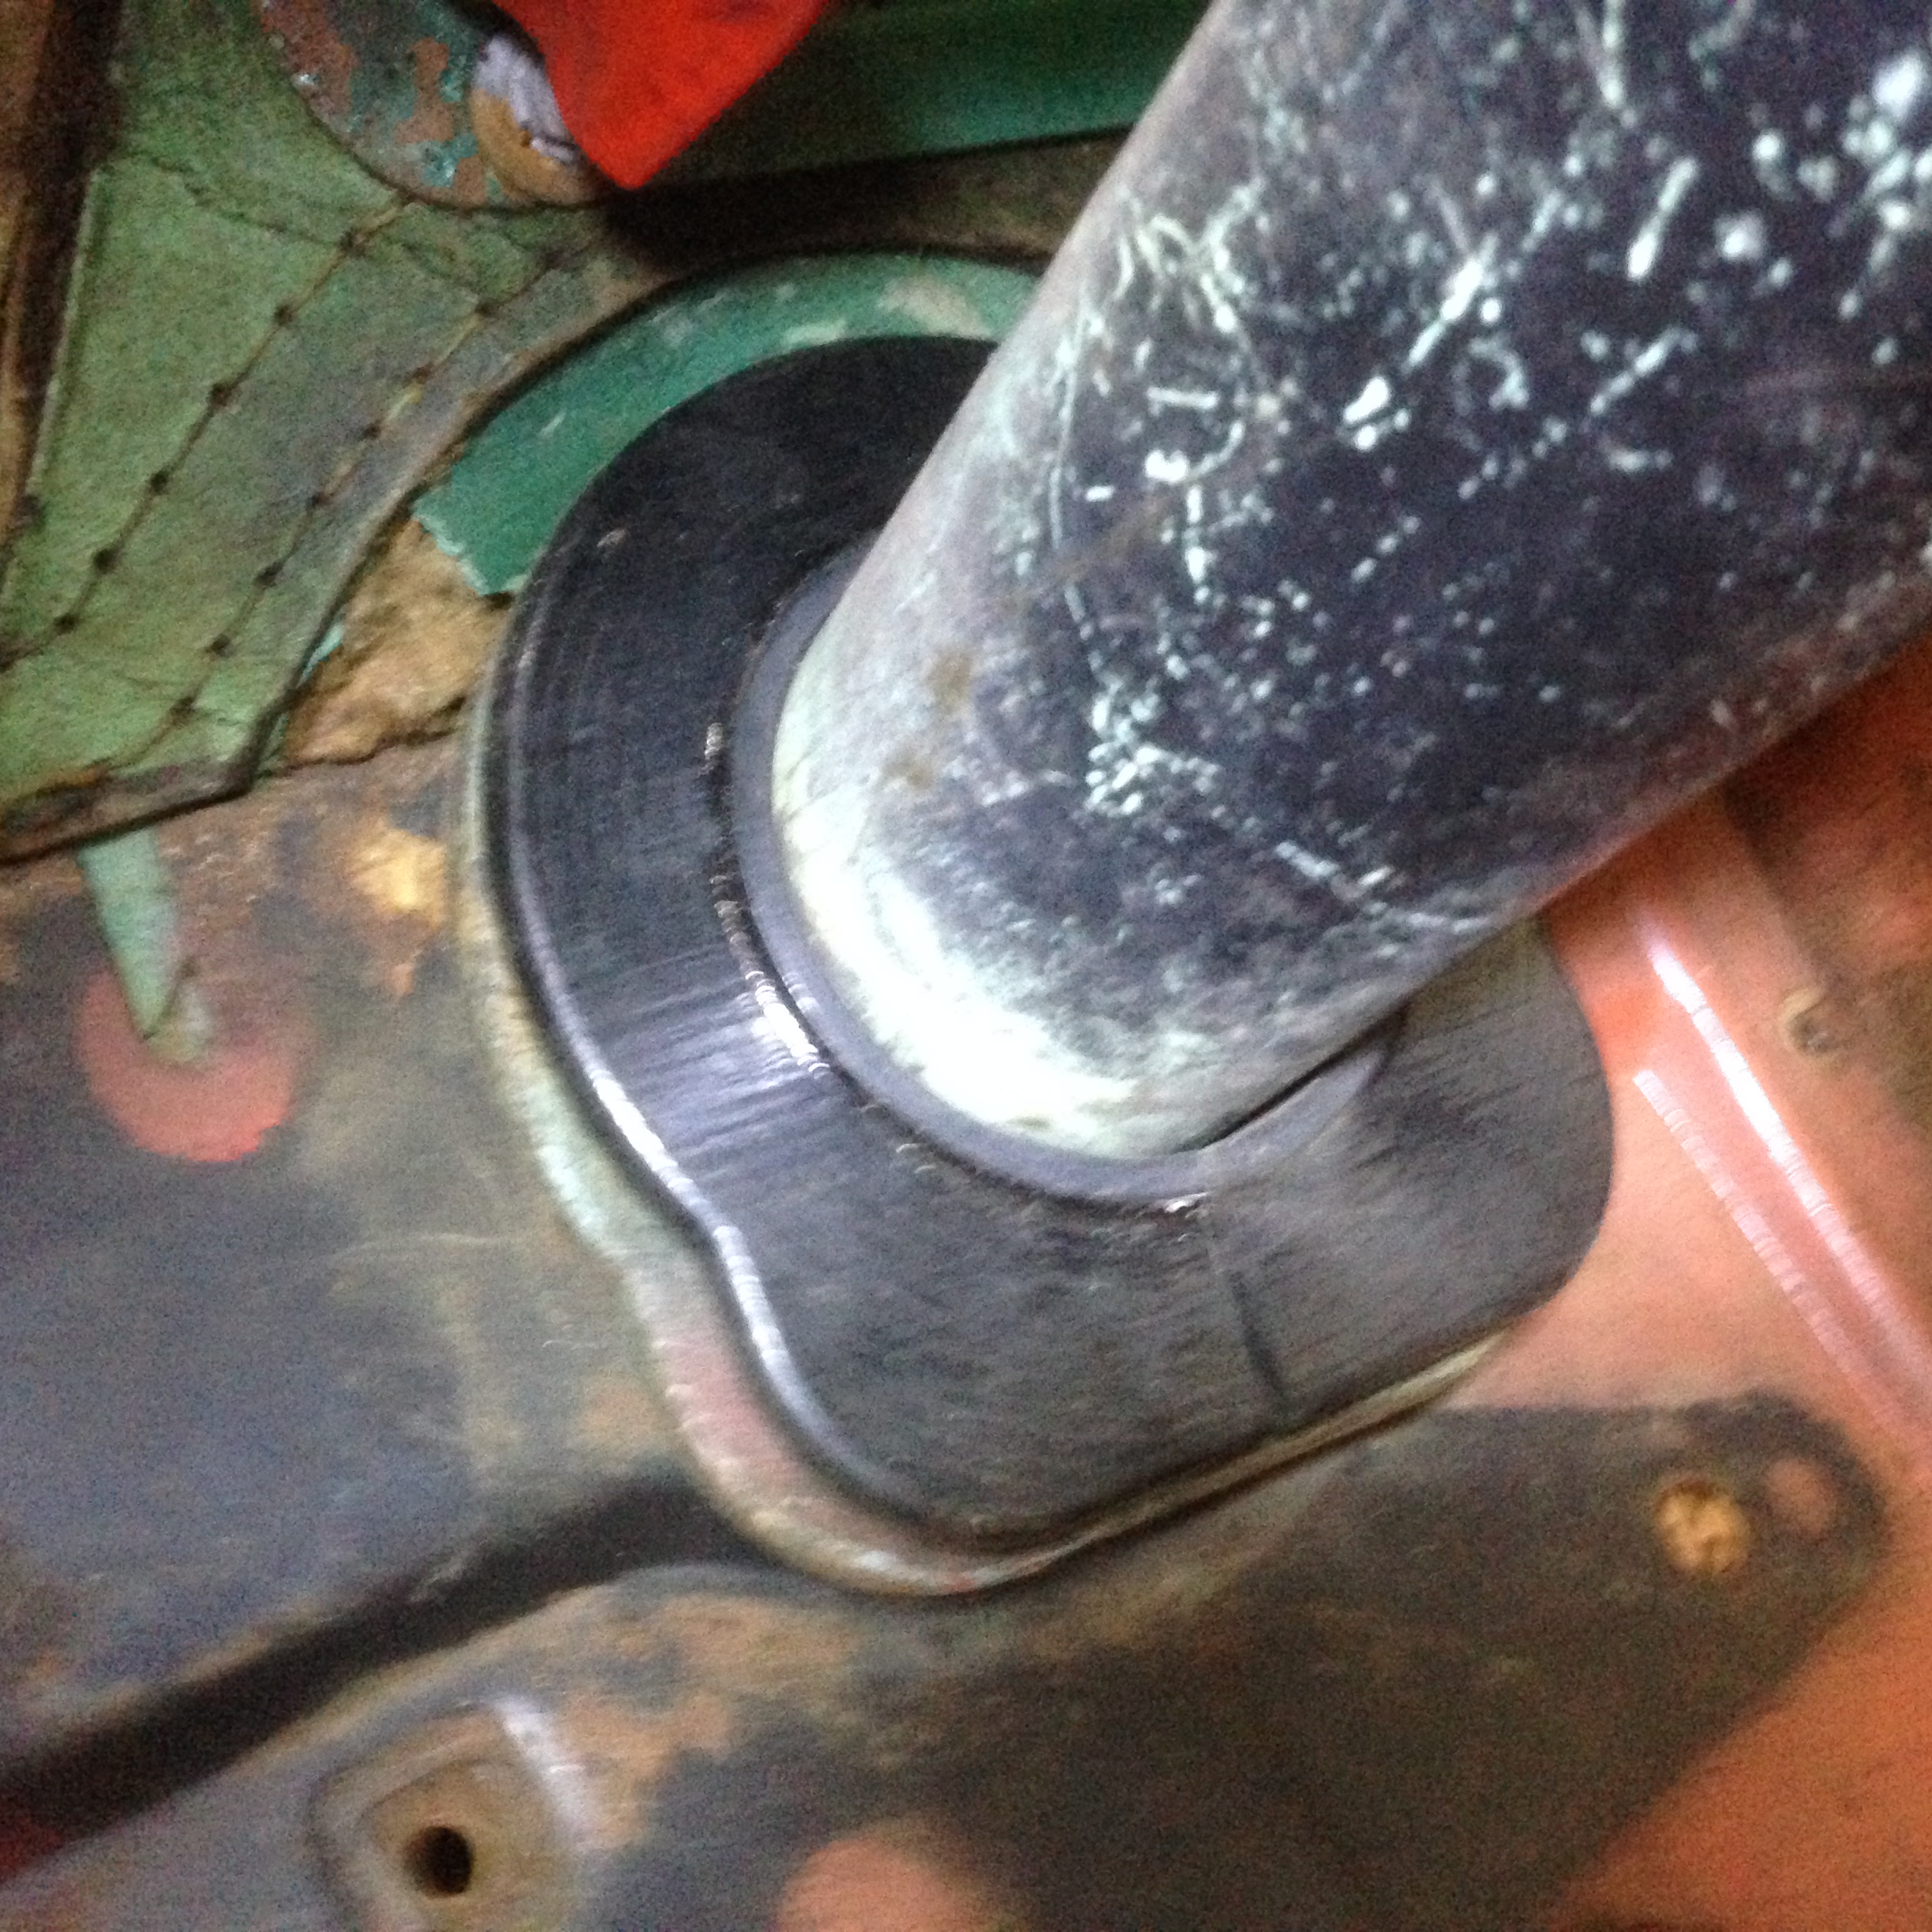
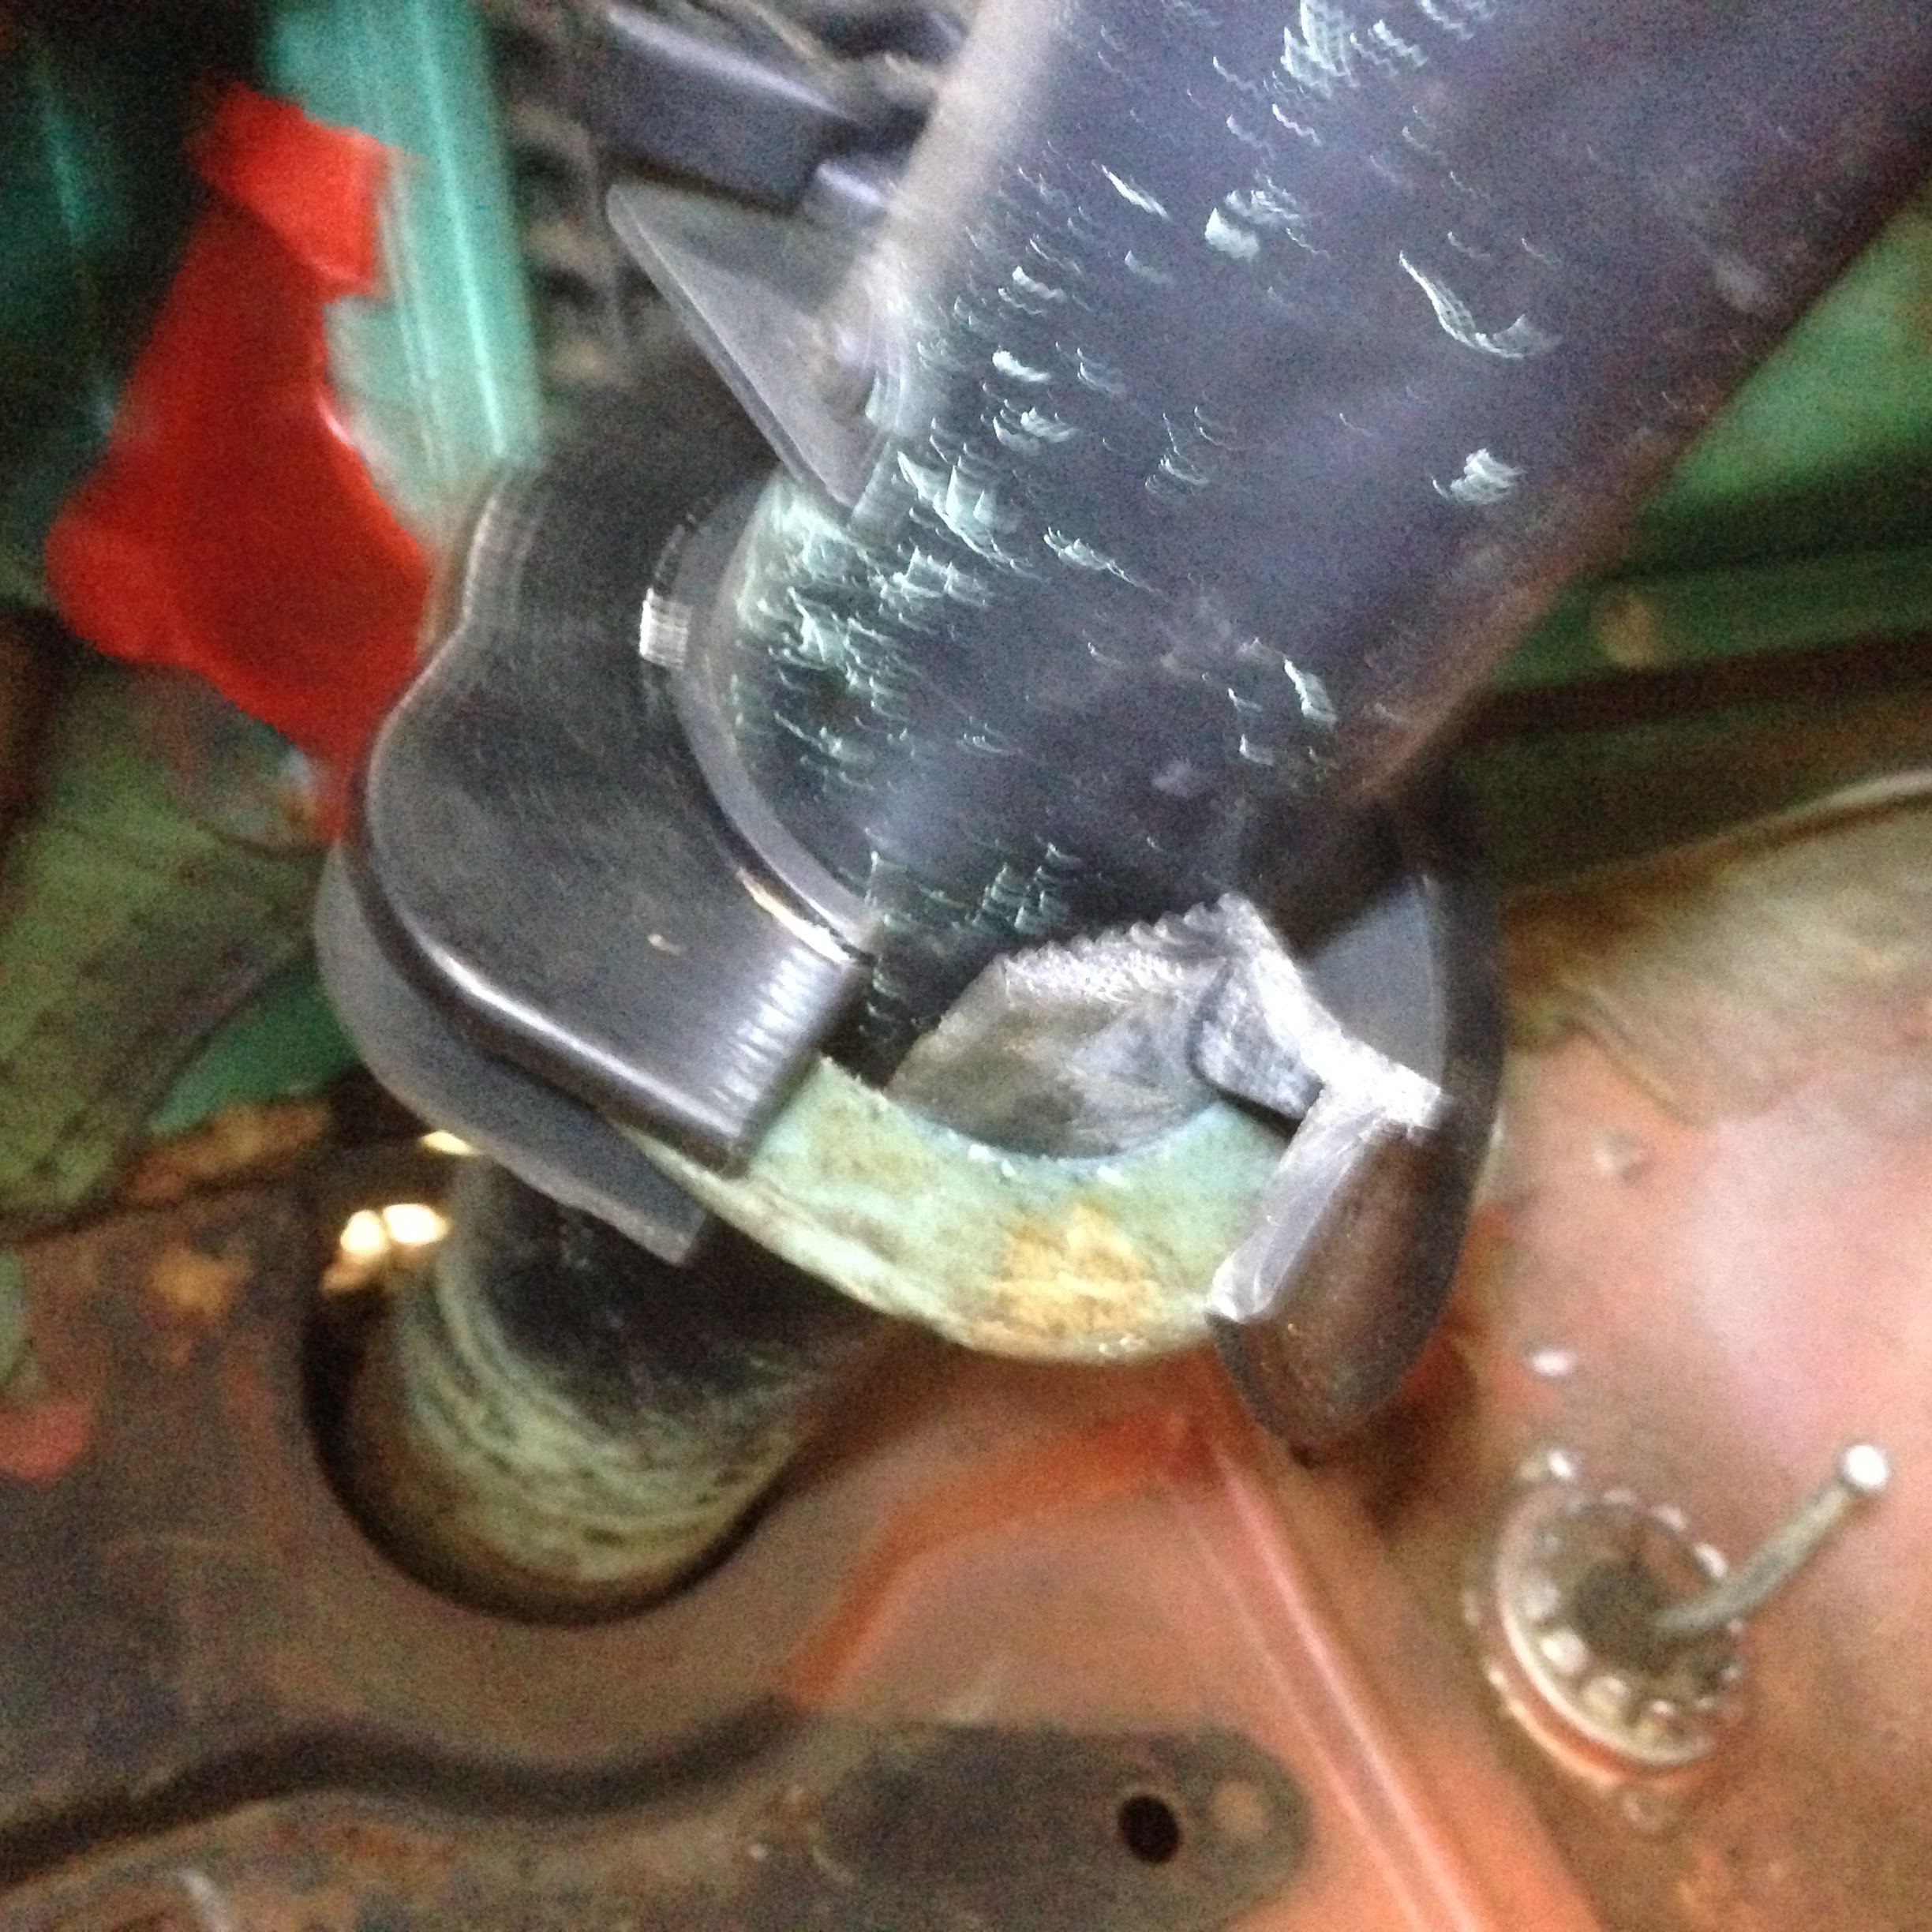 Slide the cut grommet thru the metal plate. Make sure the back of the grommet goes under the
firewall installation pad
Slide the cut grommet thru the metal plate. Make sure the back of the grommet goes under the
firewall installation pad
-
 Install the brake petal plate between the metal plate and the top rubber of the grommet
-
 Use RTV to glue the cut in grommet
-
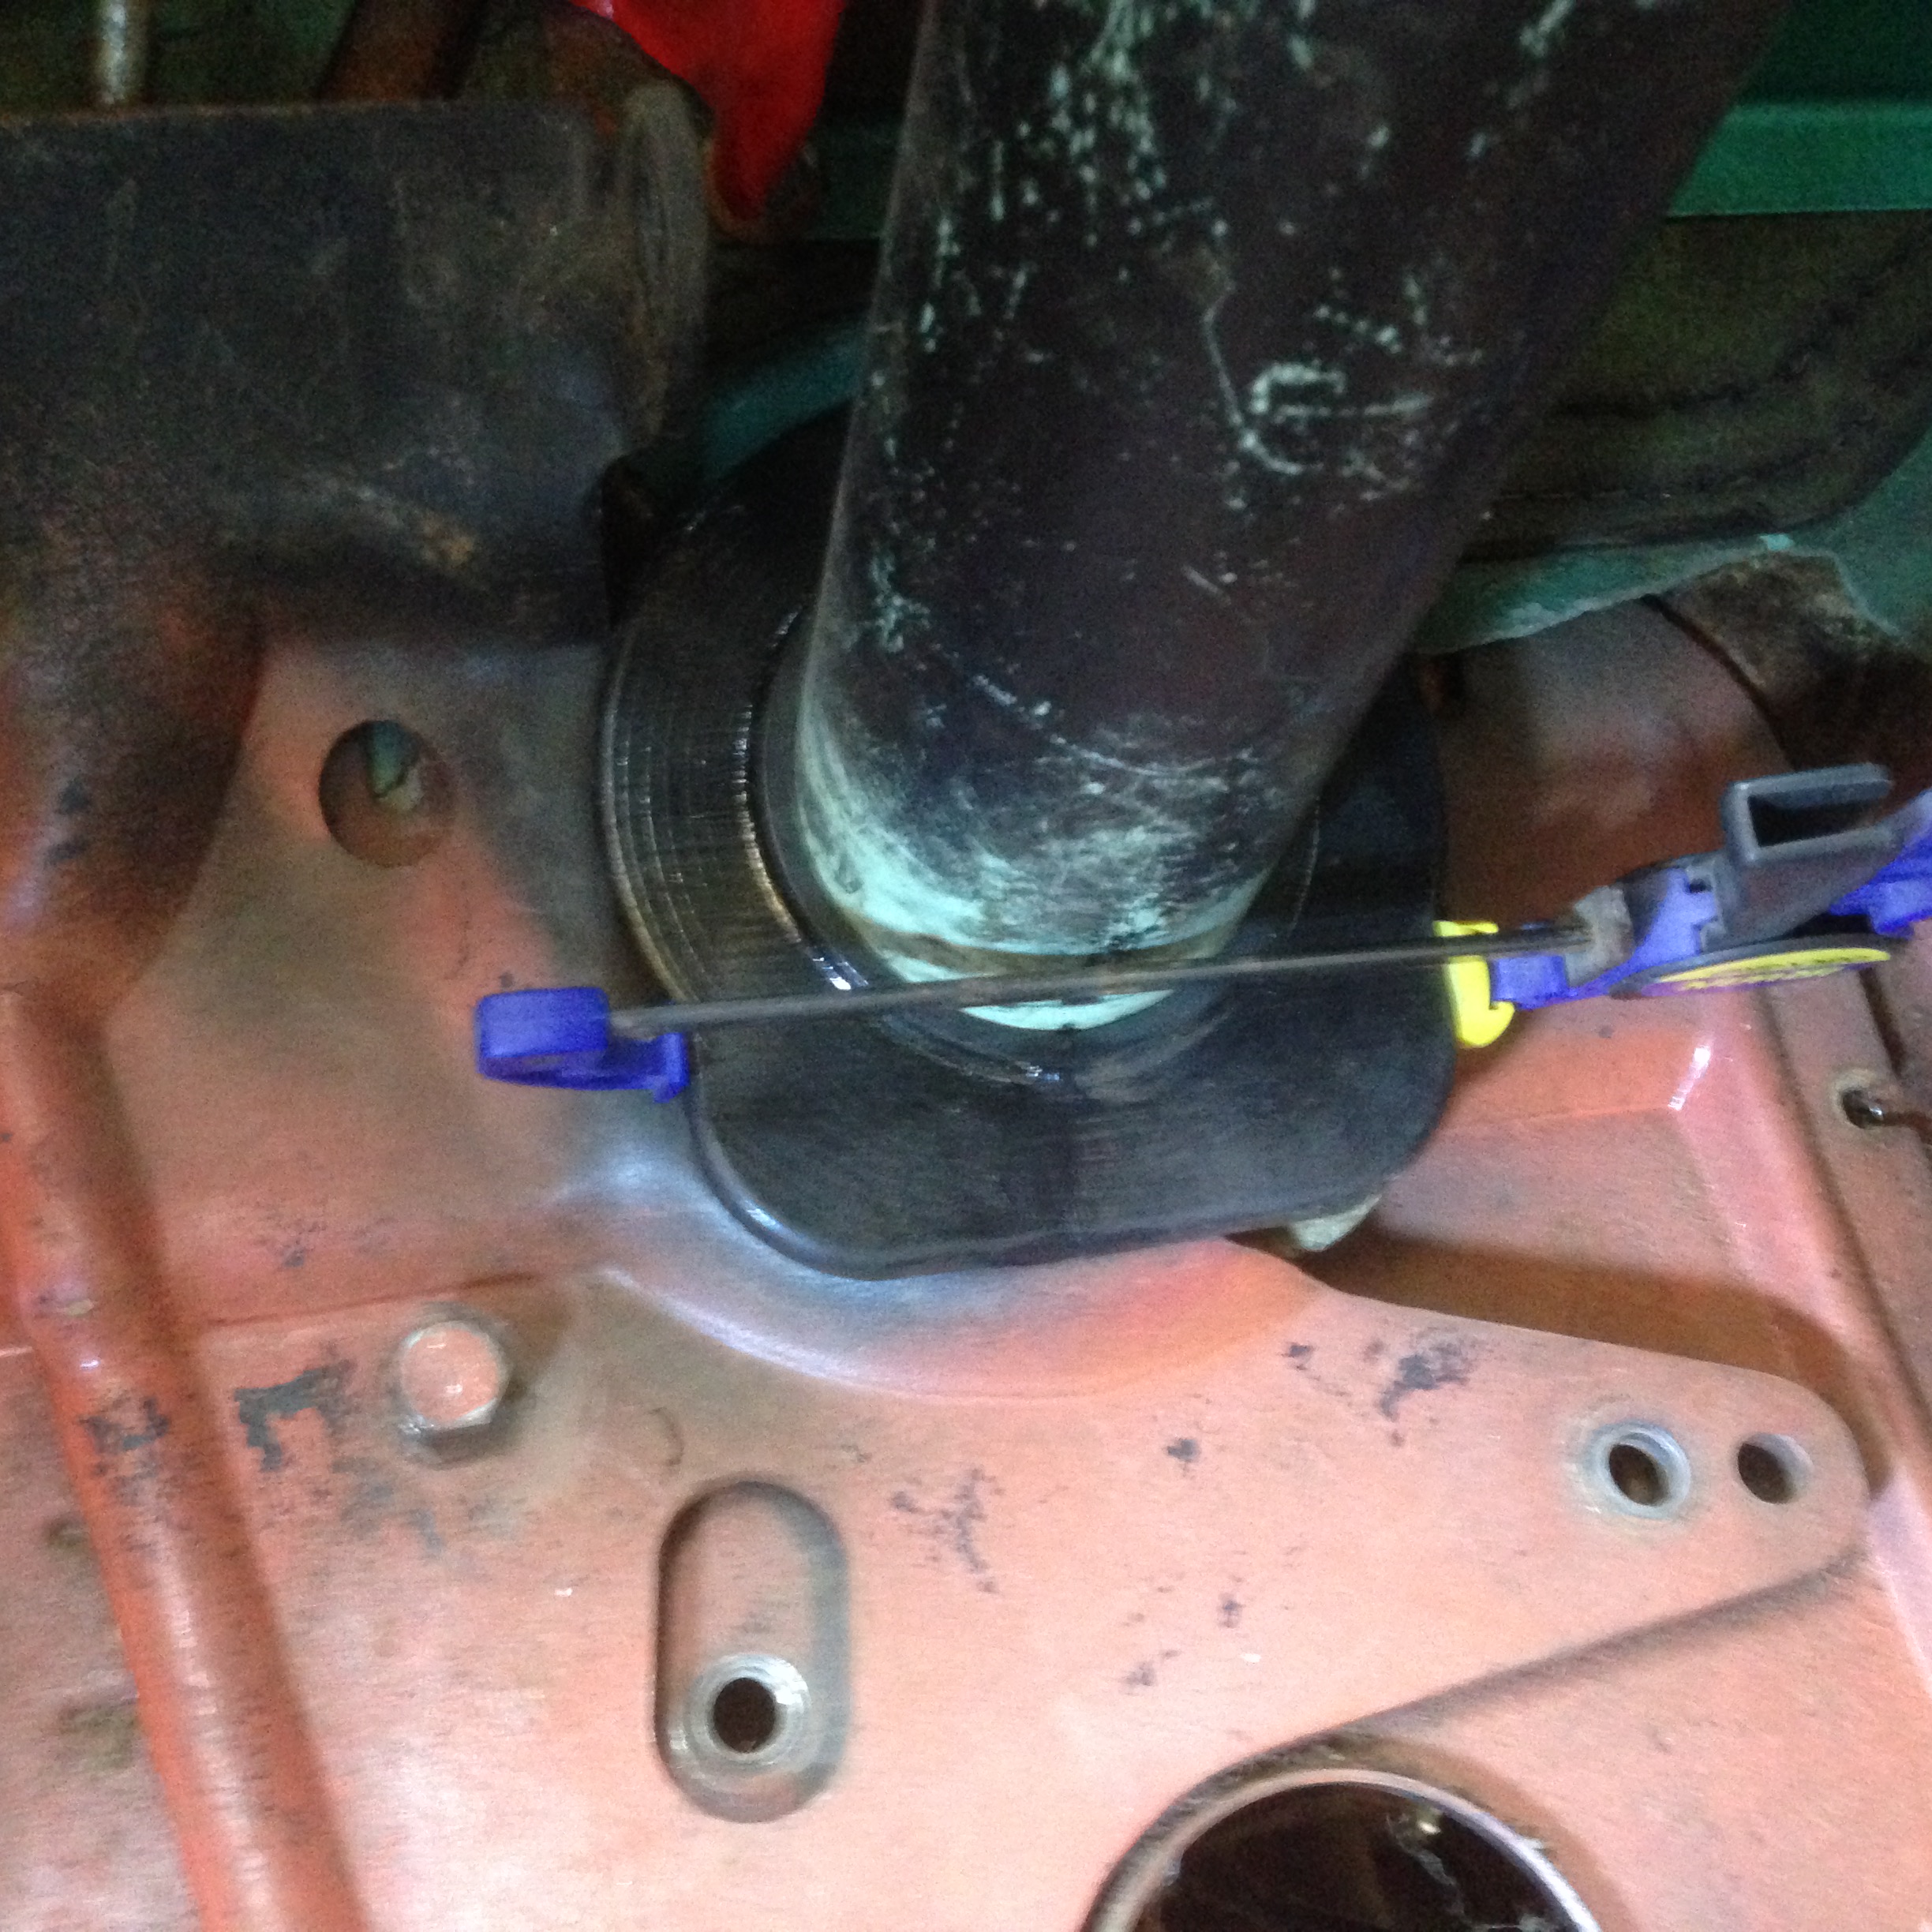 Clamp the grommet while the glue dries